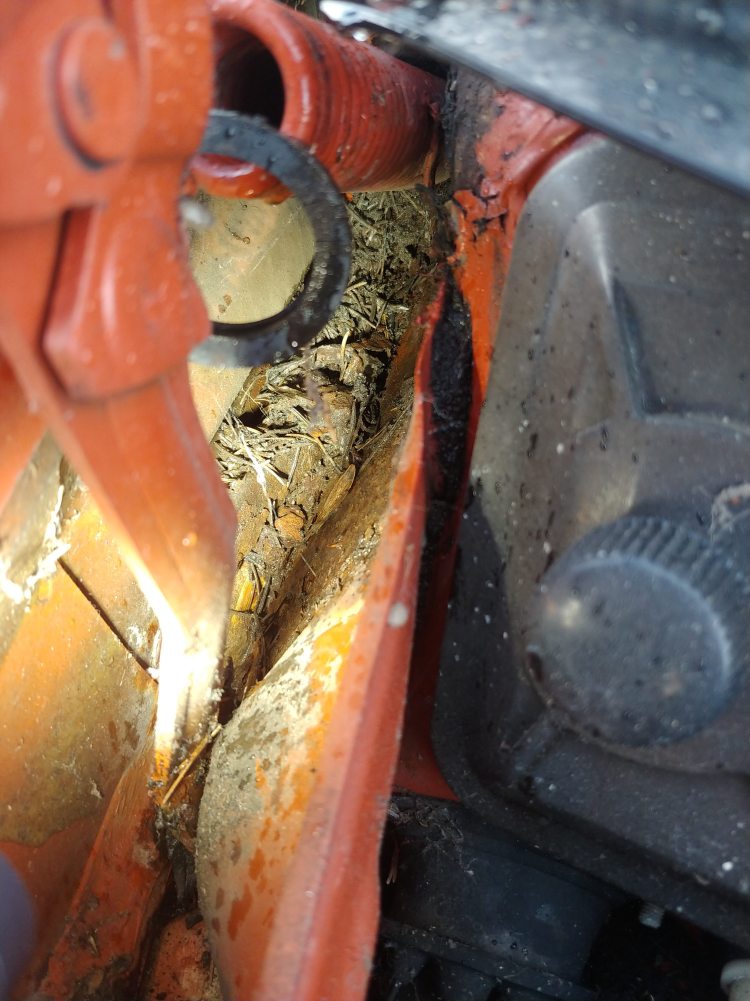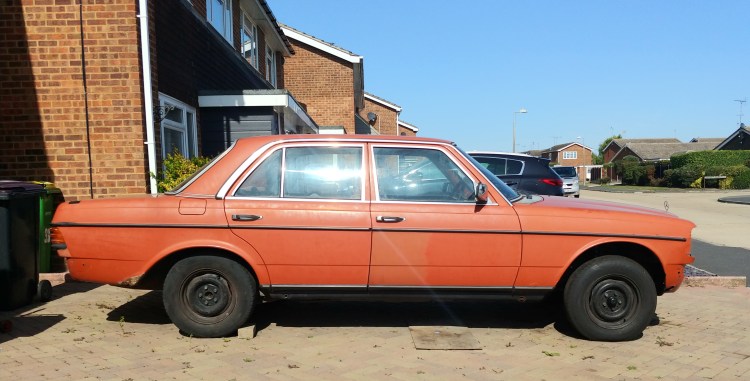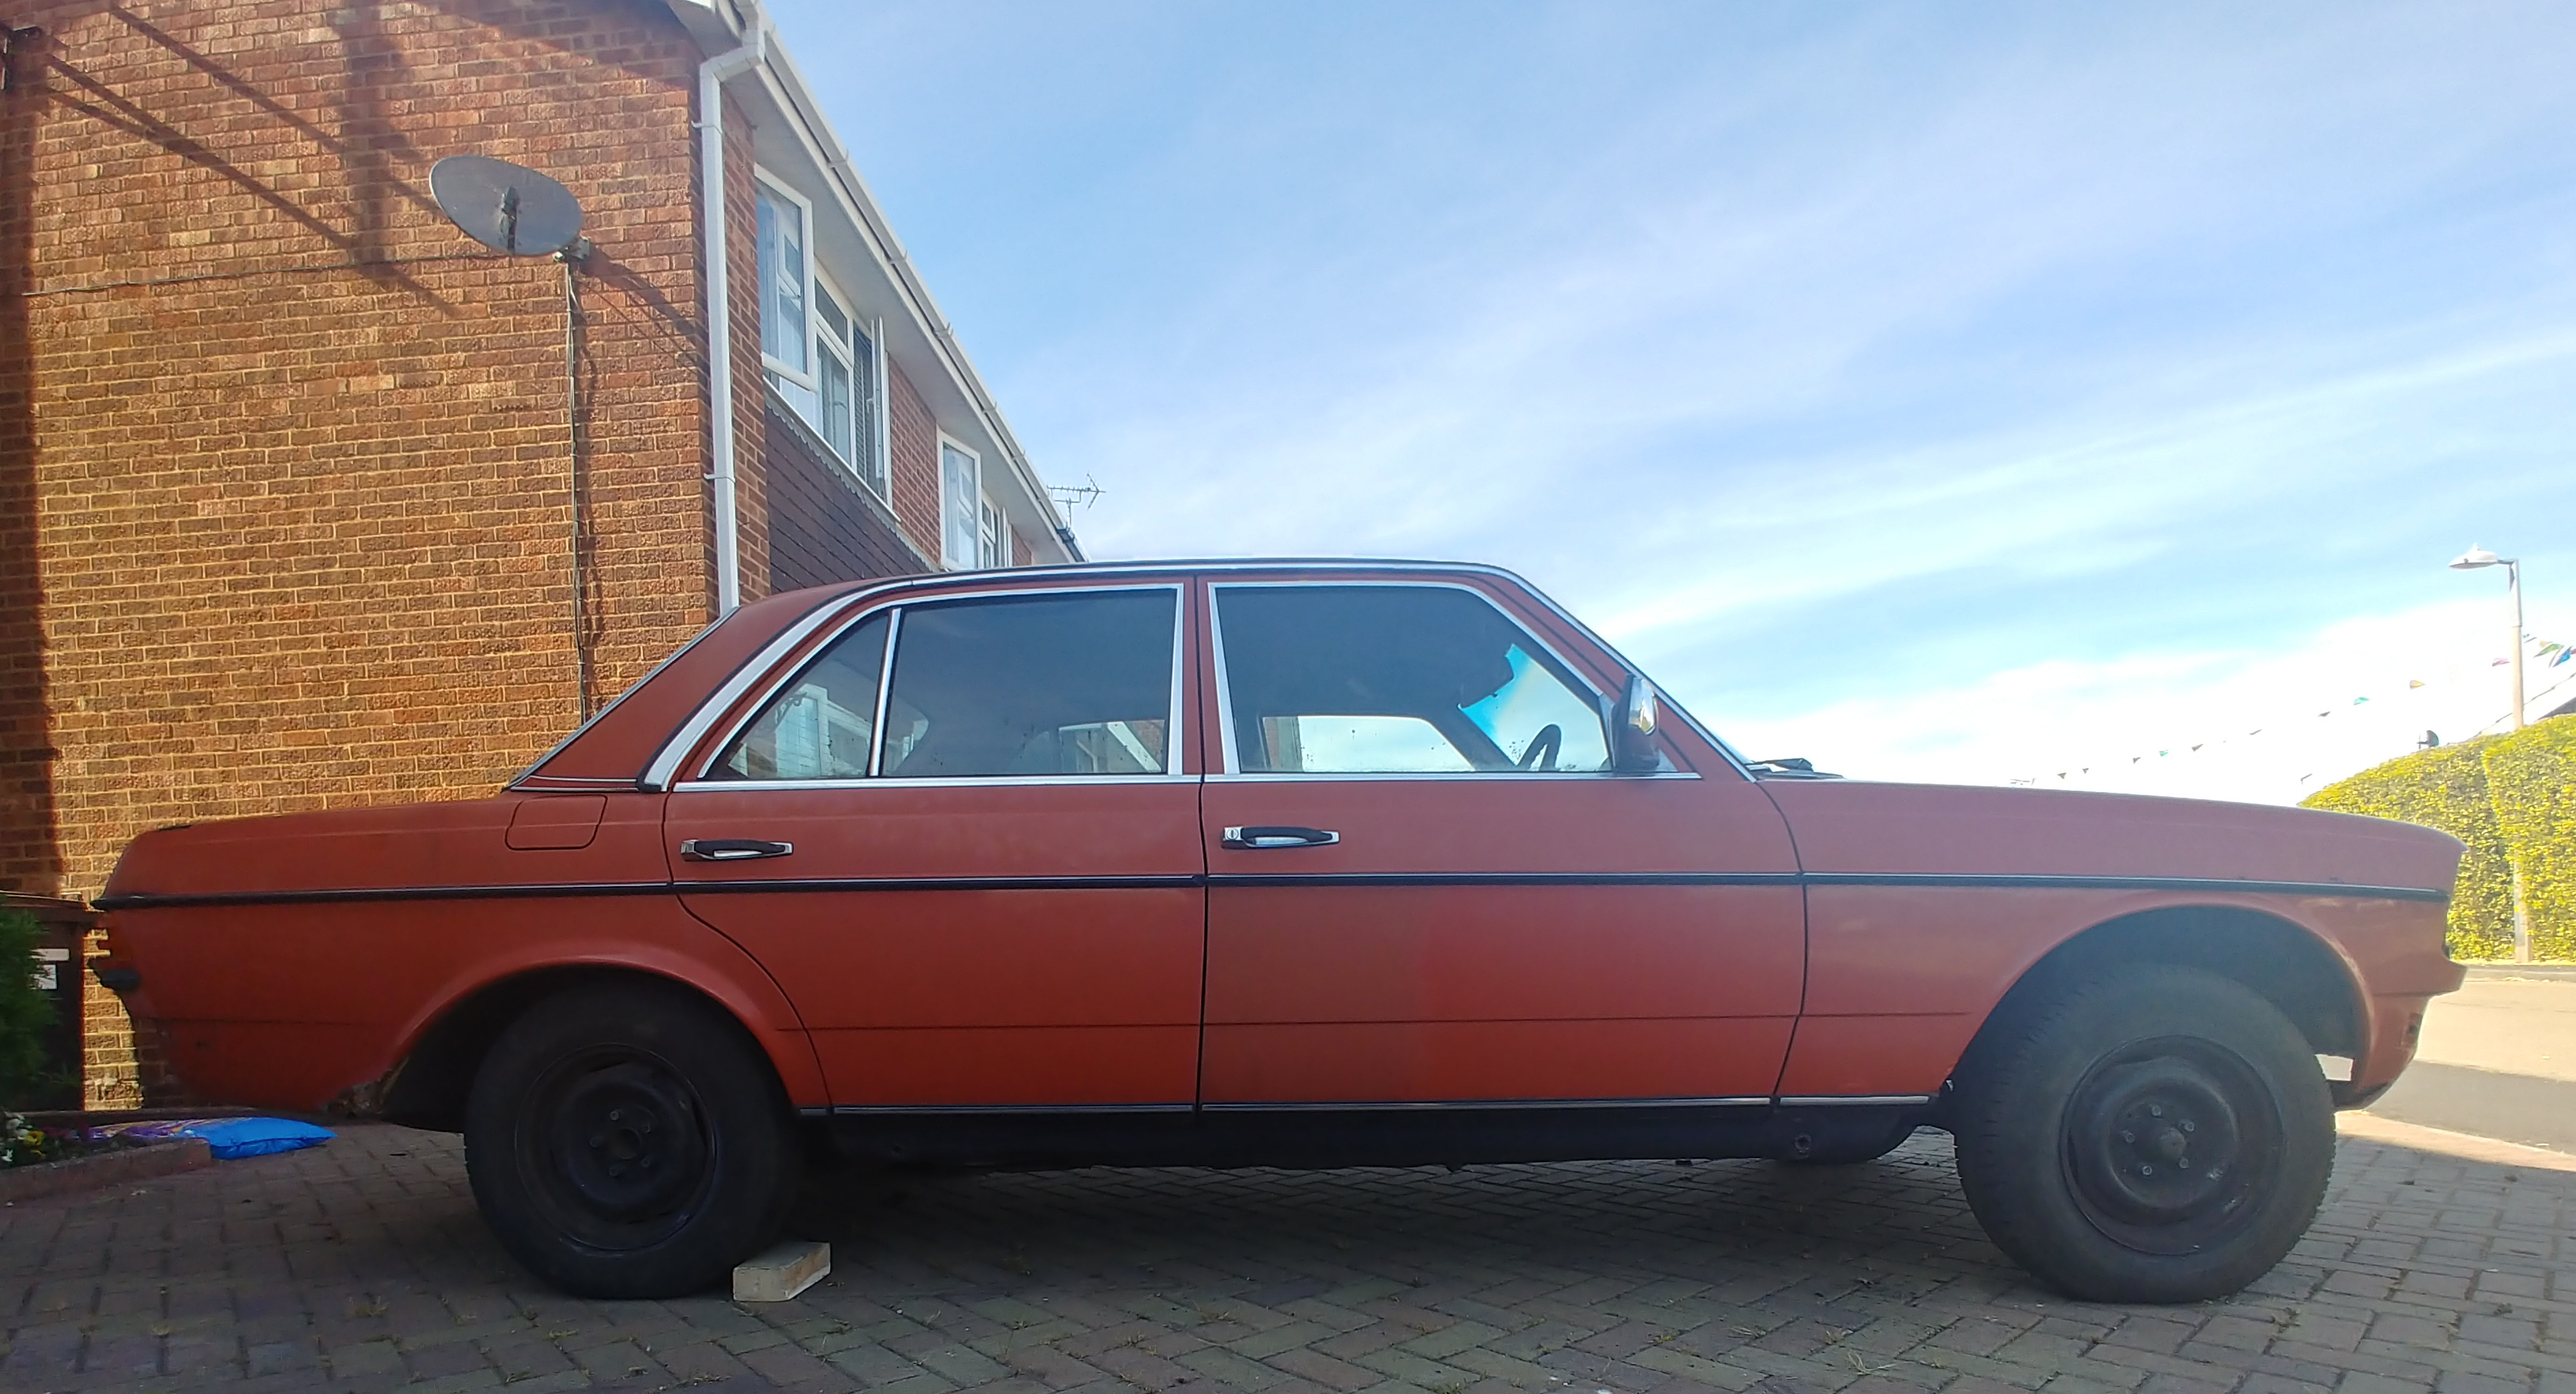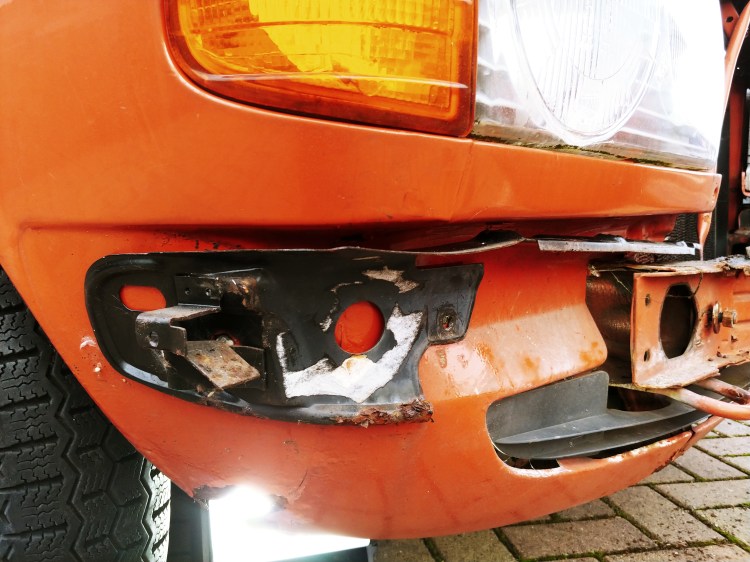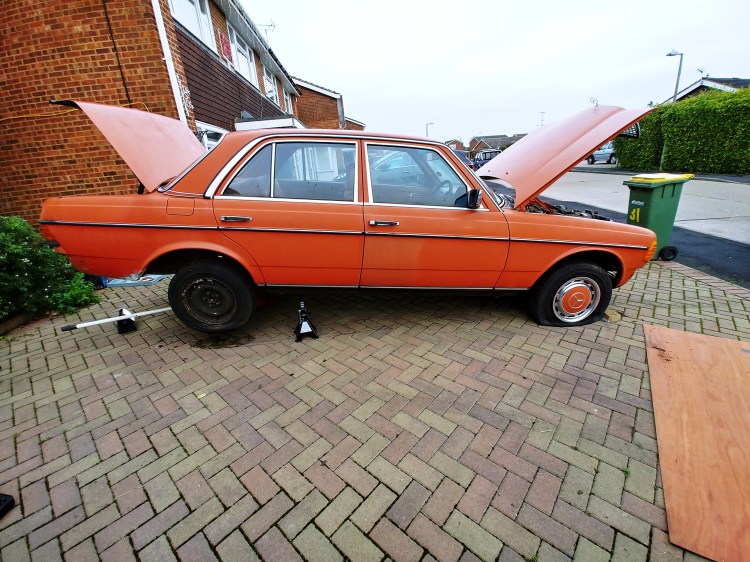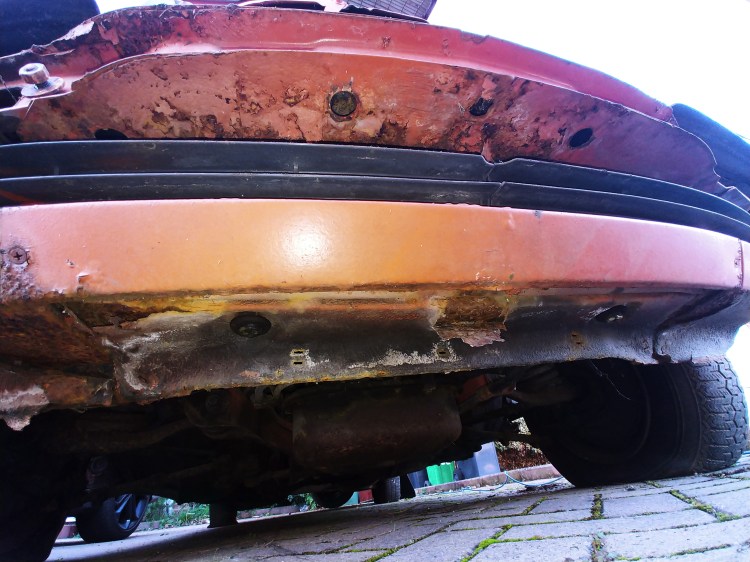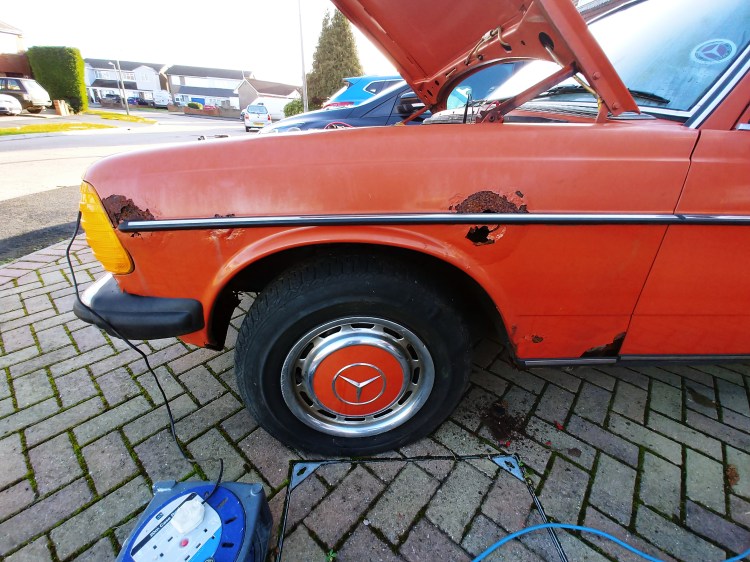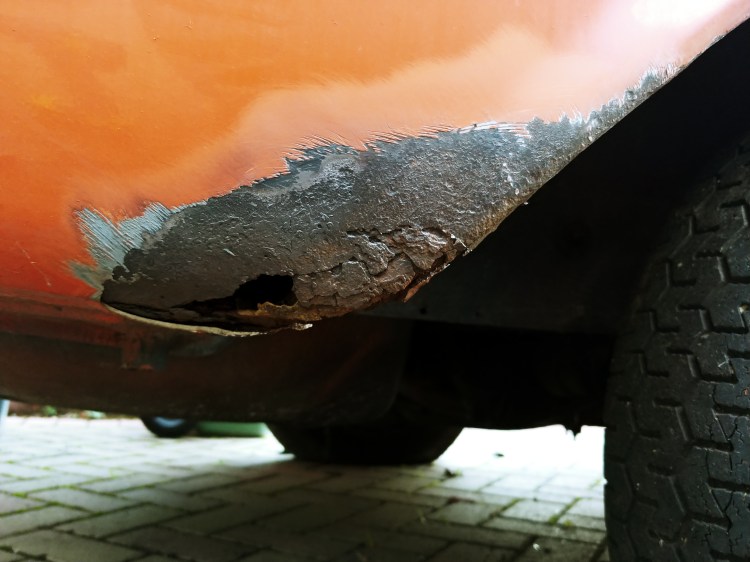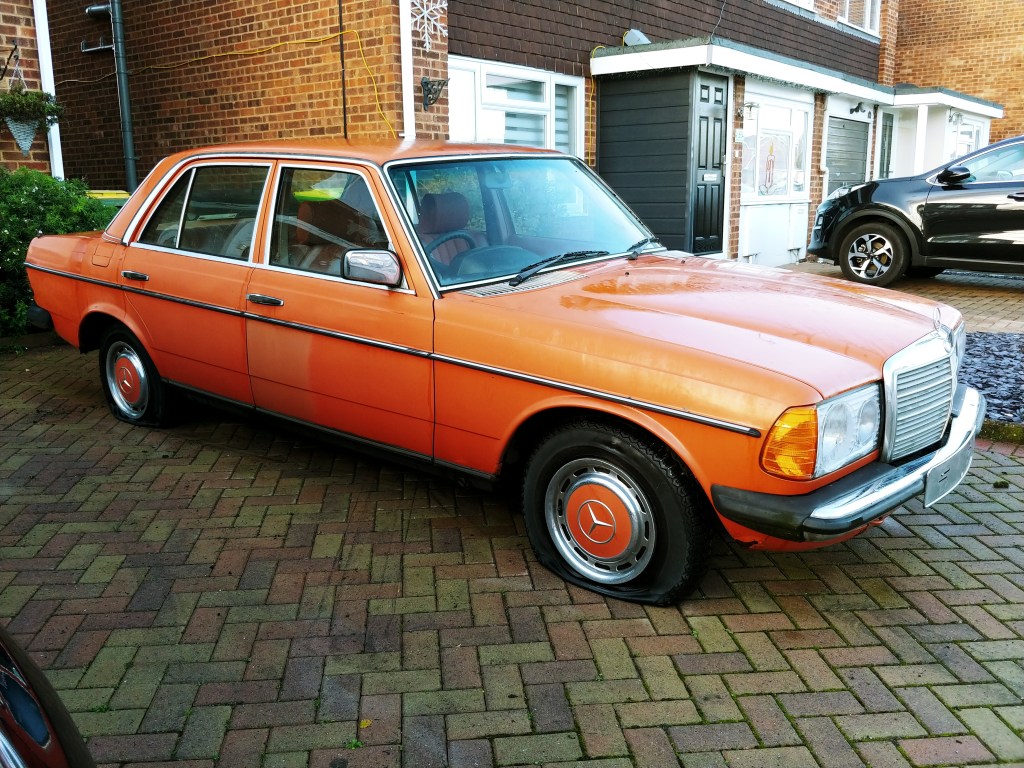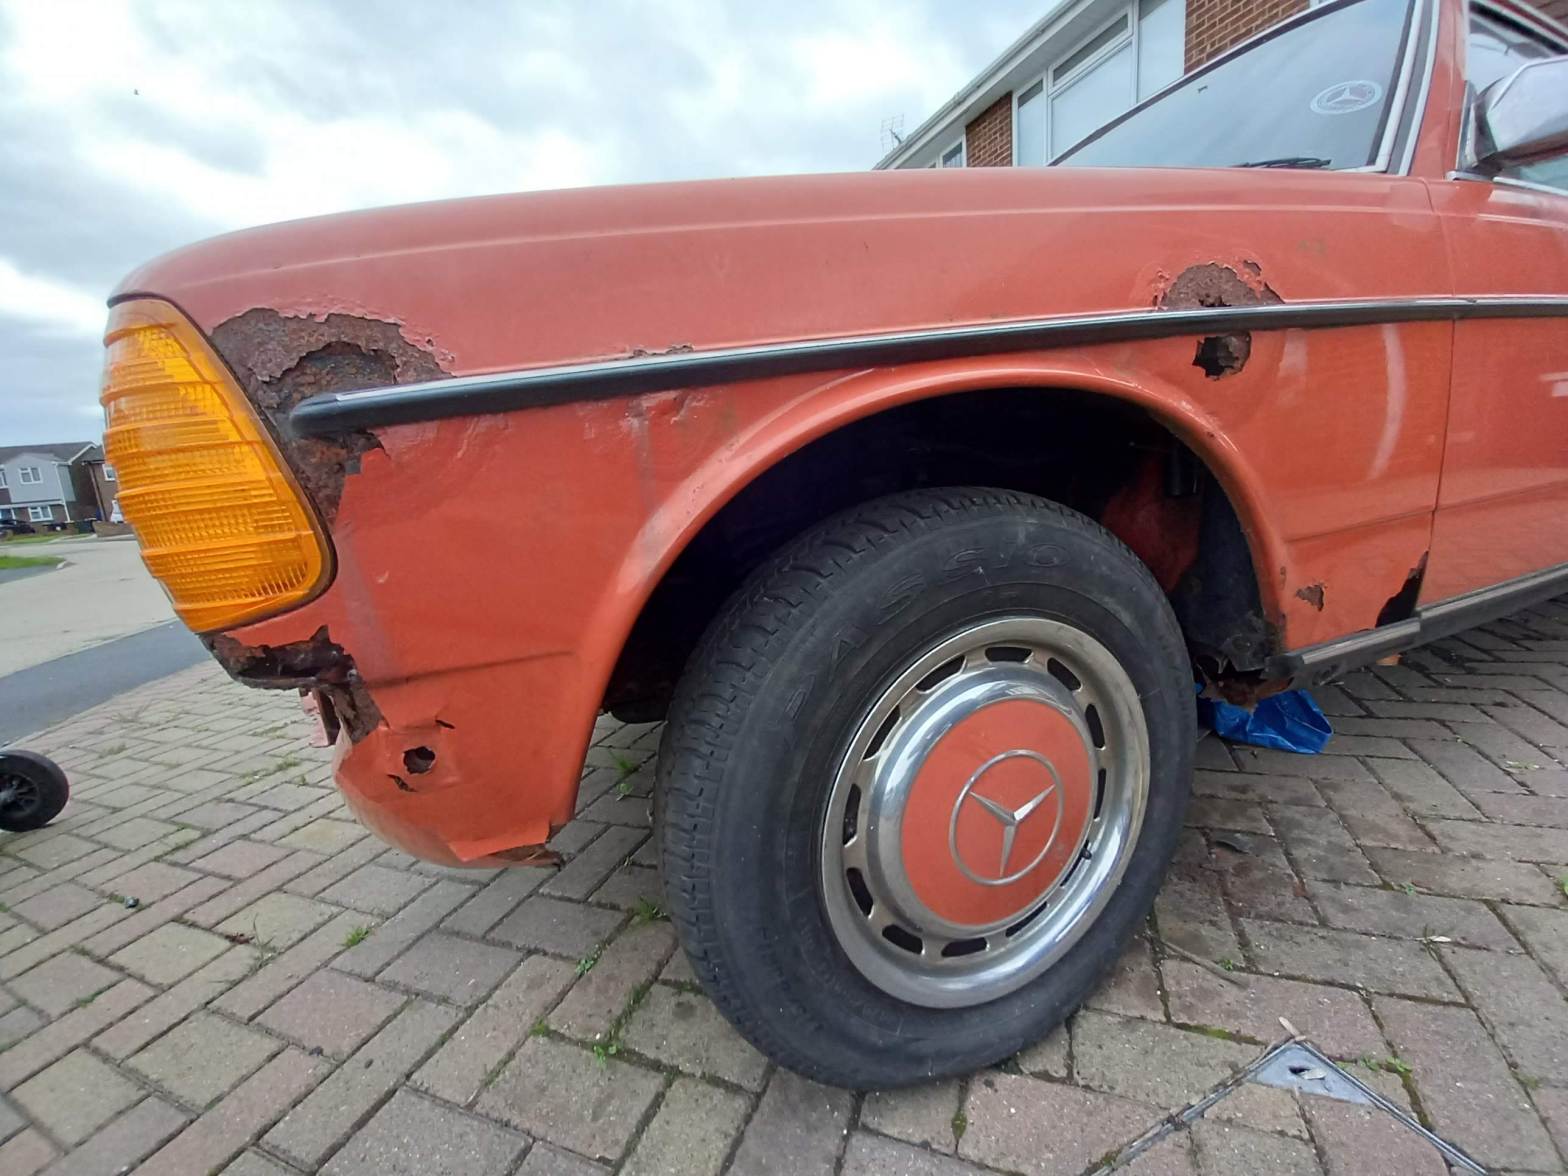
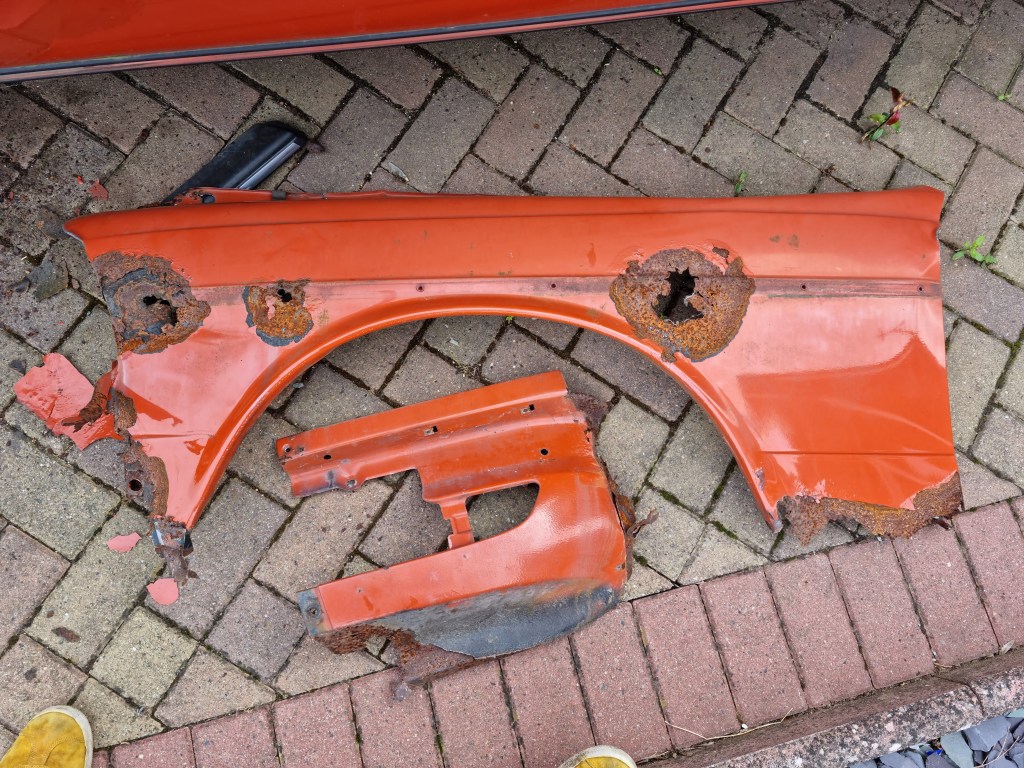
There are more than a few spots of rust on this car that need to be fixed, but by far the worst panel on the whole car is the passenger side front wing with rust holes big enough to get a fist through and mostly held together by the paint.

There are a few options for replacement wings. Mercedes Benz still hold original parts in stock, but one wing for a W123 is £350, ouch!
Pattern parts are available for much less, somewhere around £100 to £150. I did a lot of research into these and it seems that quality can vary greatly. All are made from thinner metal than the original panels and the fit is not as good as a genuine part so the panels require some fettling to fit properly.
The third option is to find and original wing in good condition from a car that is being broken. This is the route I decided to go down, but they are hardly in plentiful supply. It took me year of searching for a wing in good condition at a reasonable price.
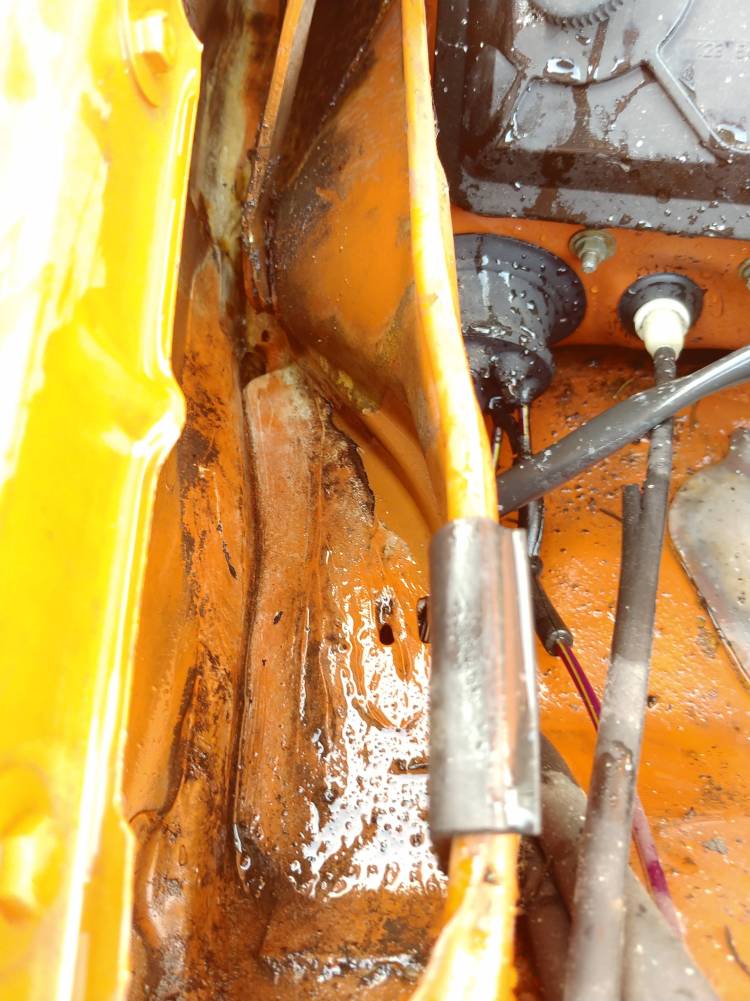
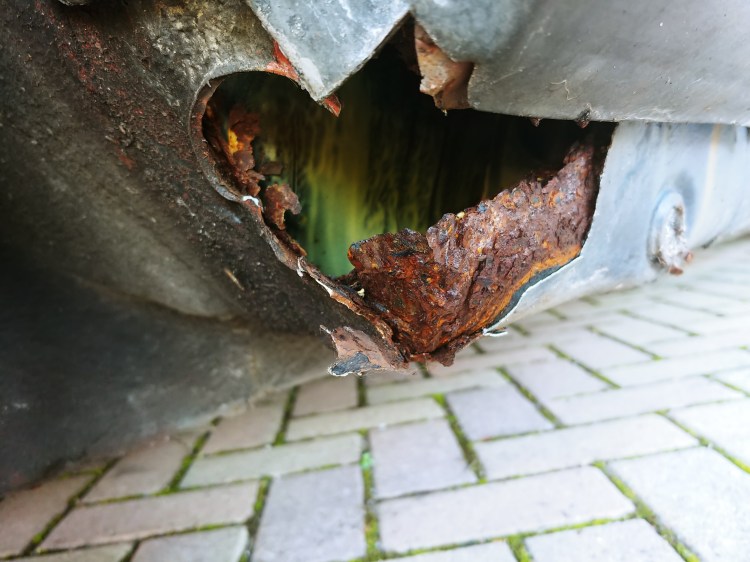
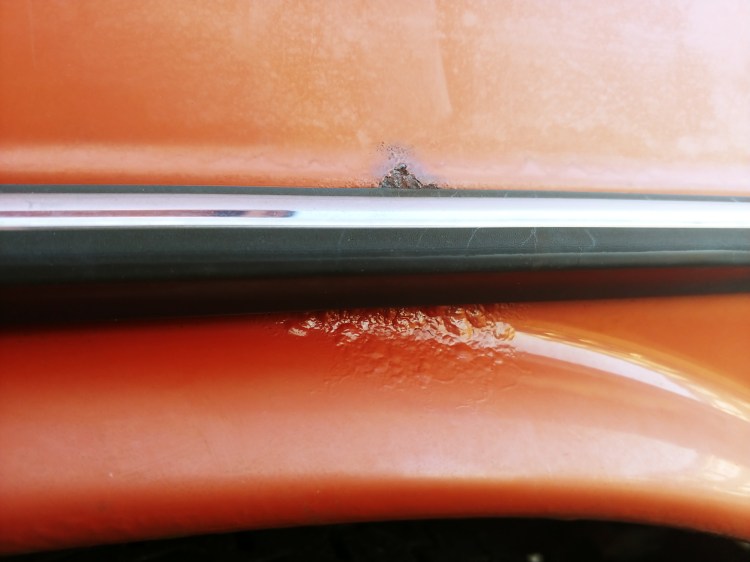
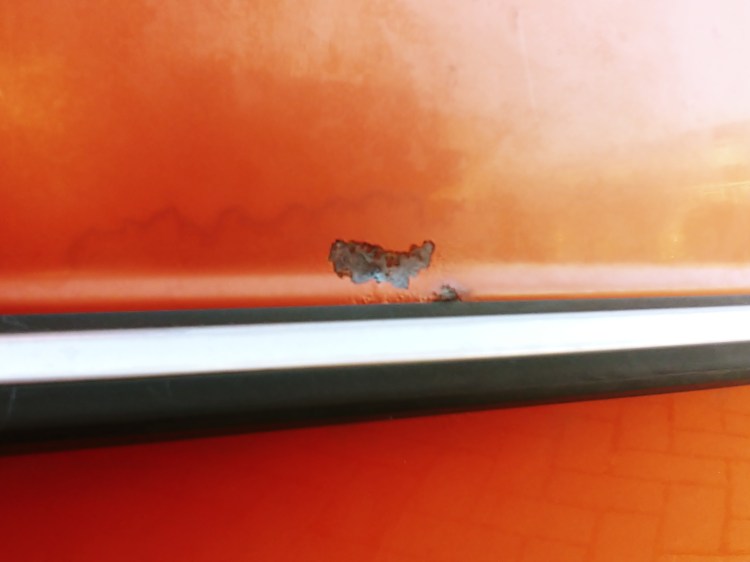
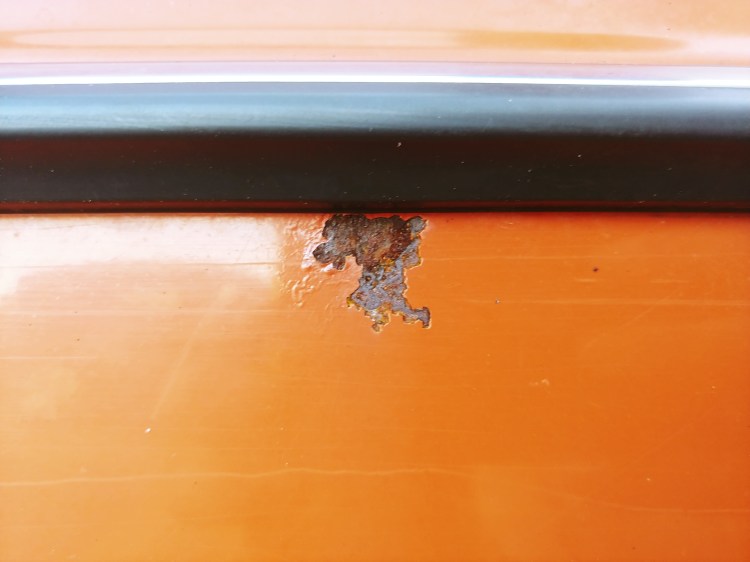
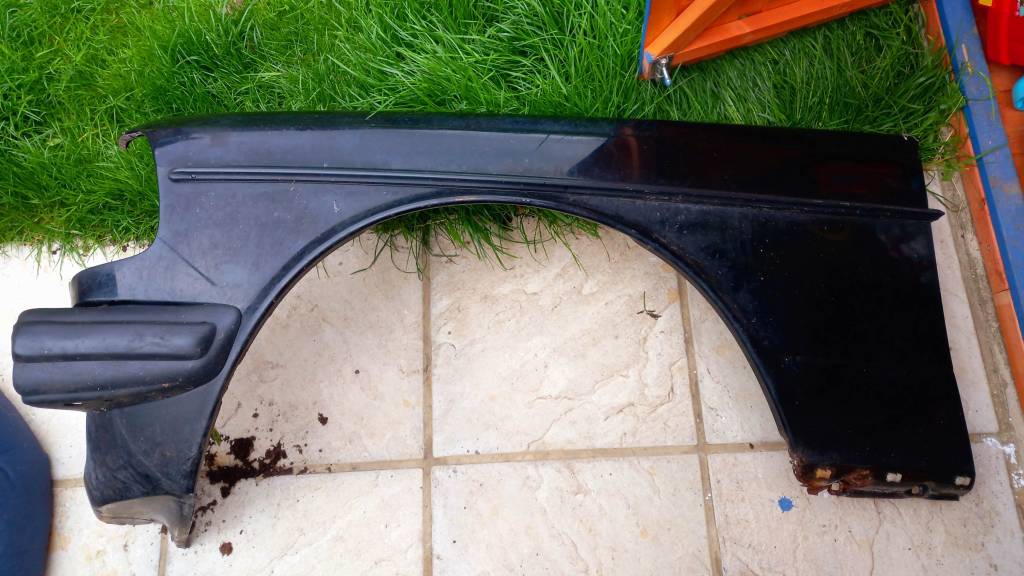
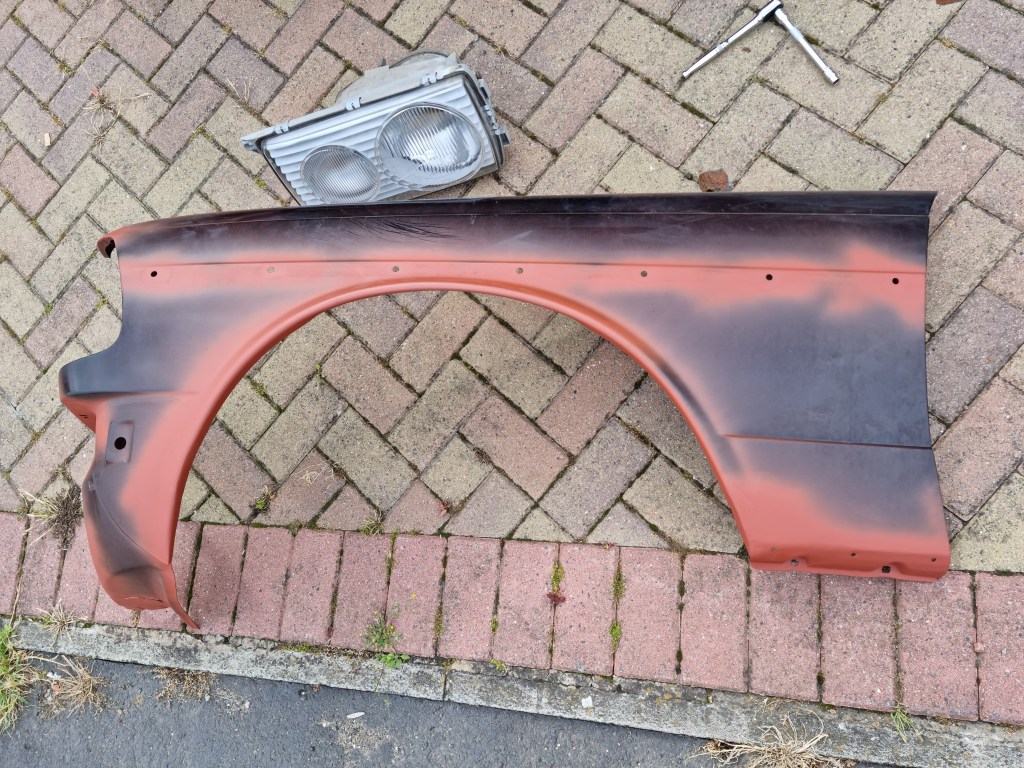
This is the wing I eventually found, it was in pretty good condition but still had some minor rust spots, most of which looked like it would just be surface rust which could be ground back.
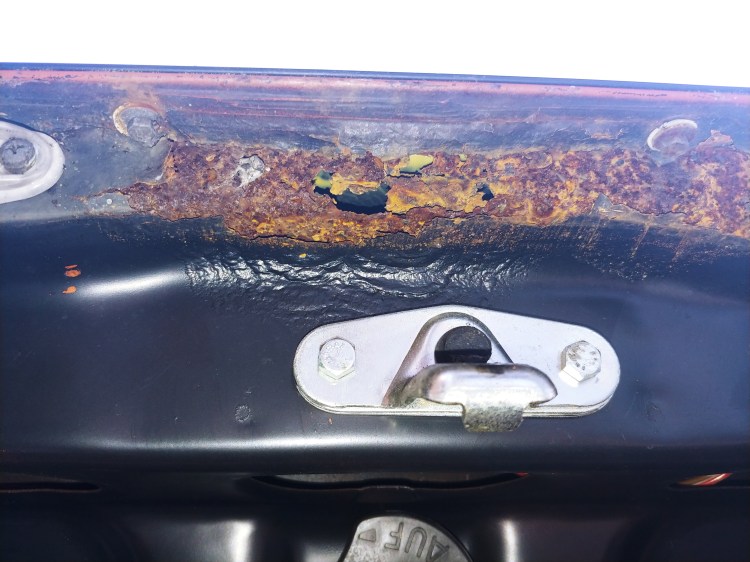
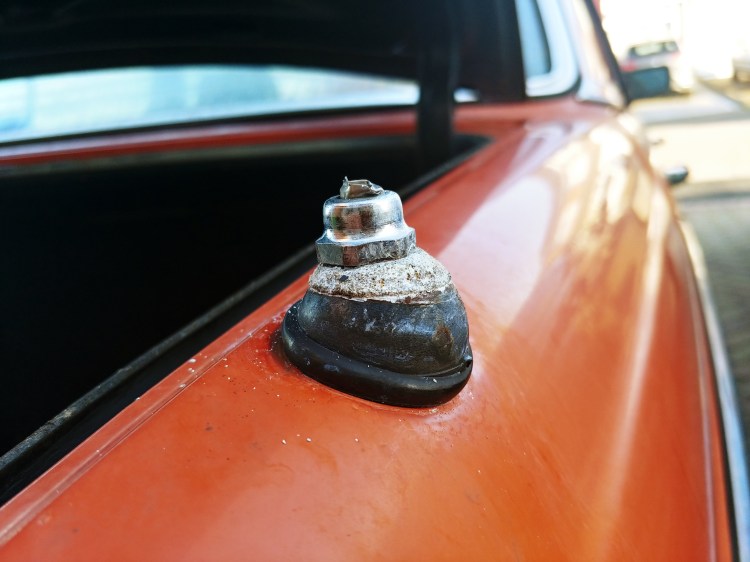
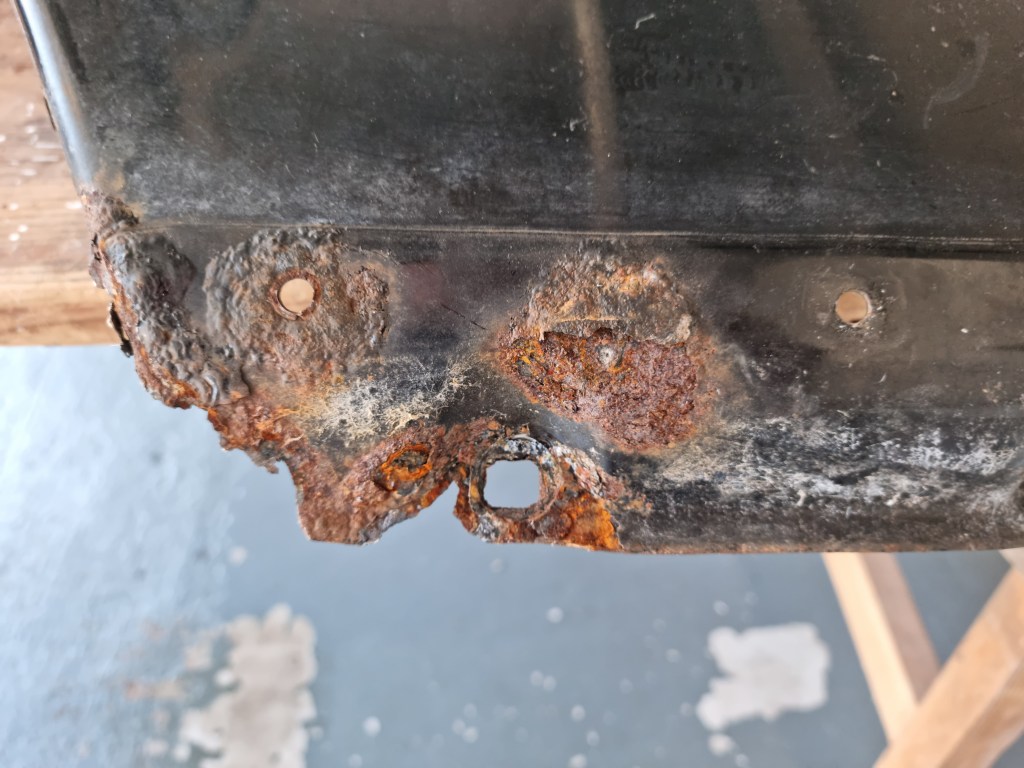
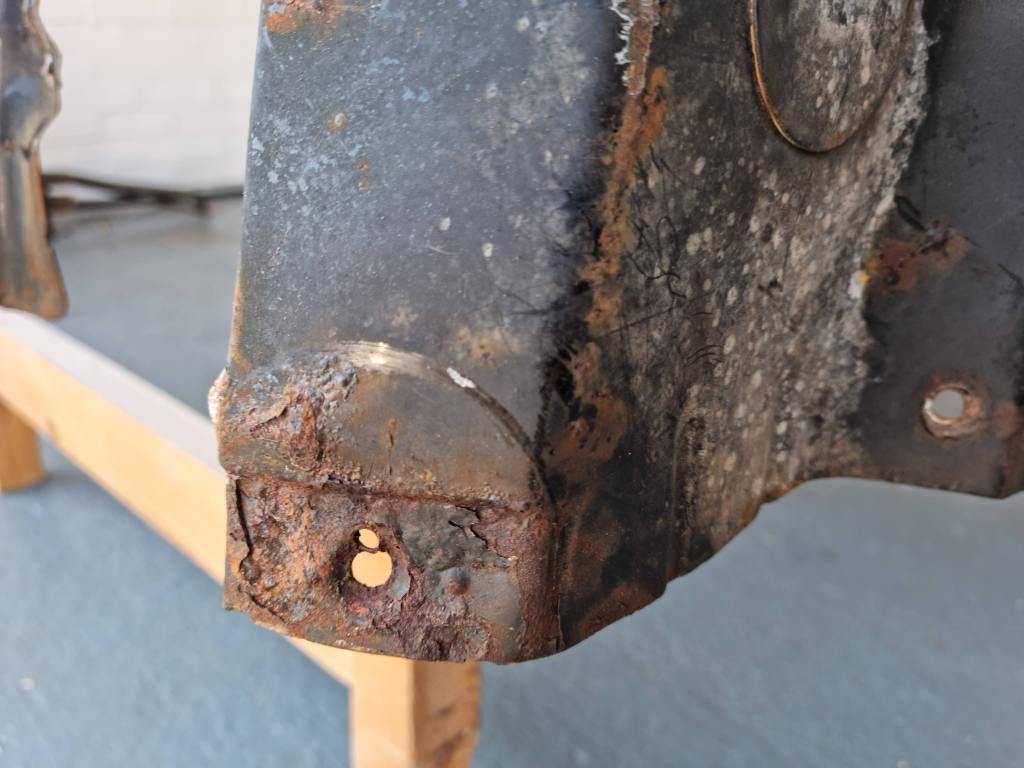
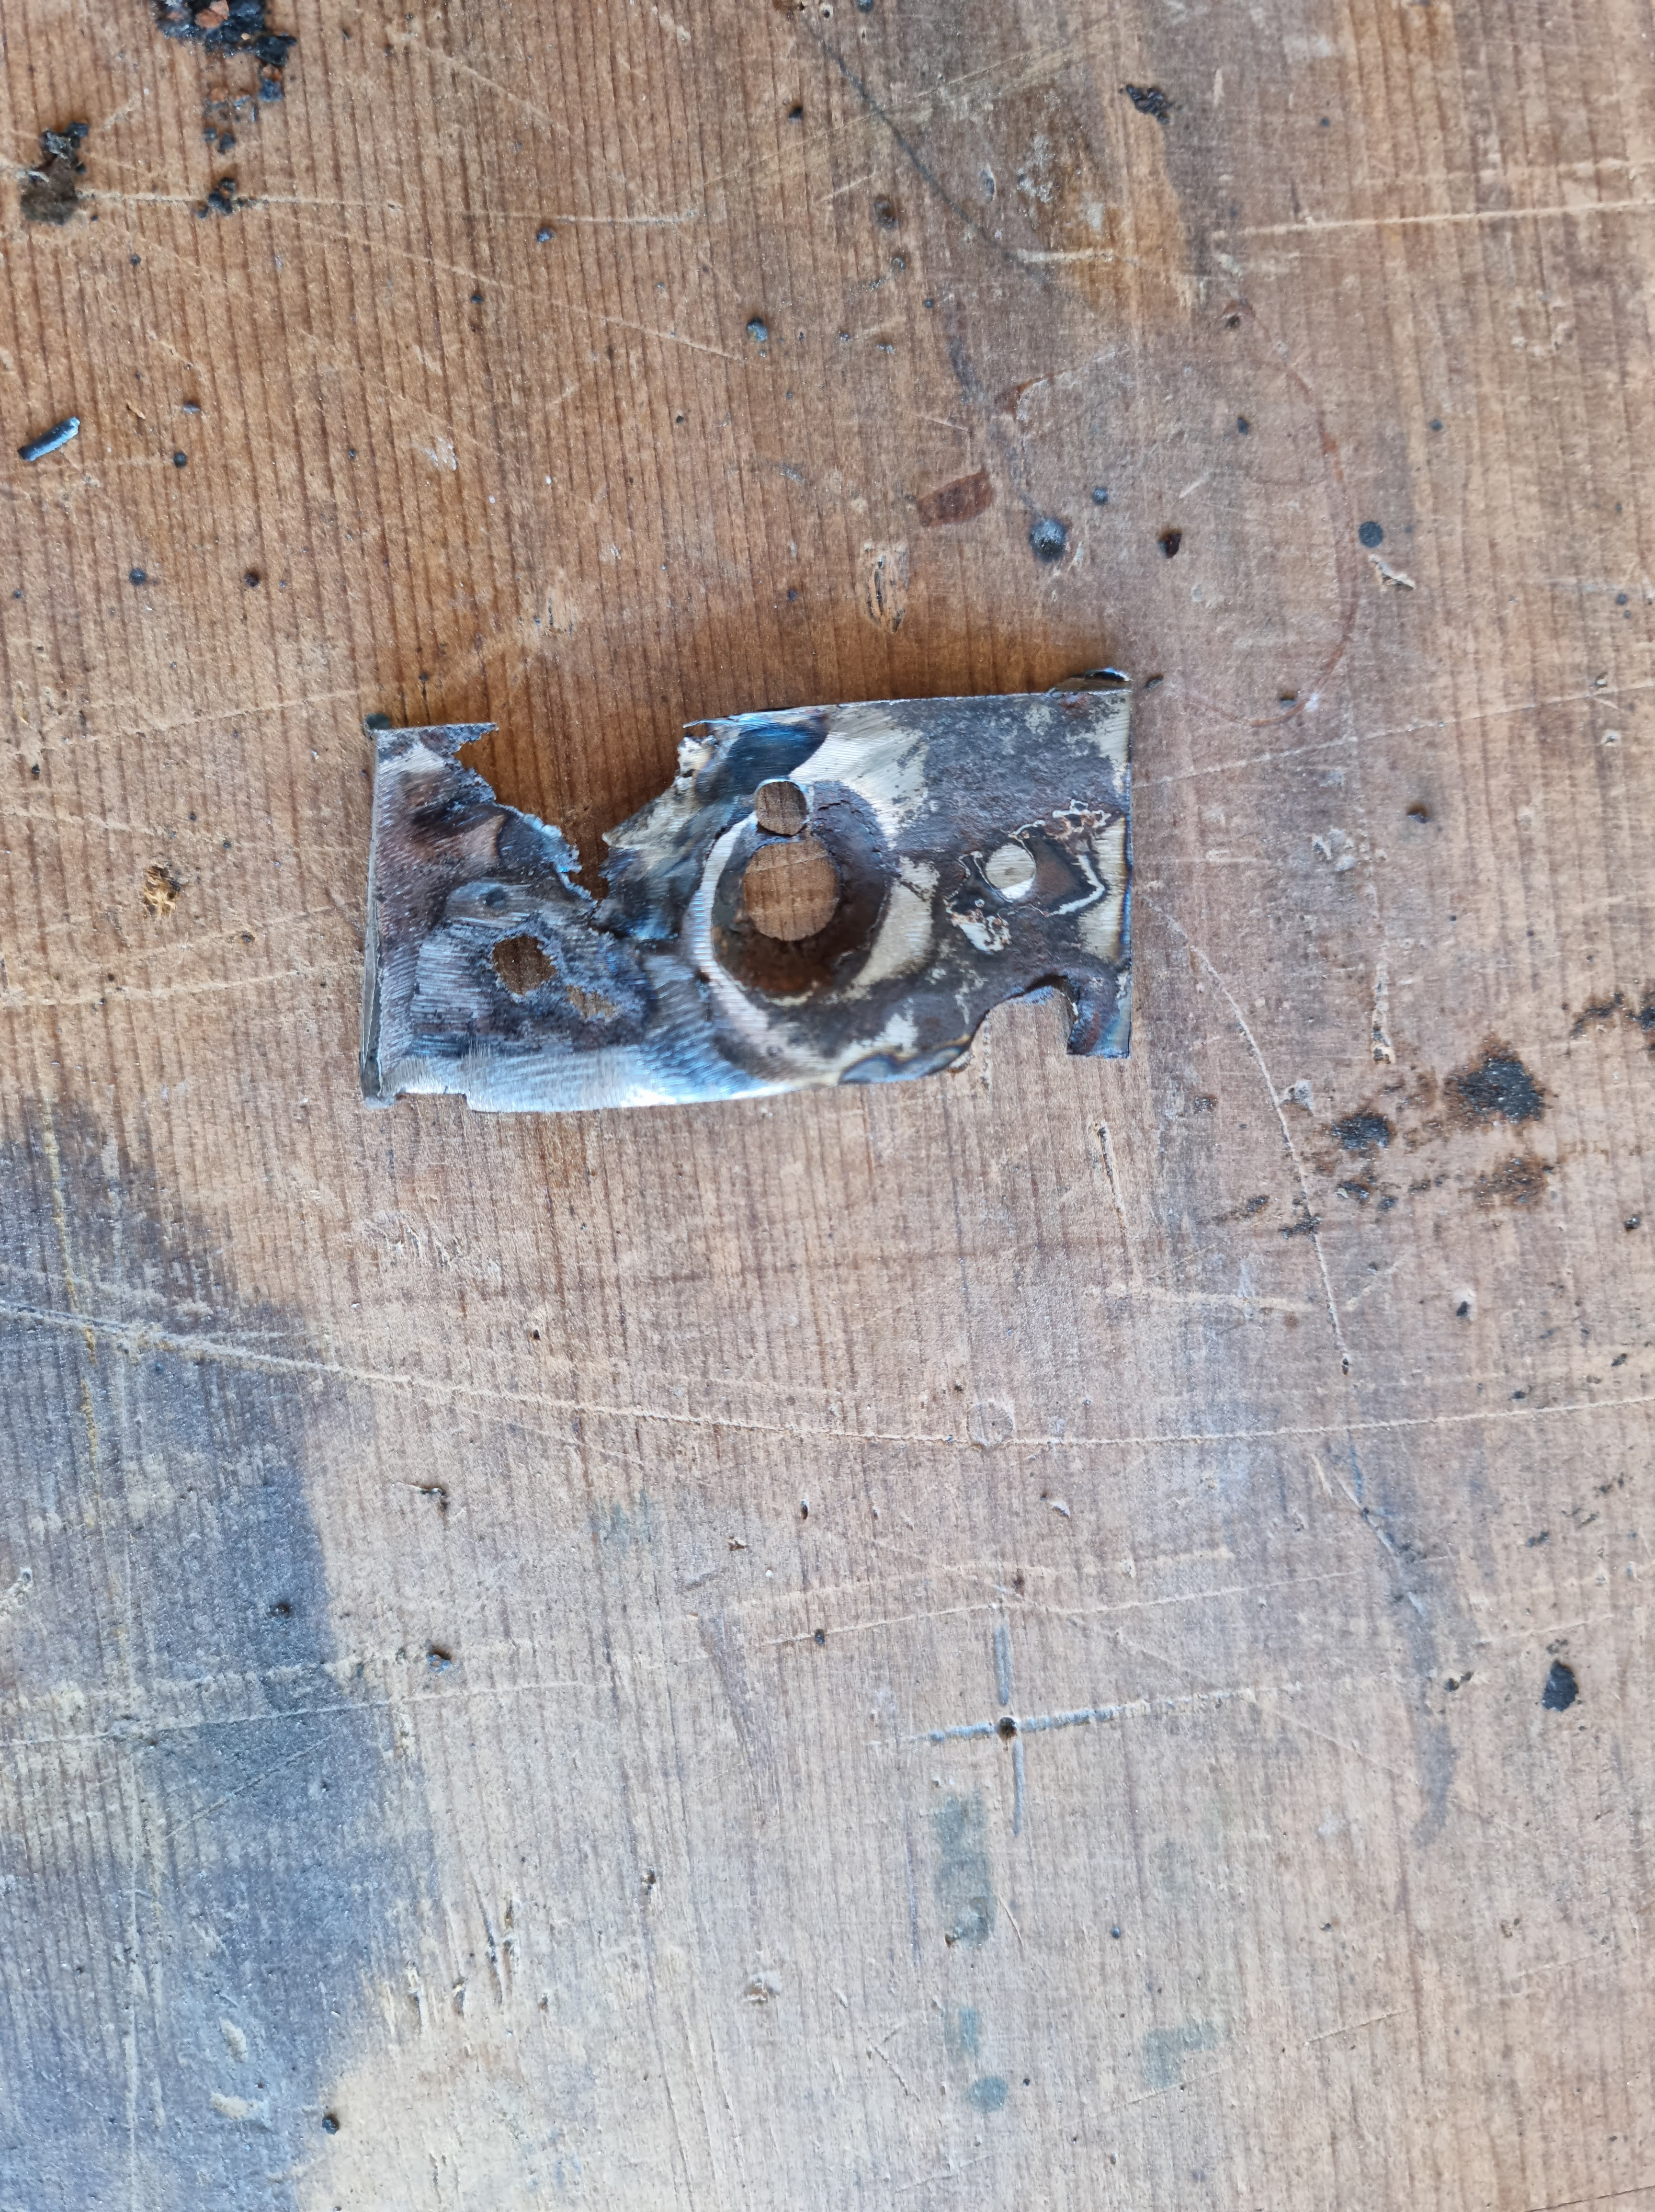
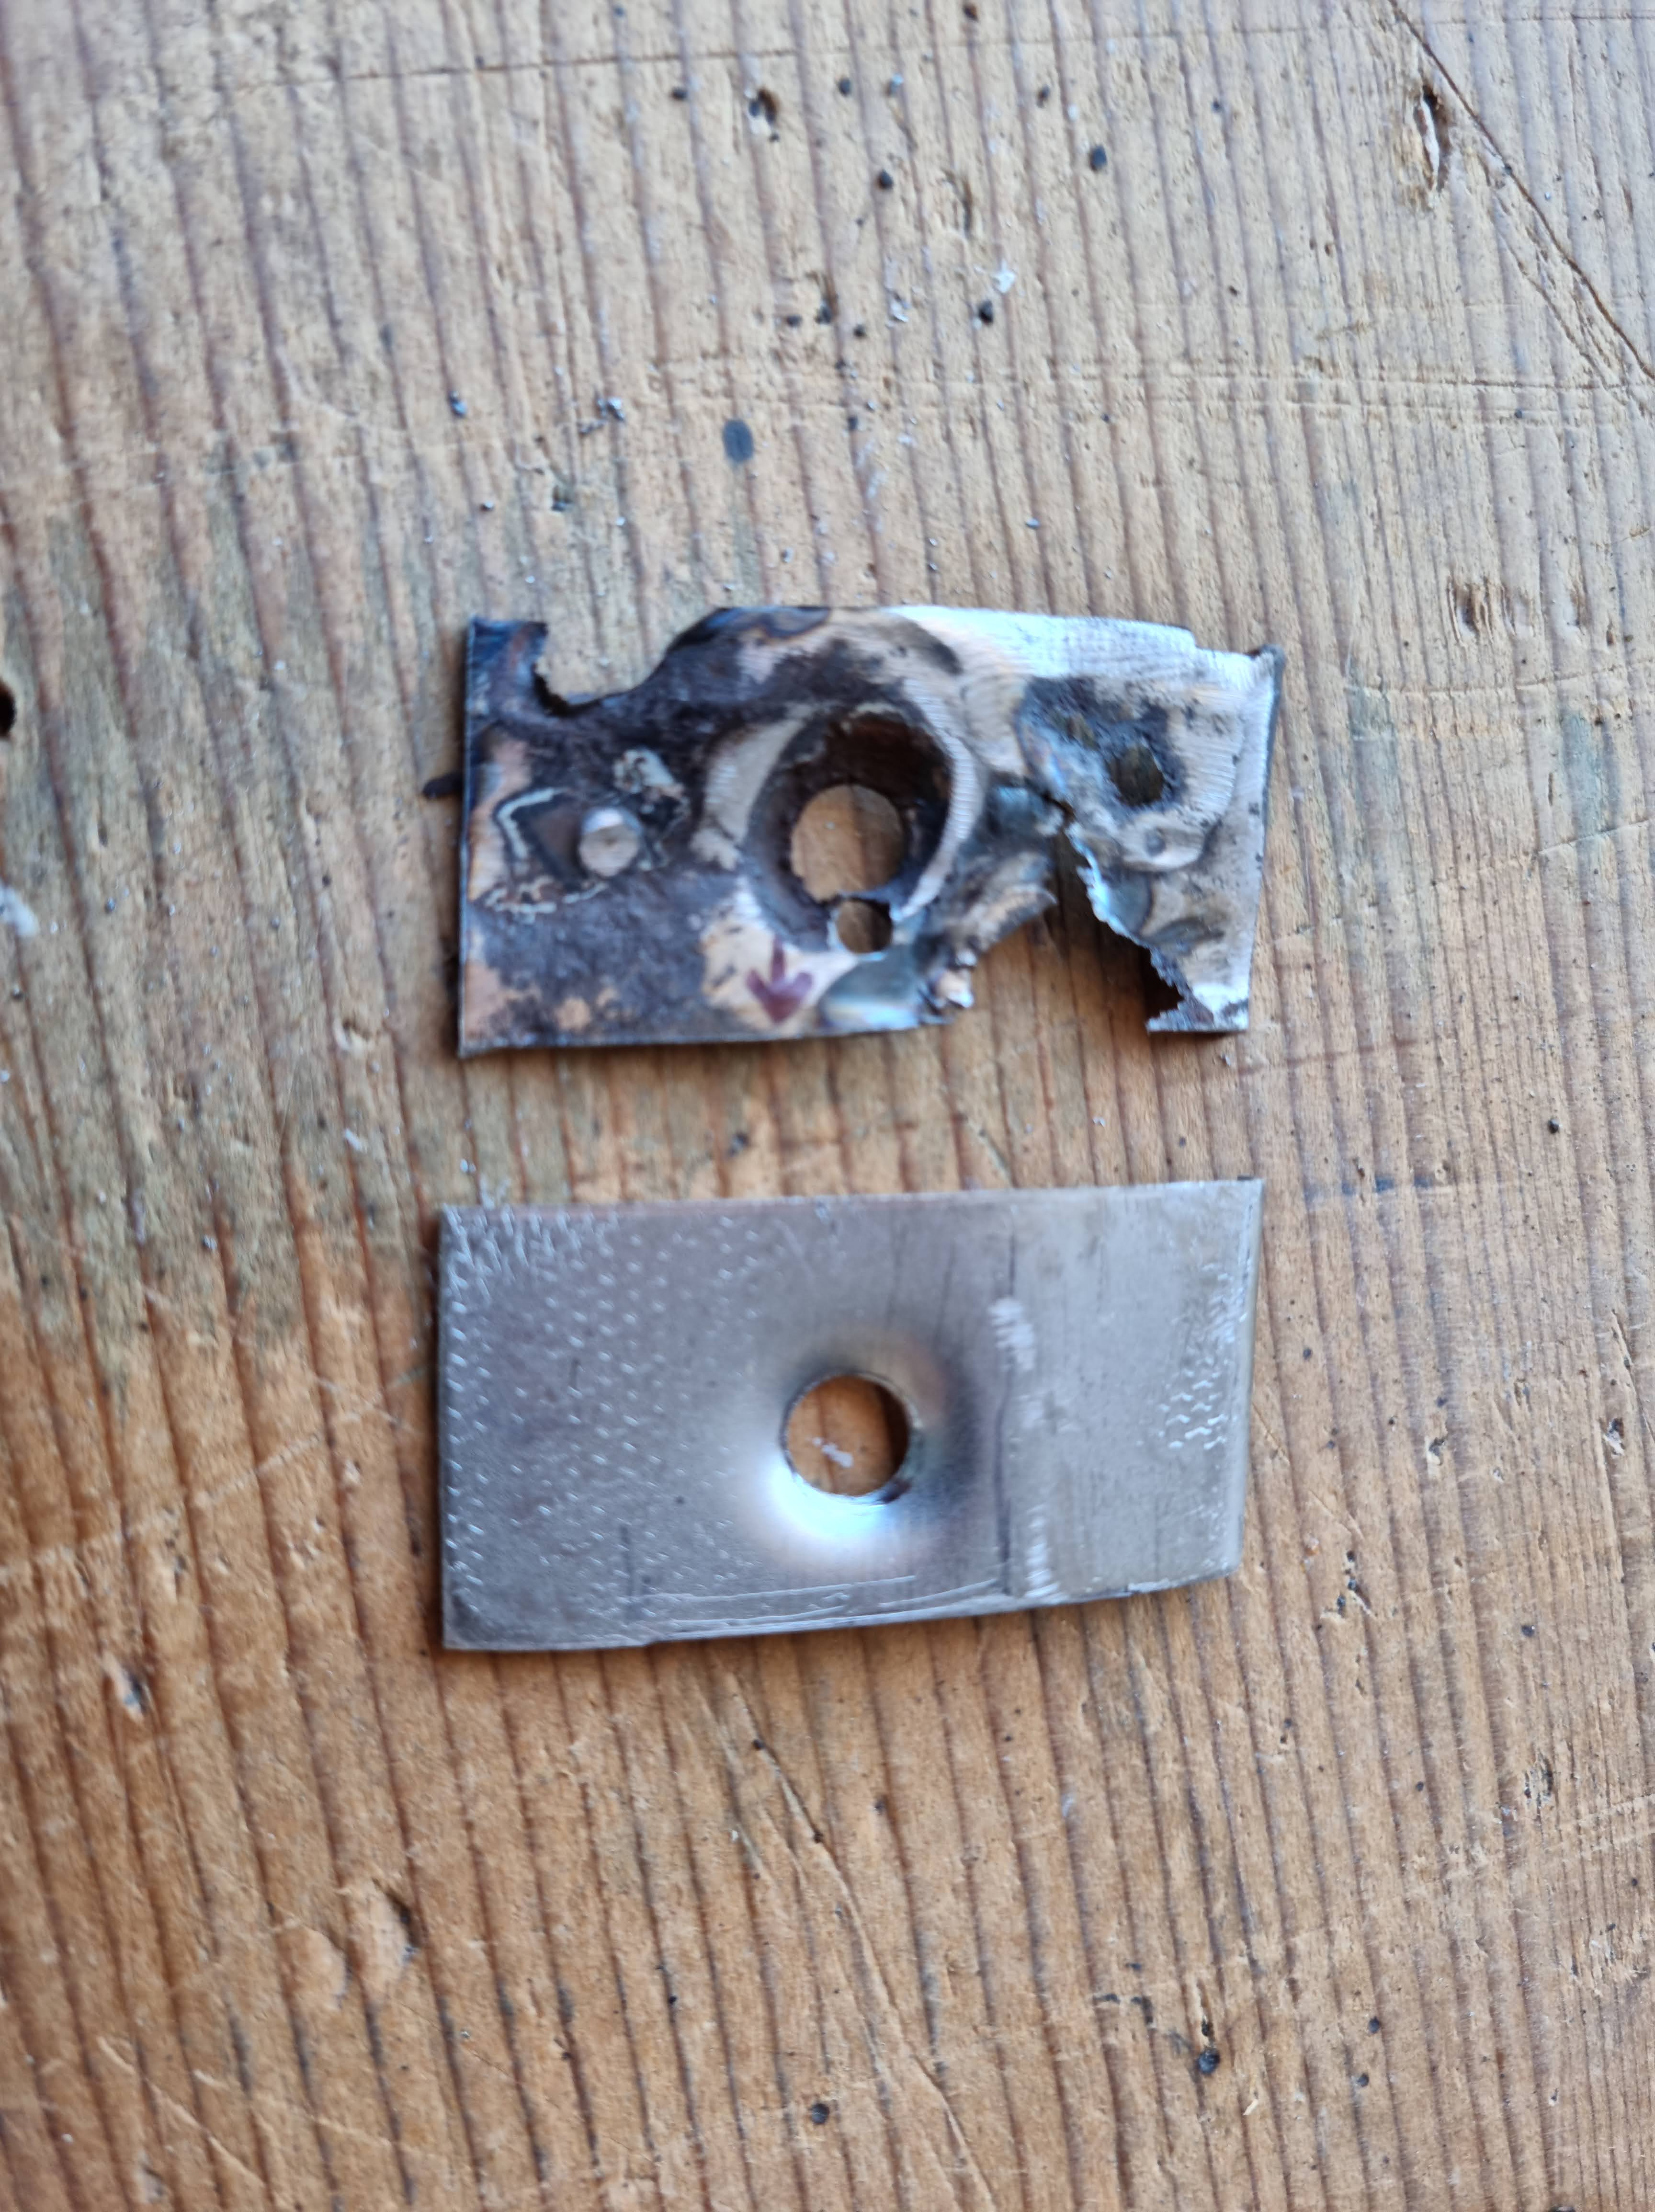
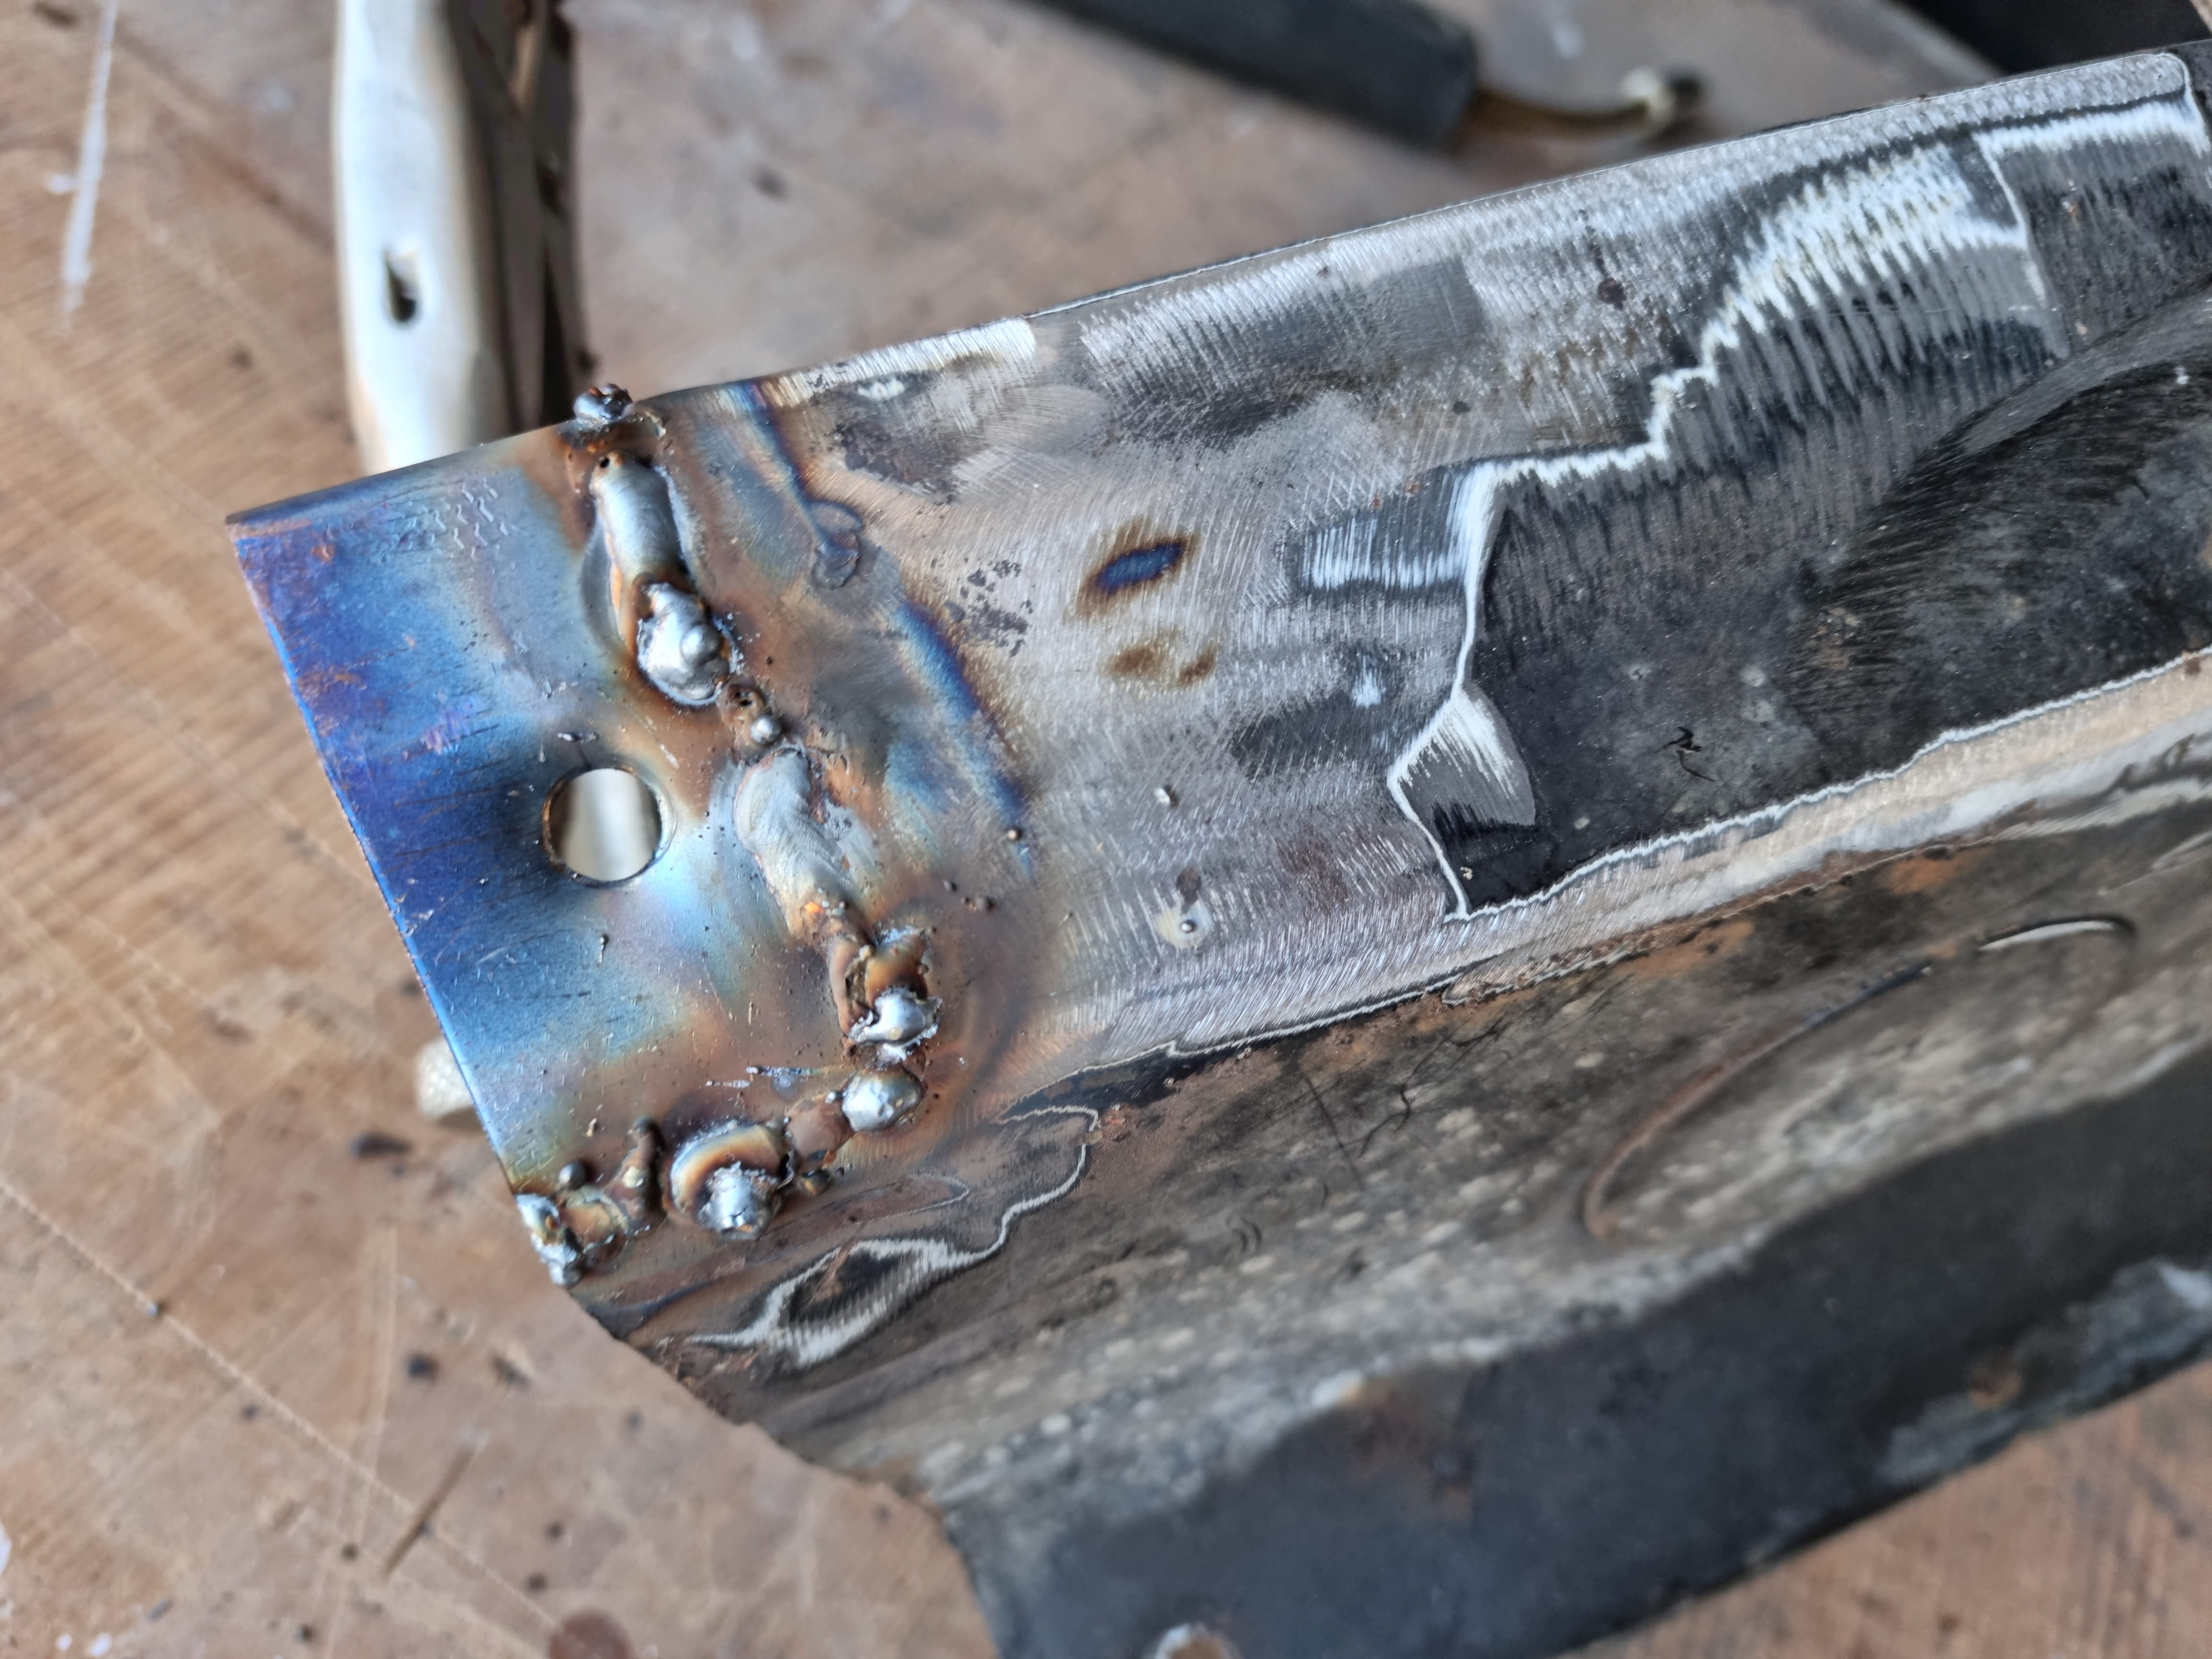
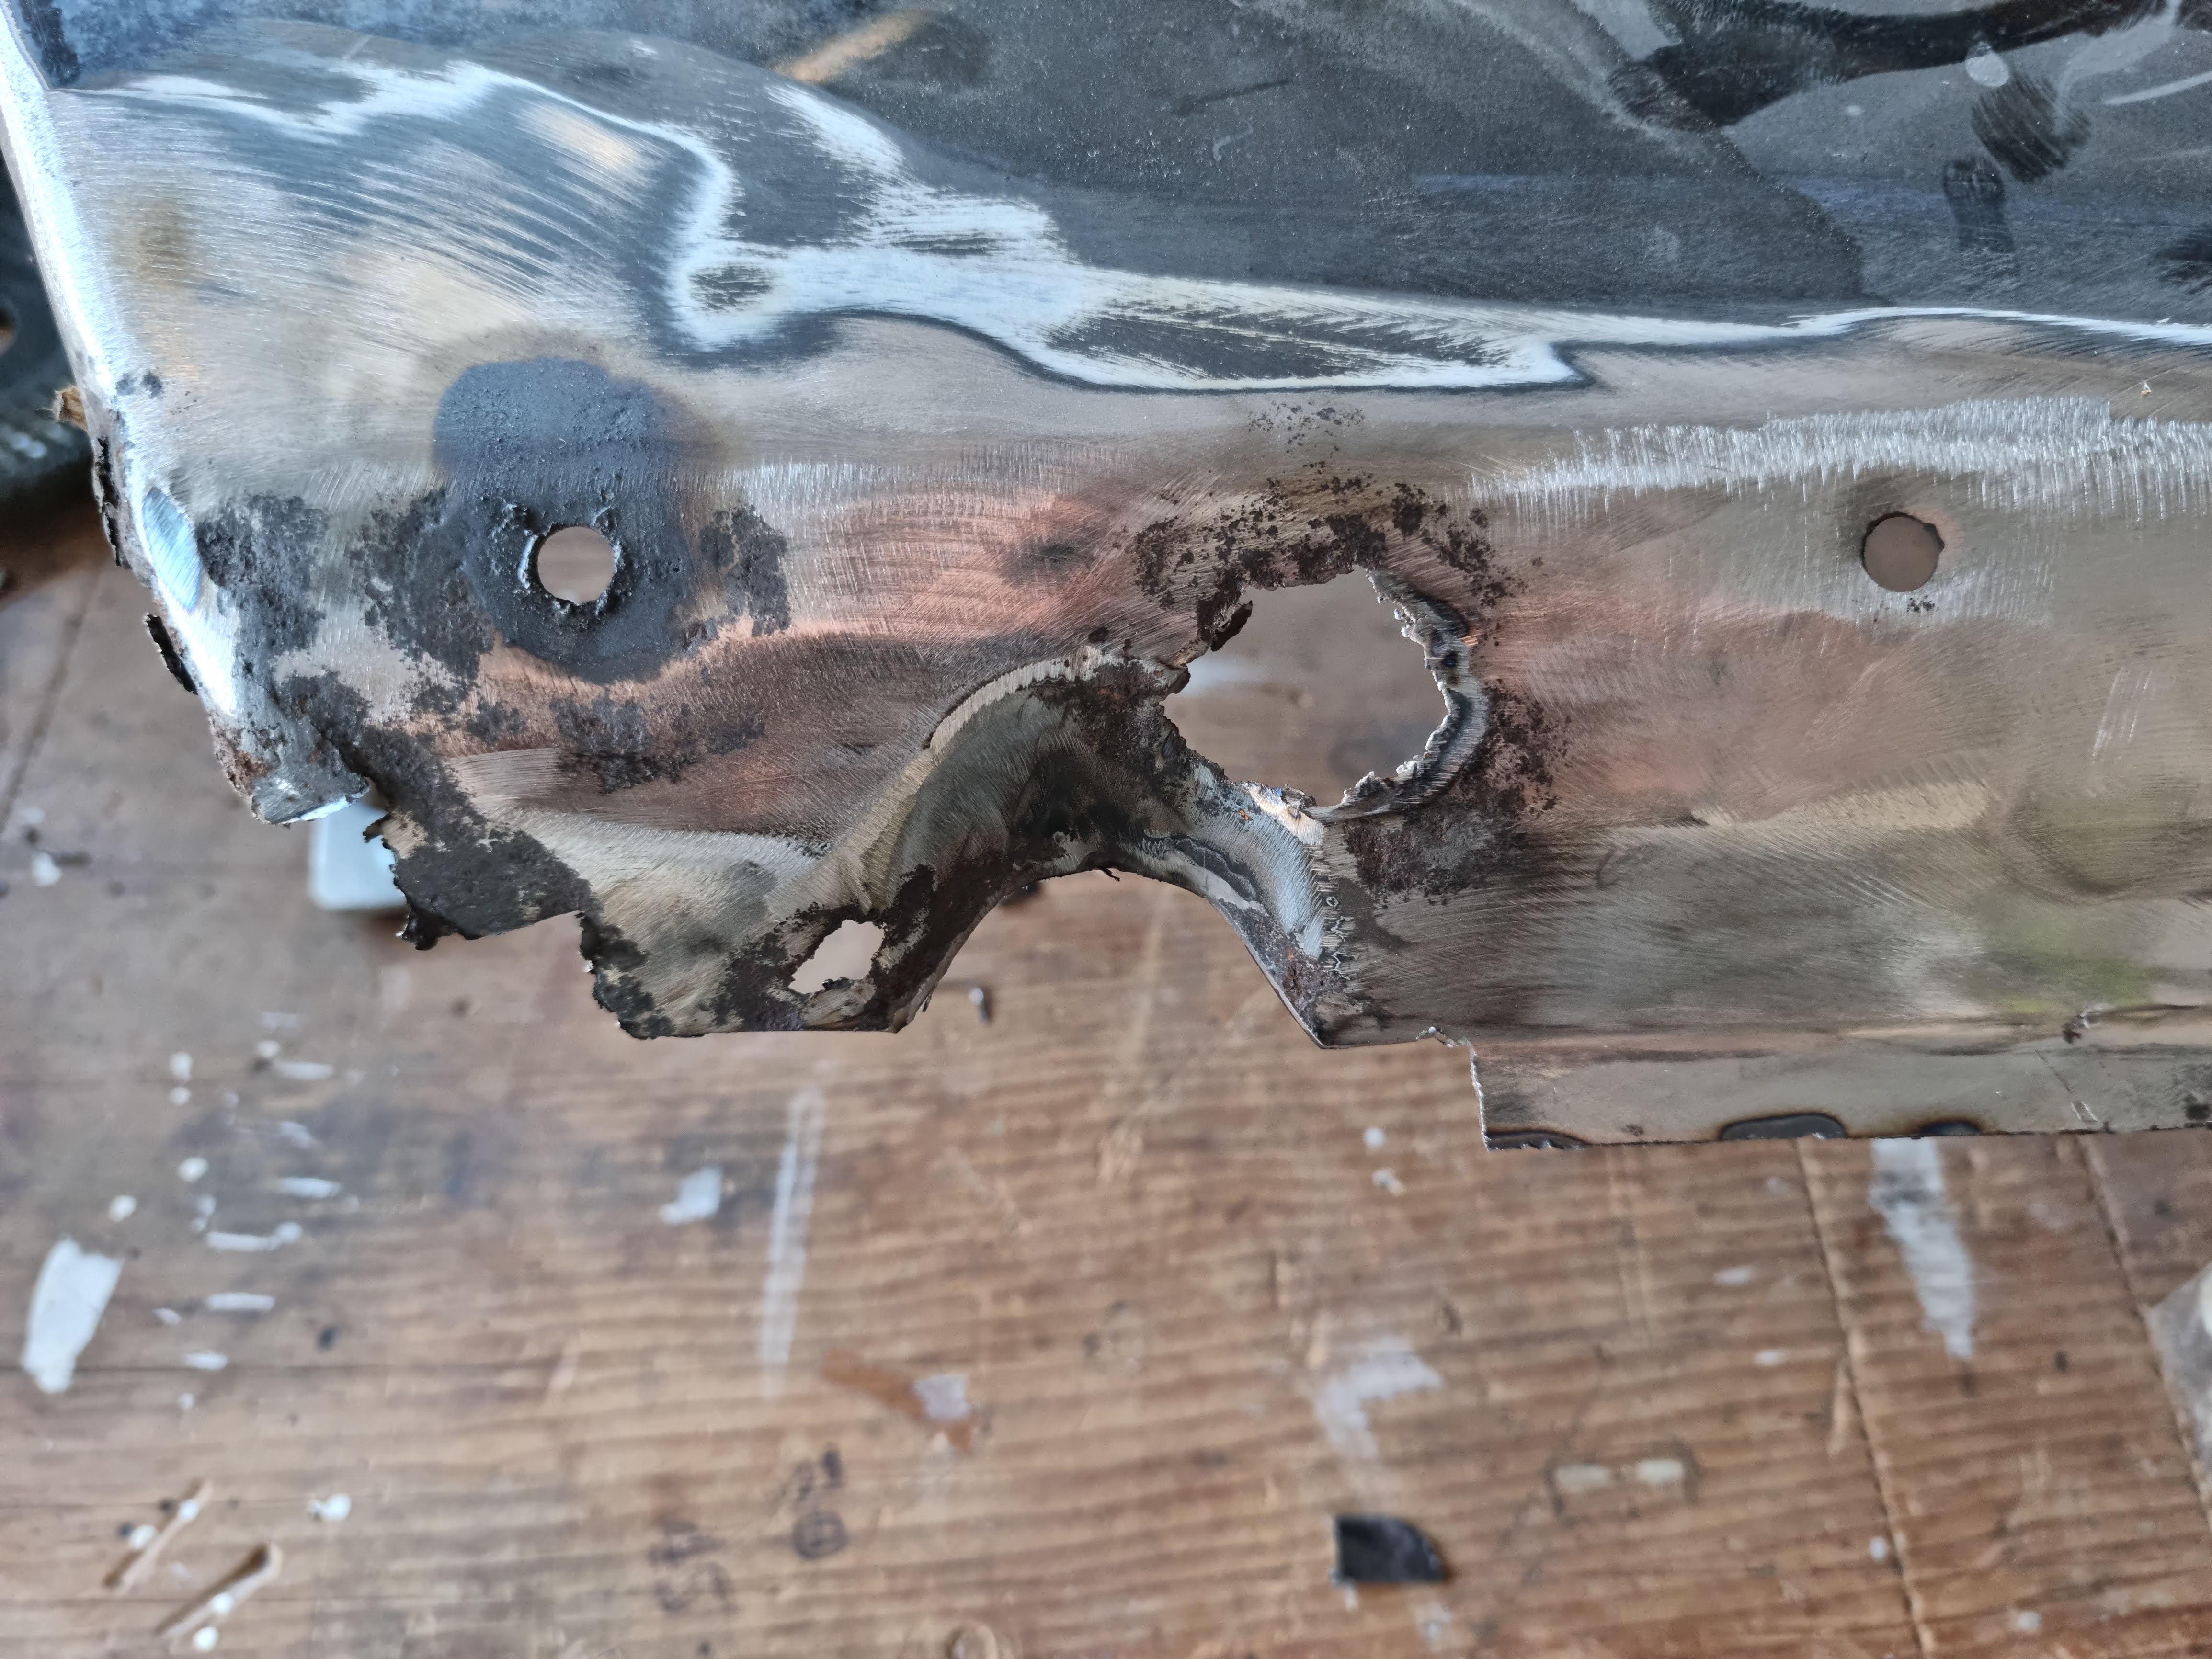
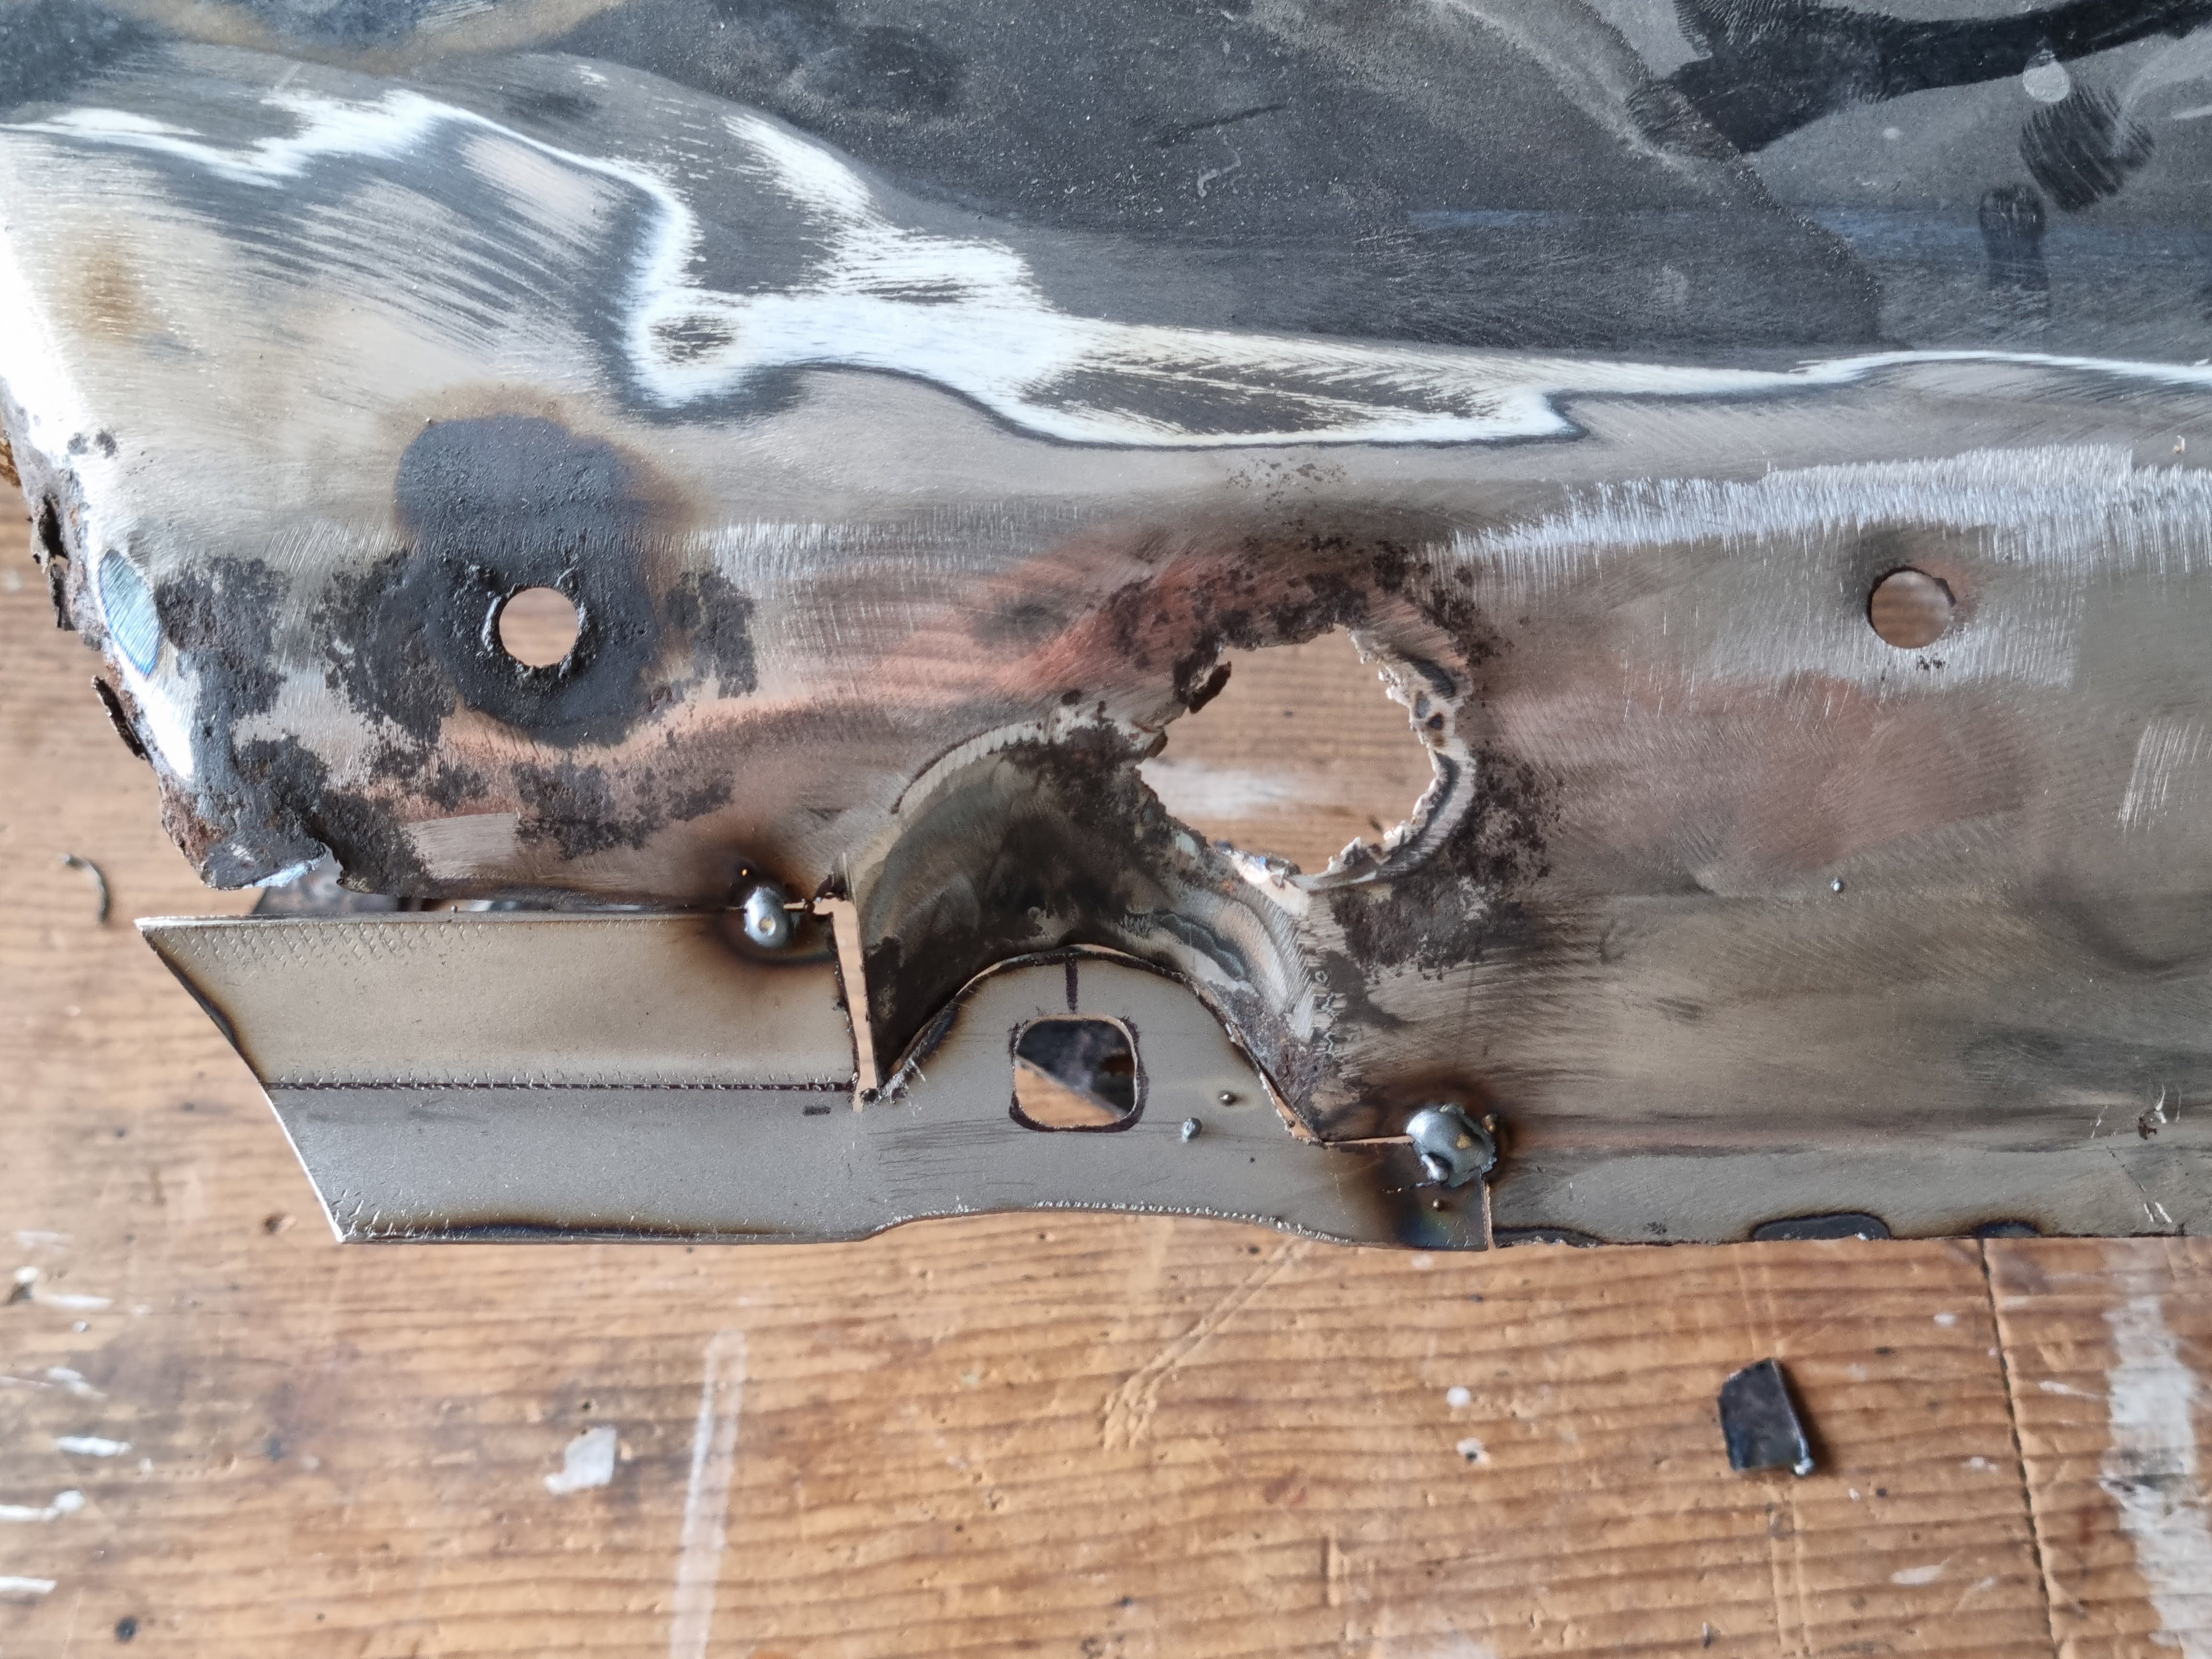
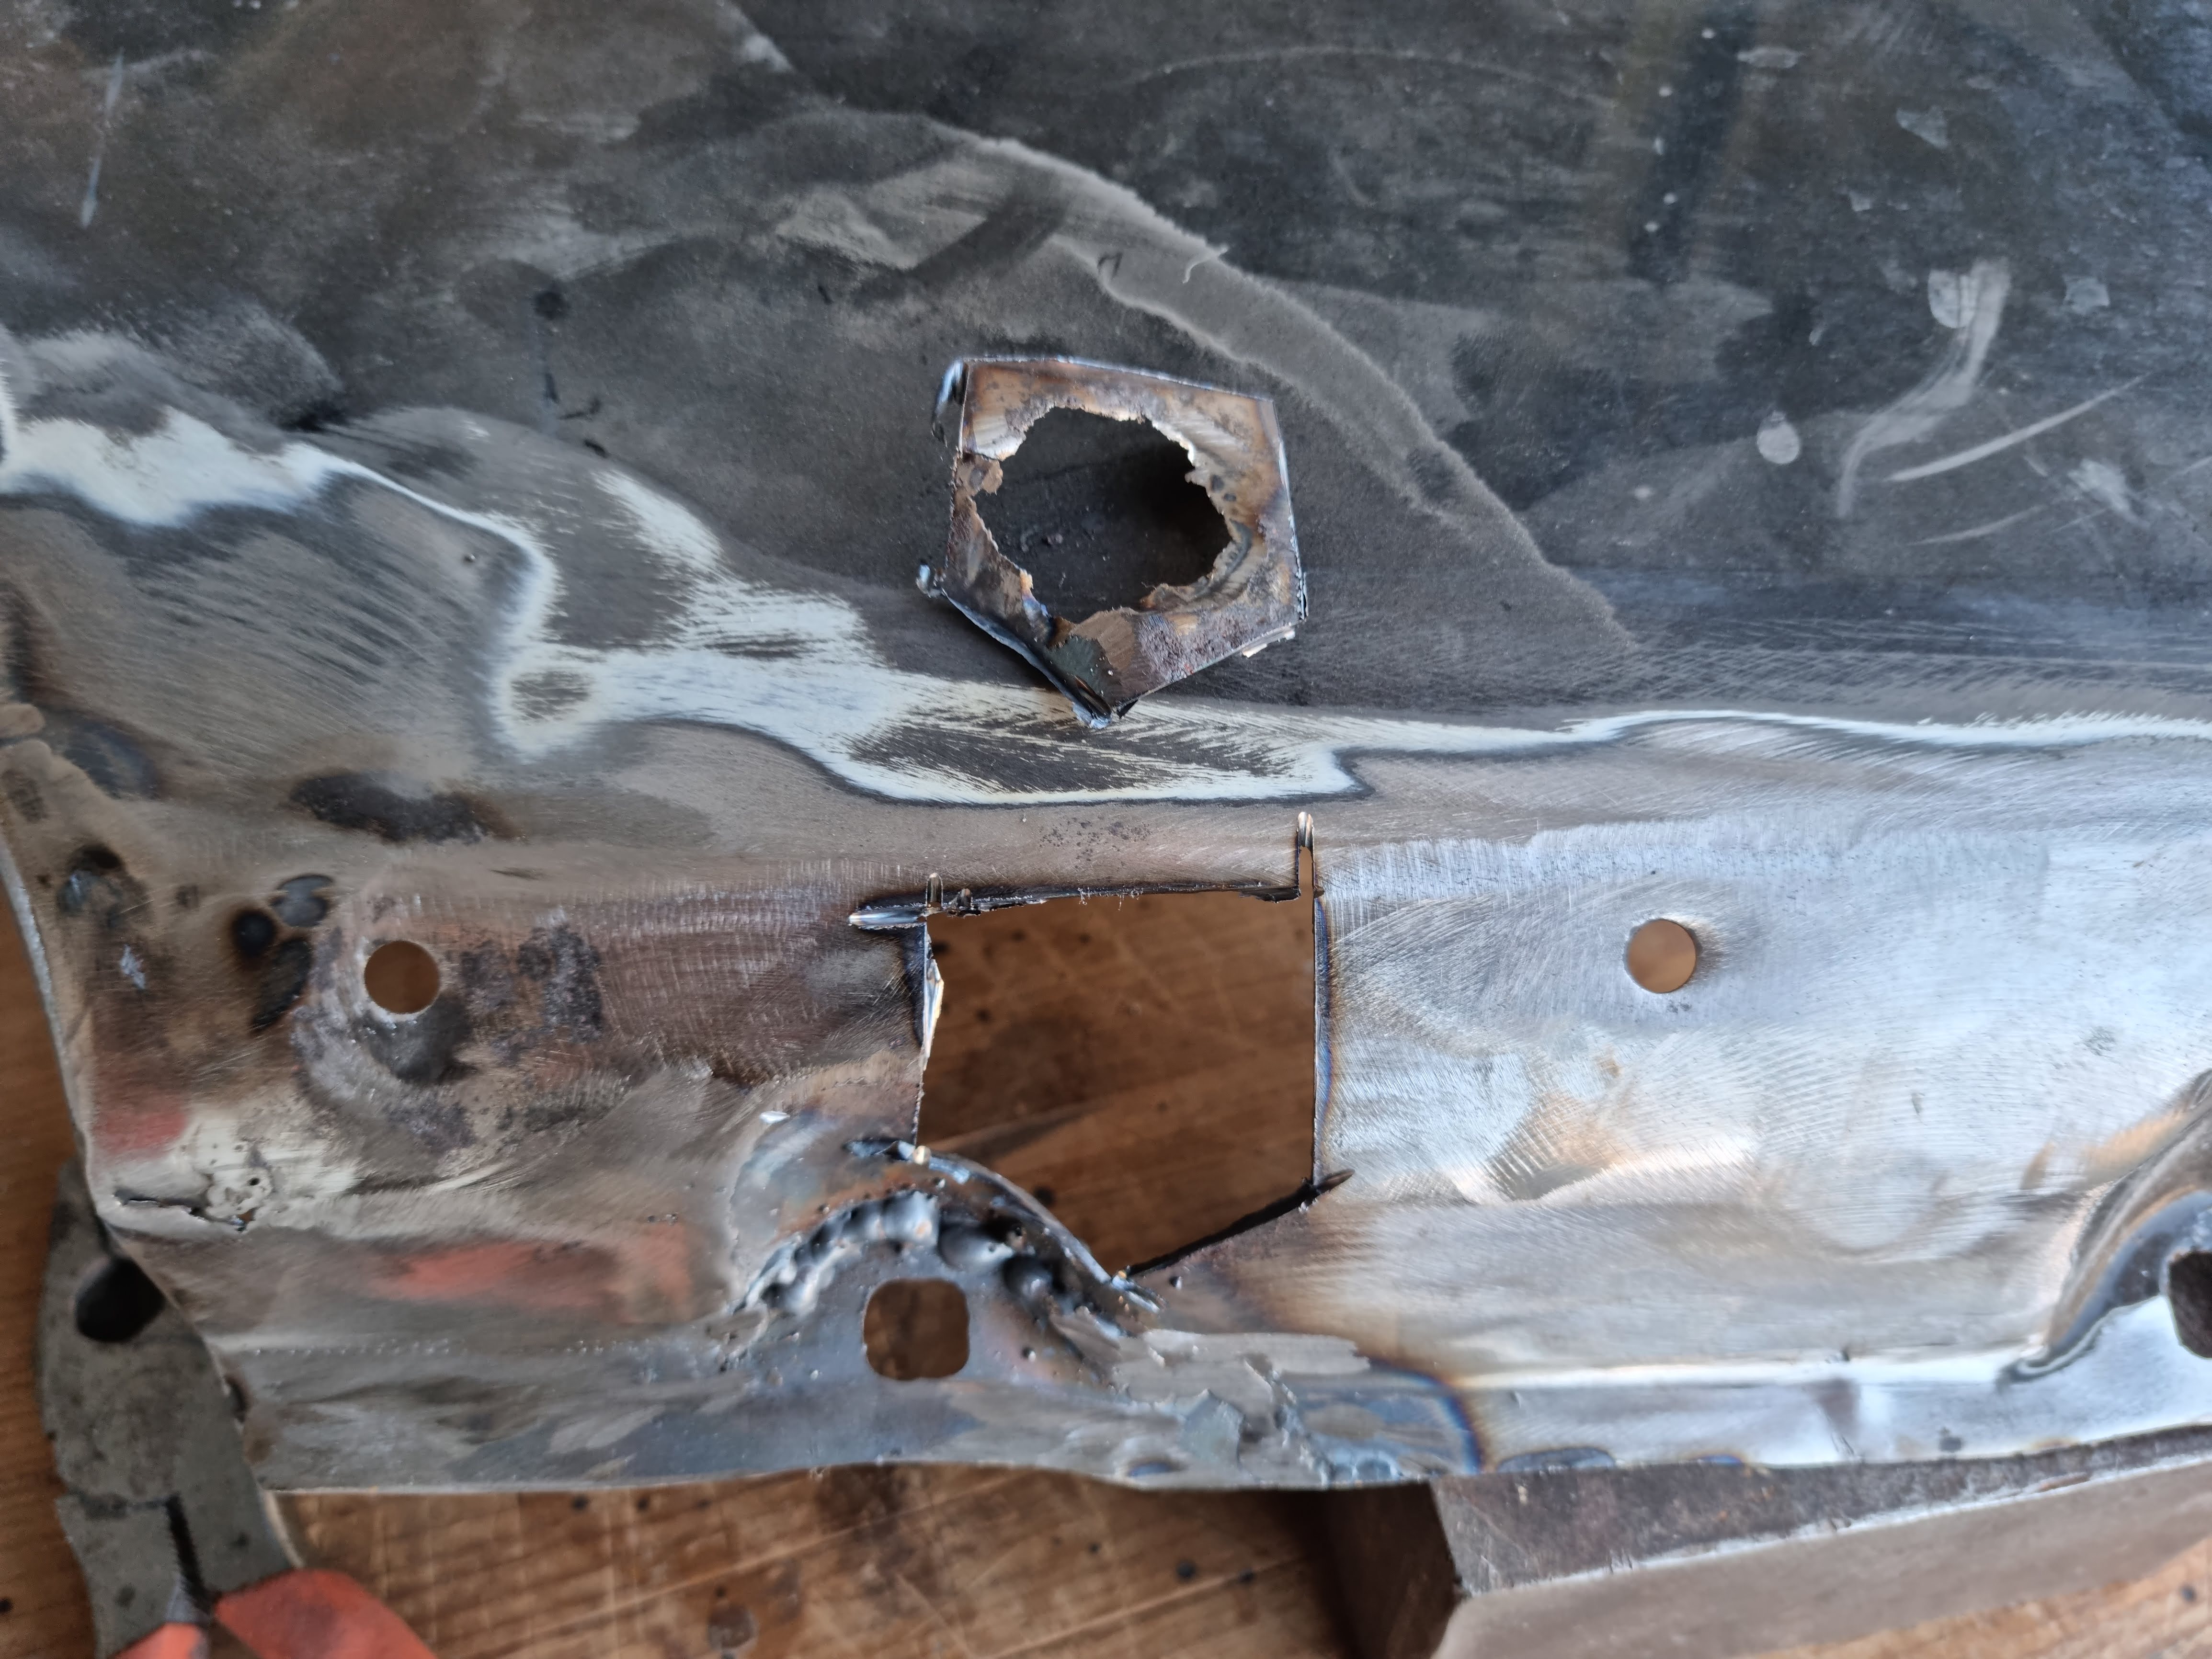
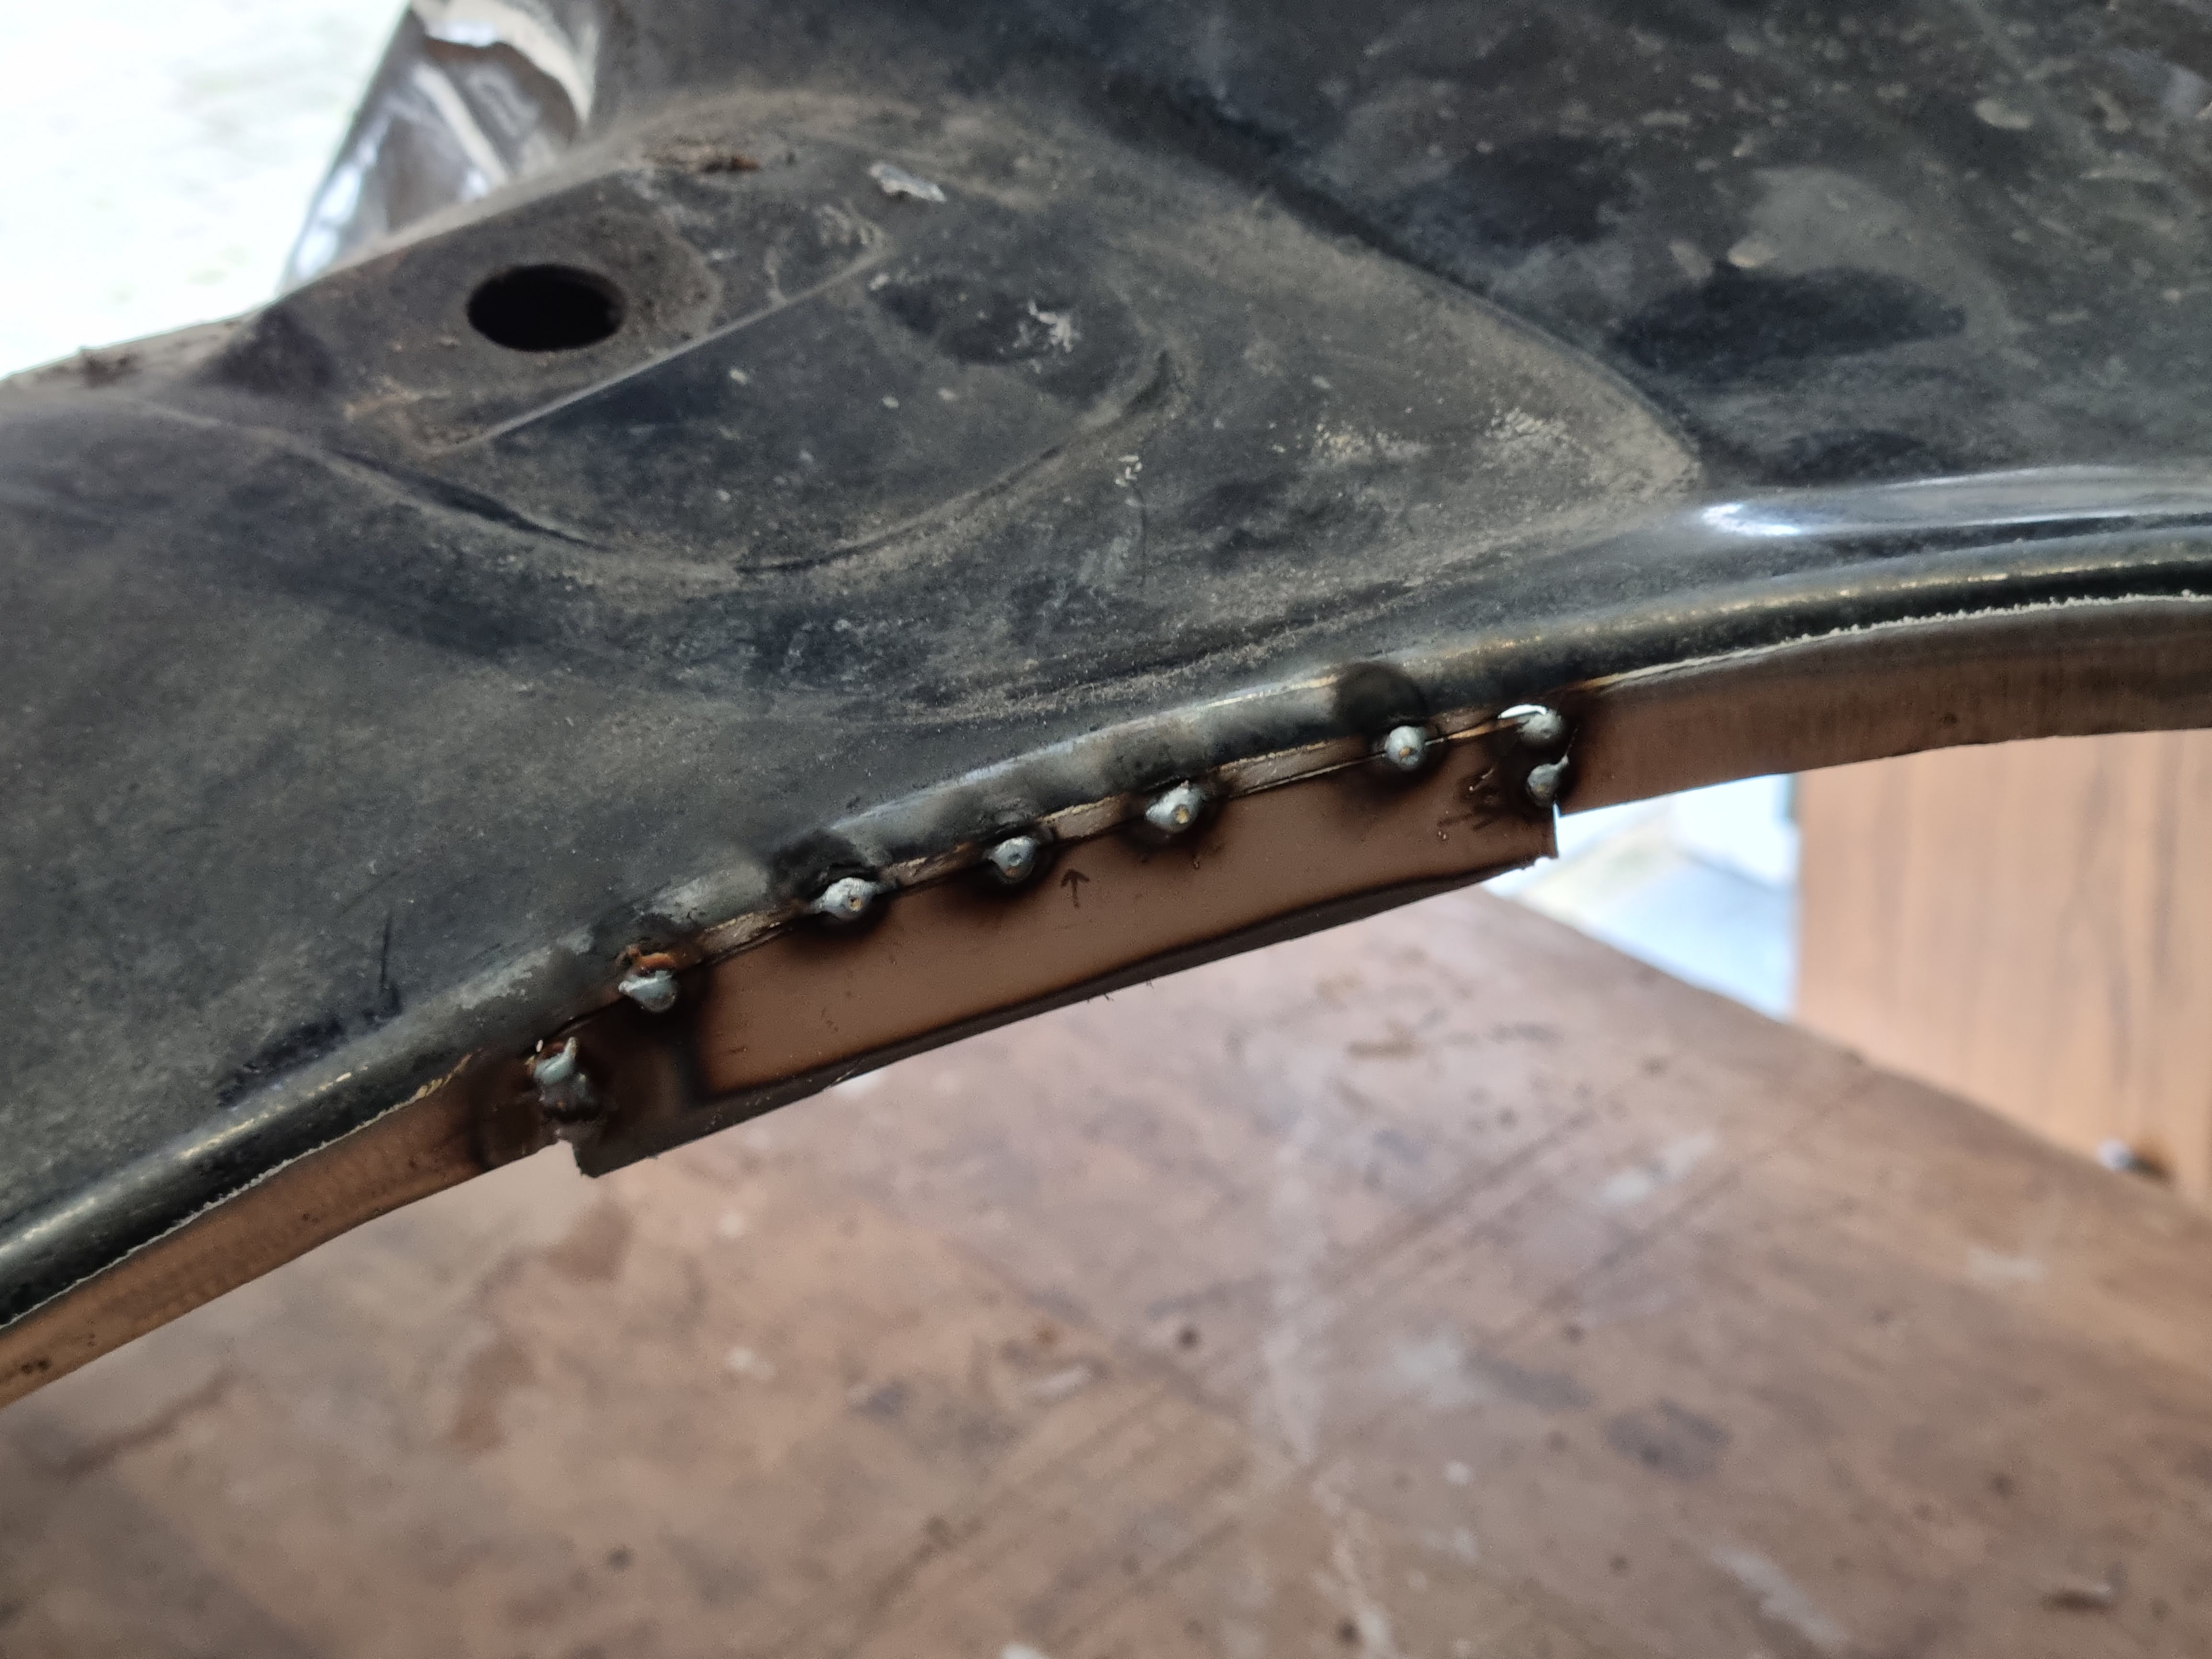
There were three areas of rust that were beyond saving, the bottom rear end of the arch, the front valance fixing and a small section of the arch return behind the bumper. All these areas needed to be cut back to good metal and new metal welded in.
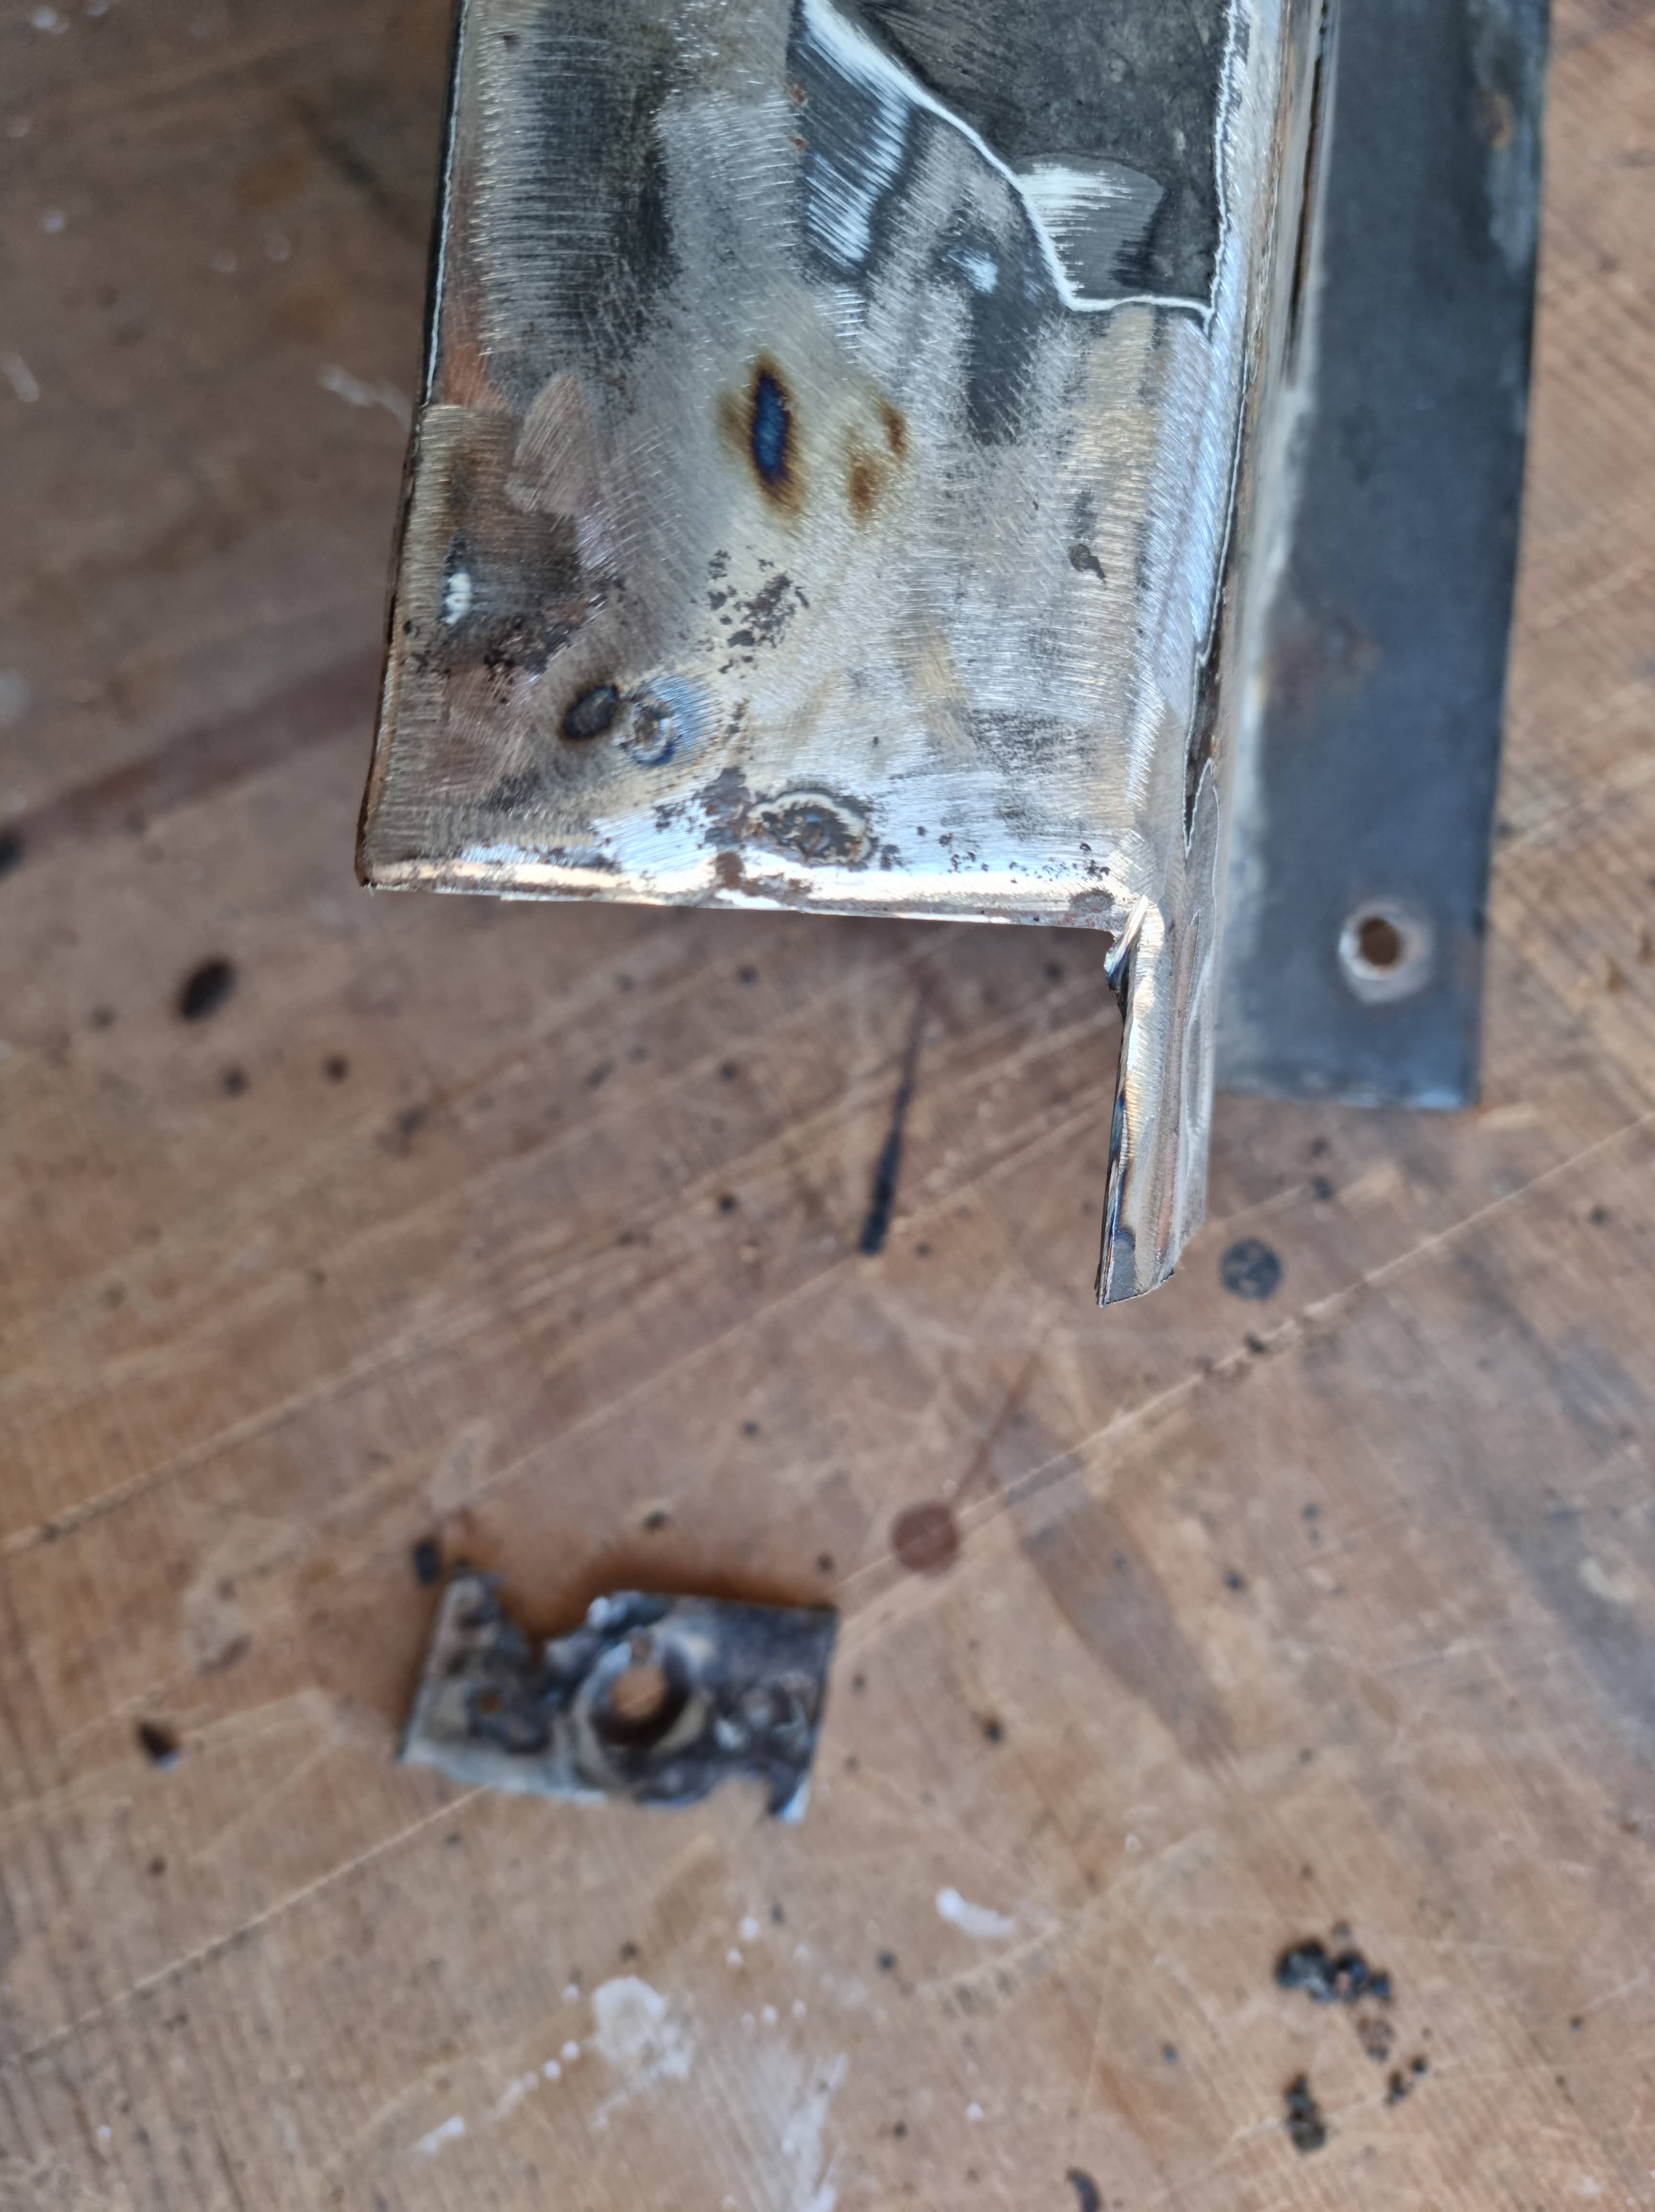
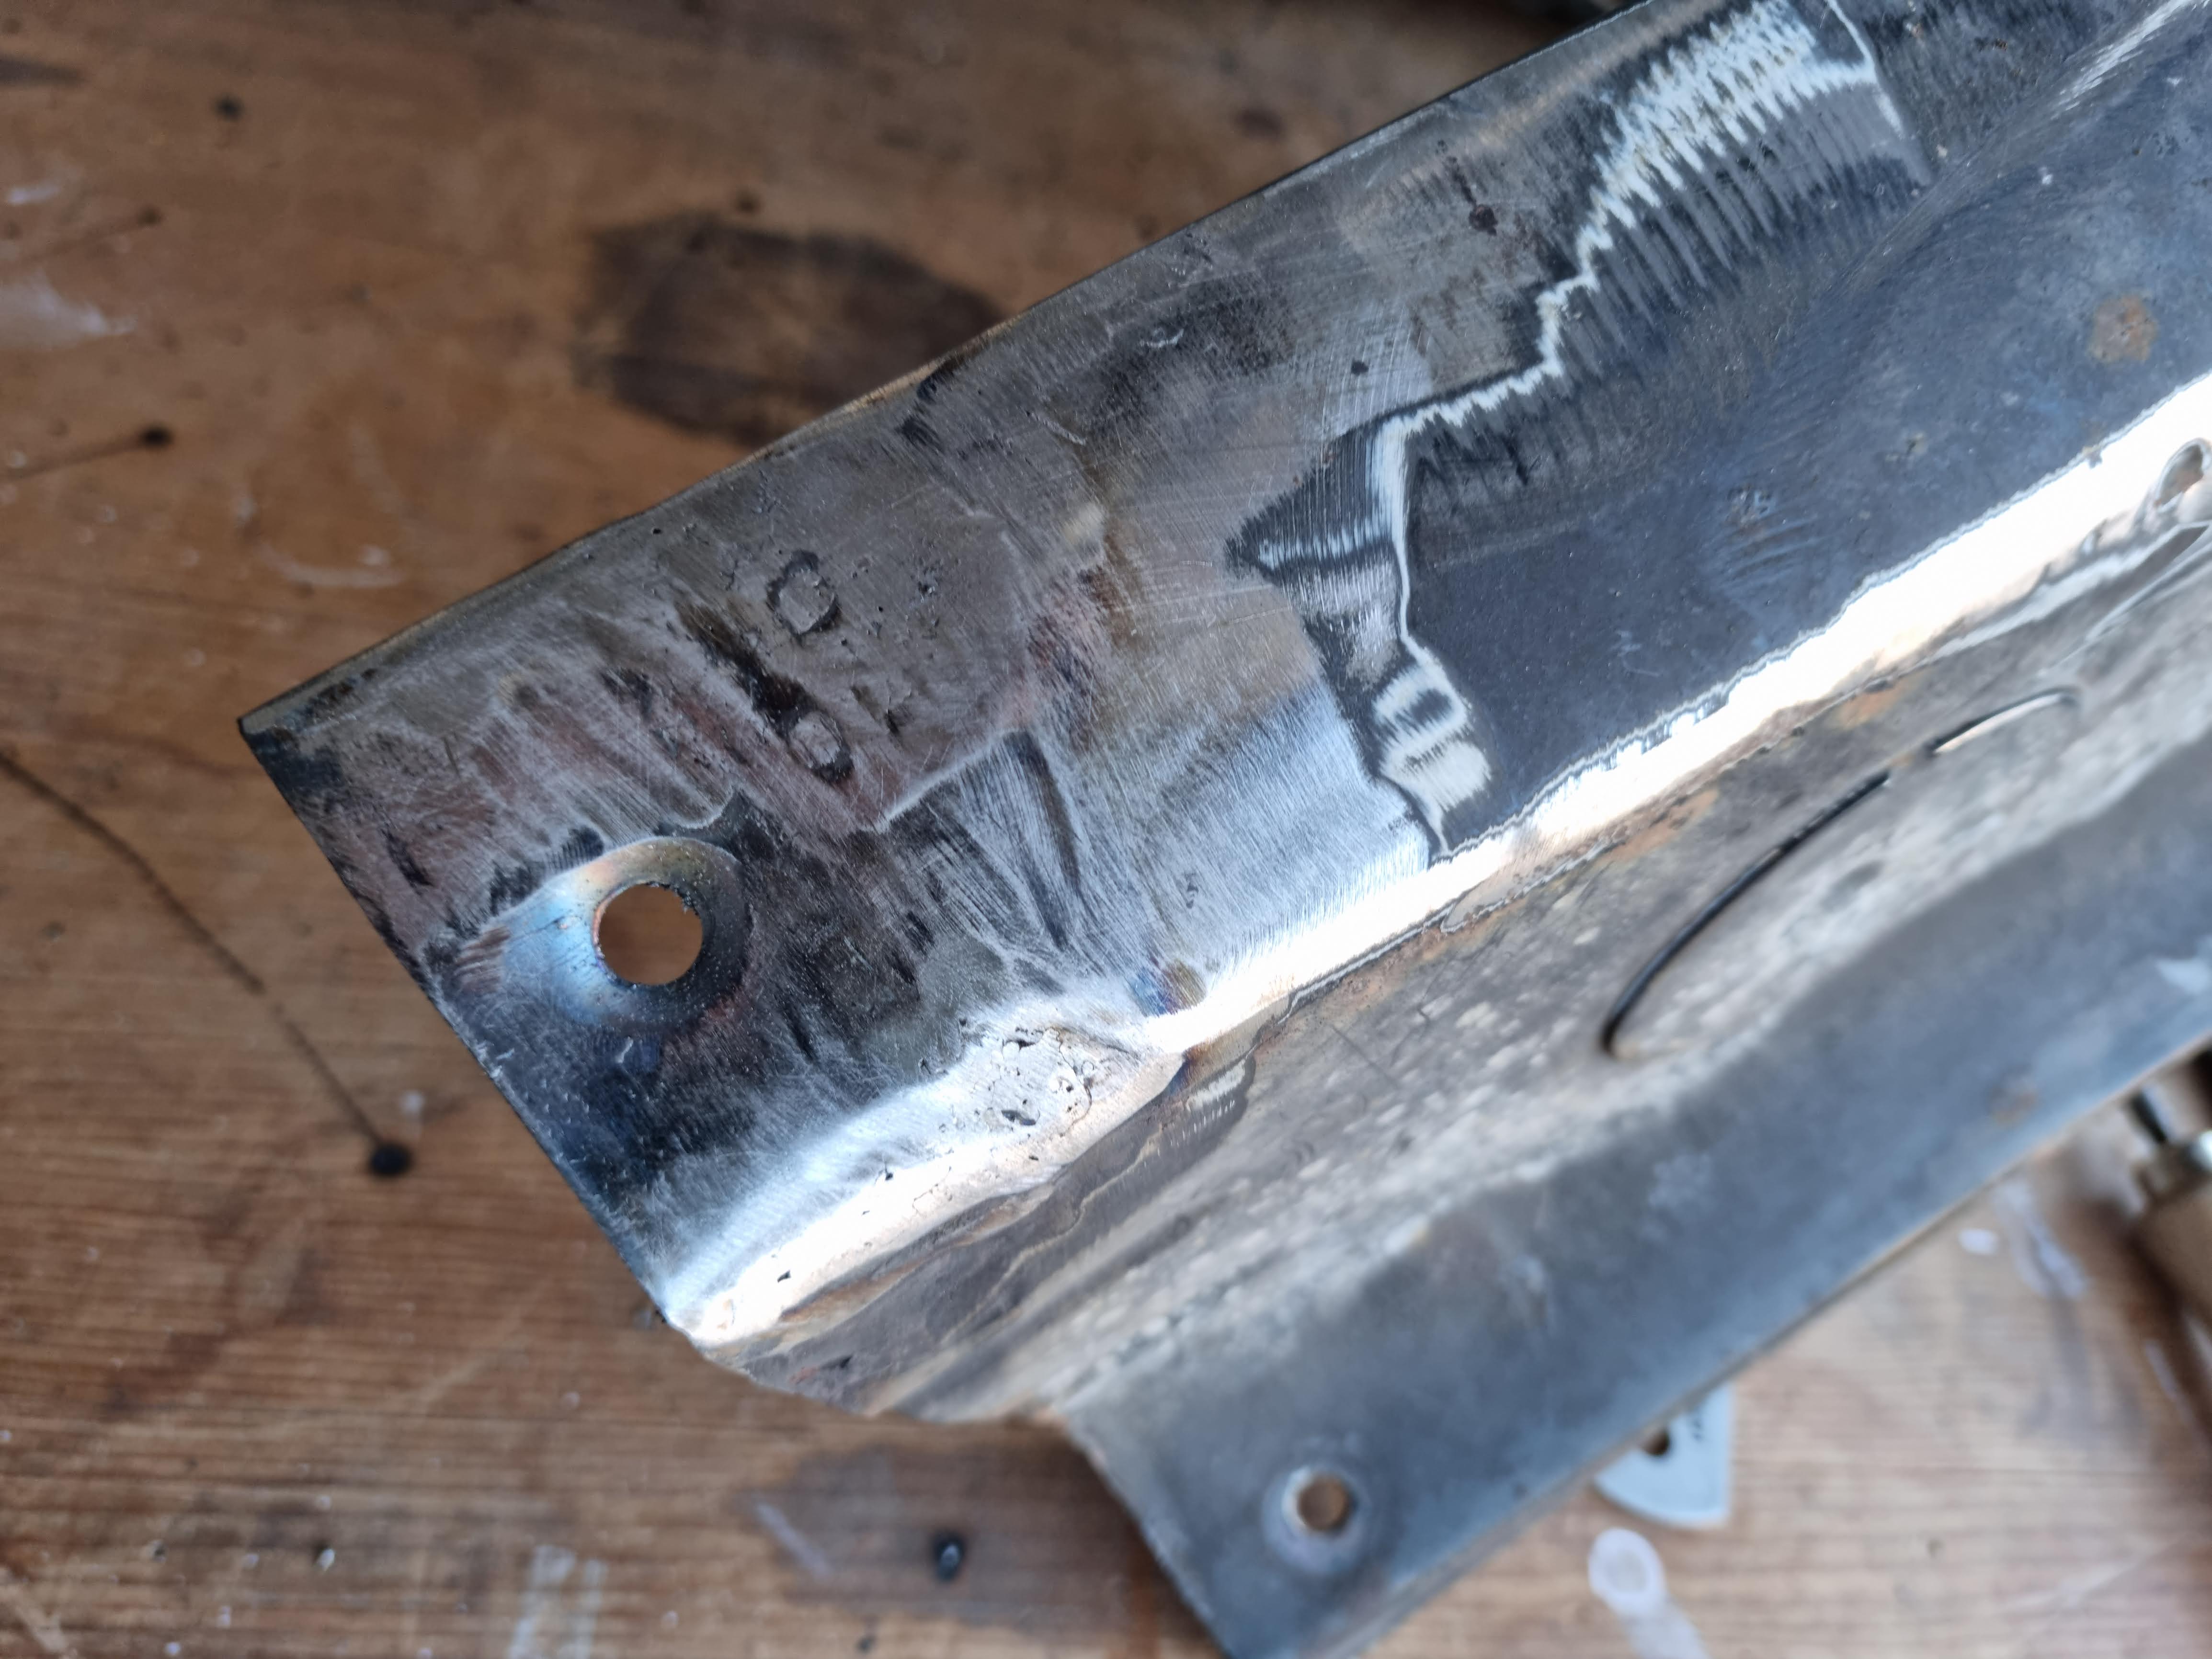
This was my first time at welding such thin sheet steel and making up repair panels so I started with the valance fixing point as this was a fairly simple piece. My welding might not bee the neatest and I admit I blew a few holes which I had to weld back up again, but once ground back it looked pretty good.
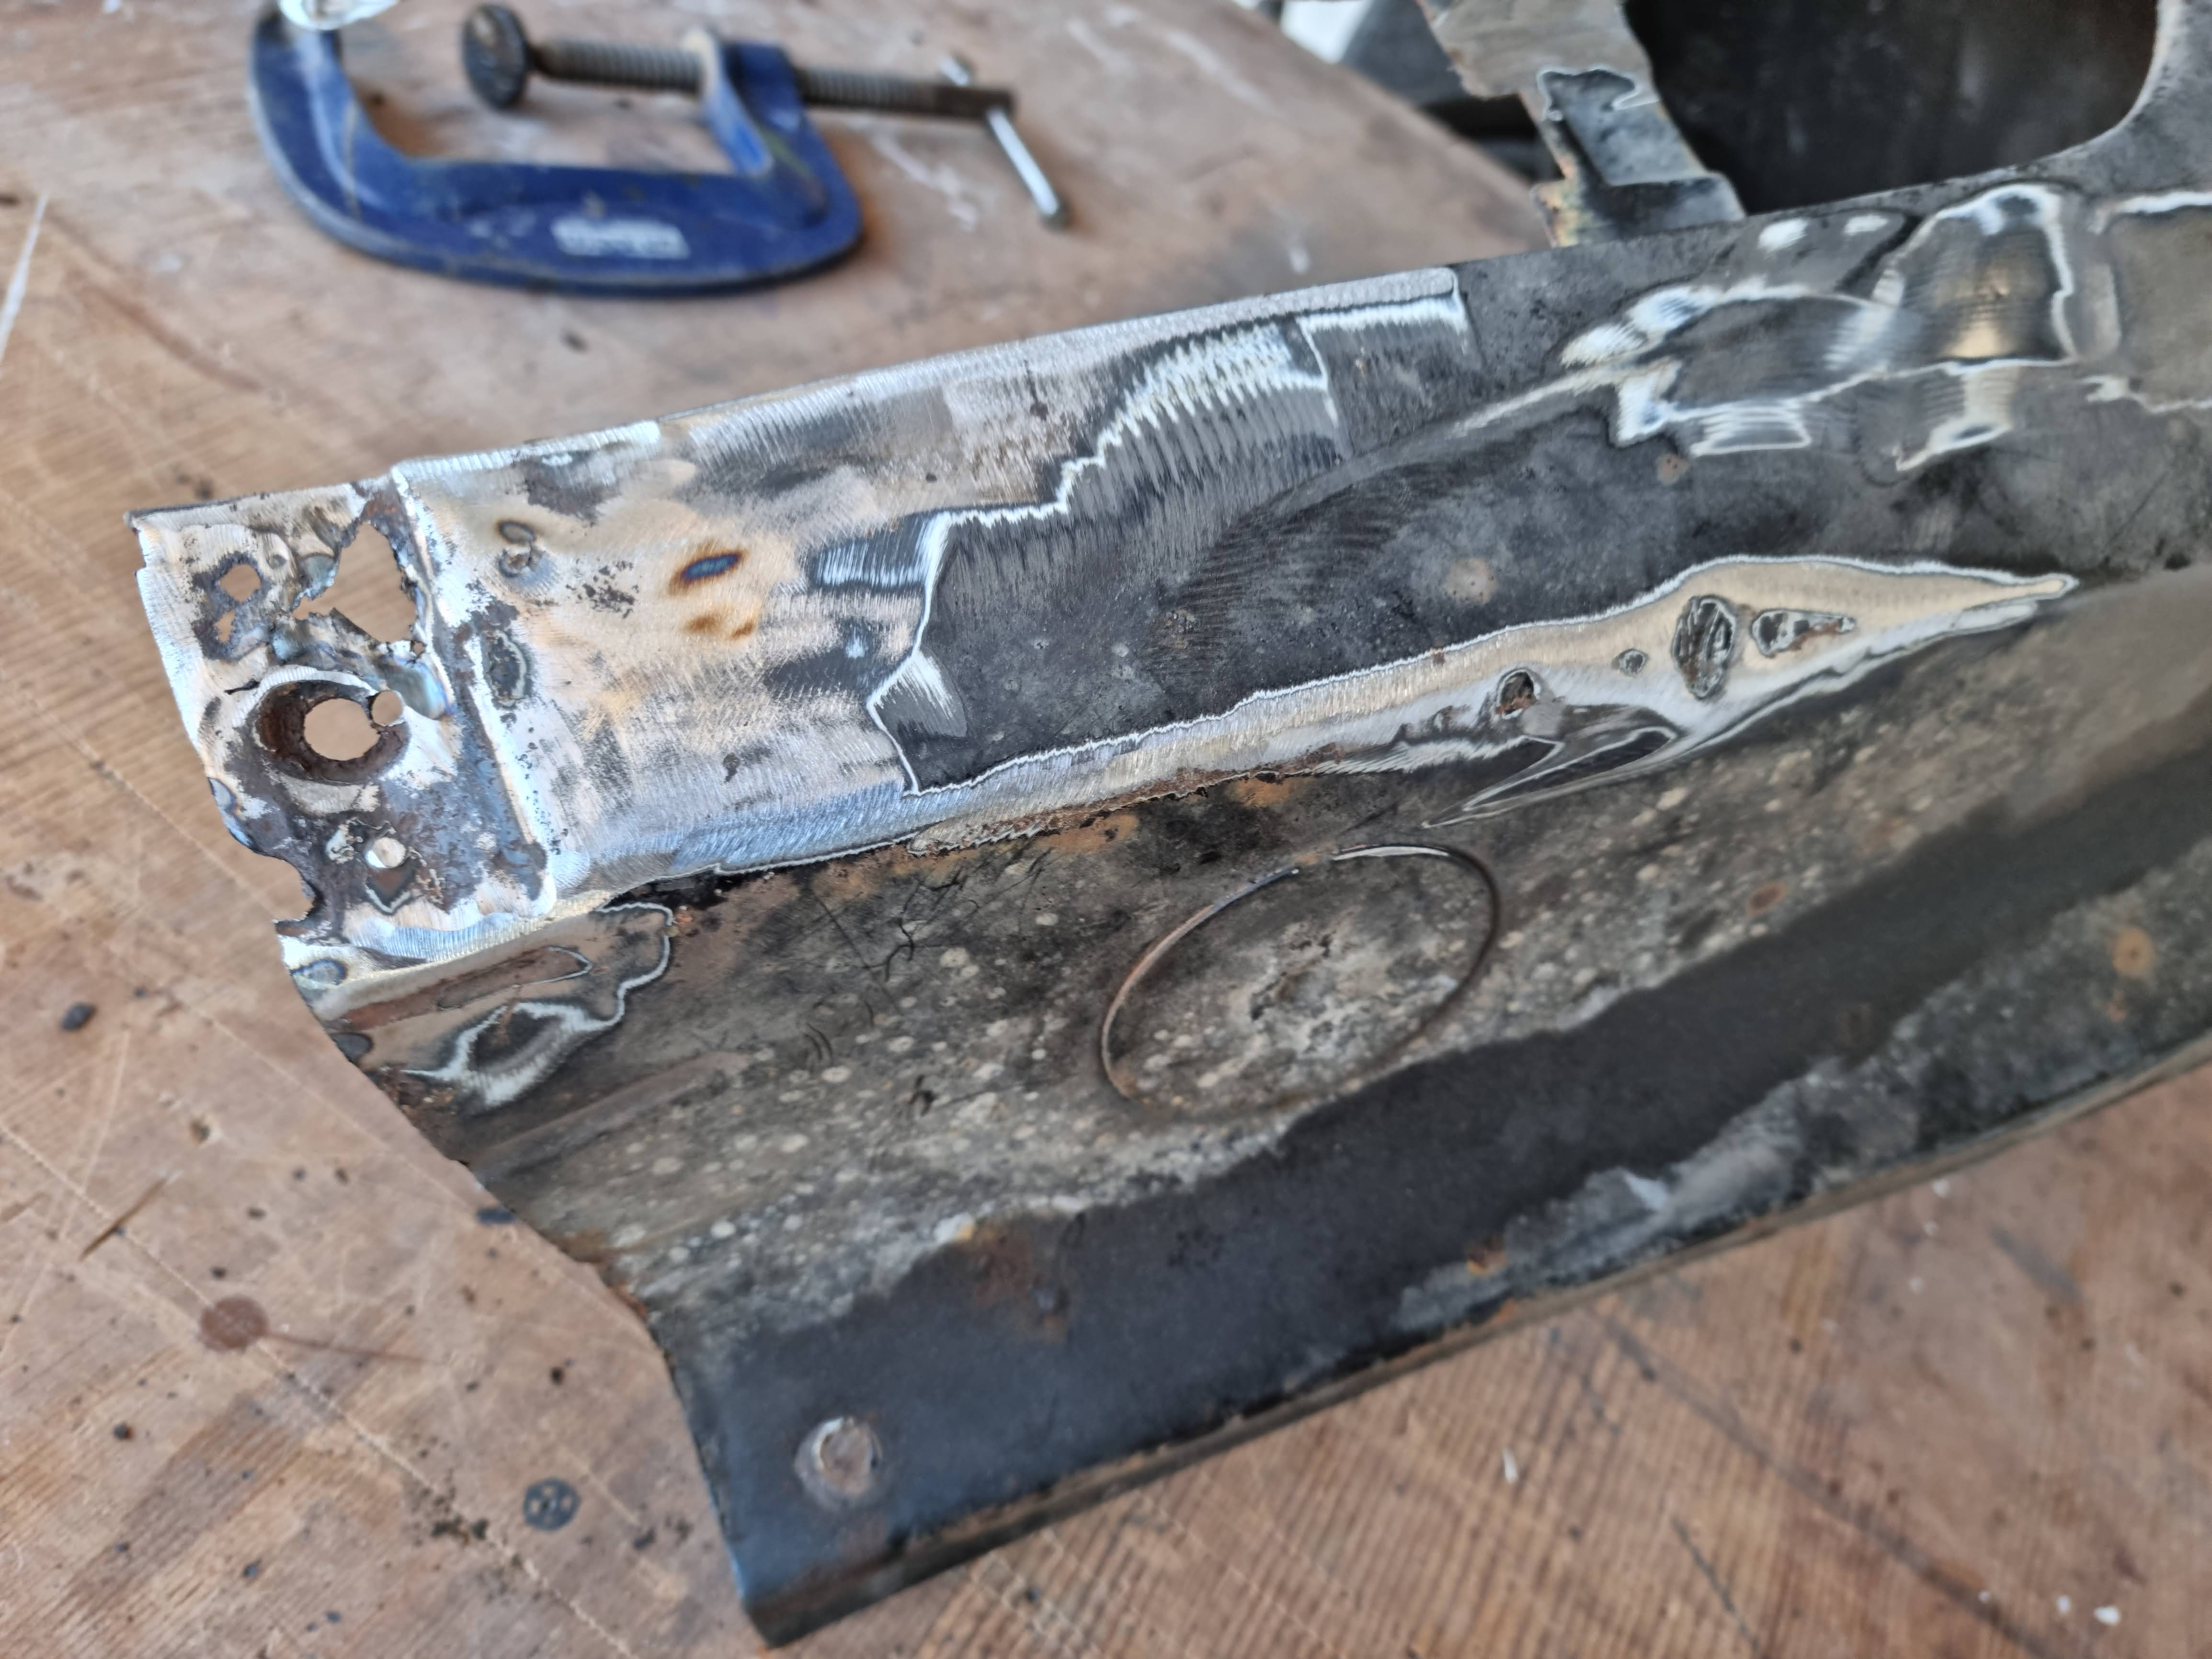
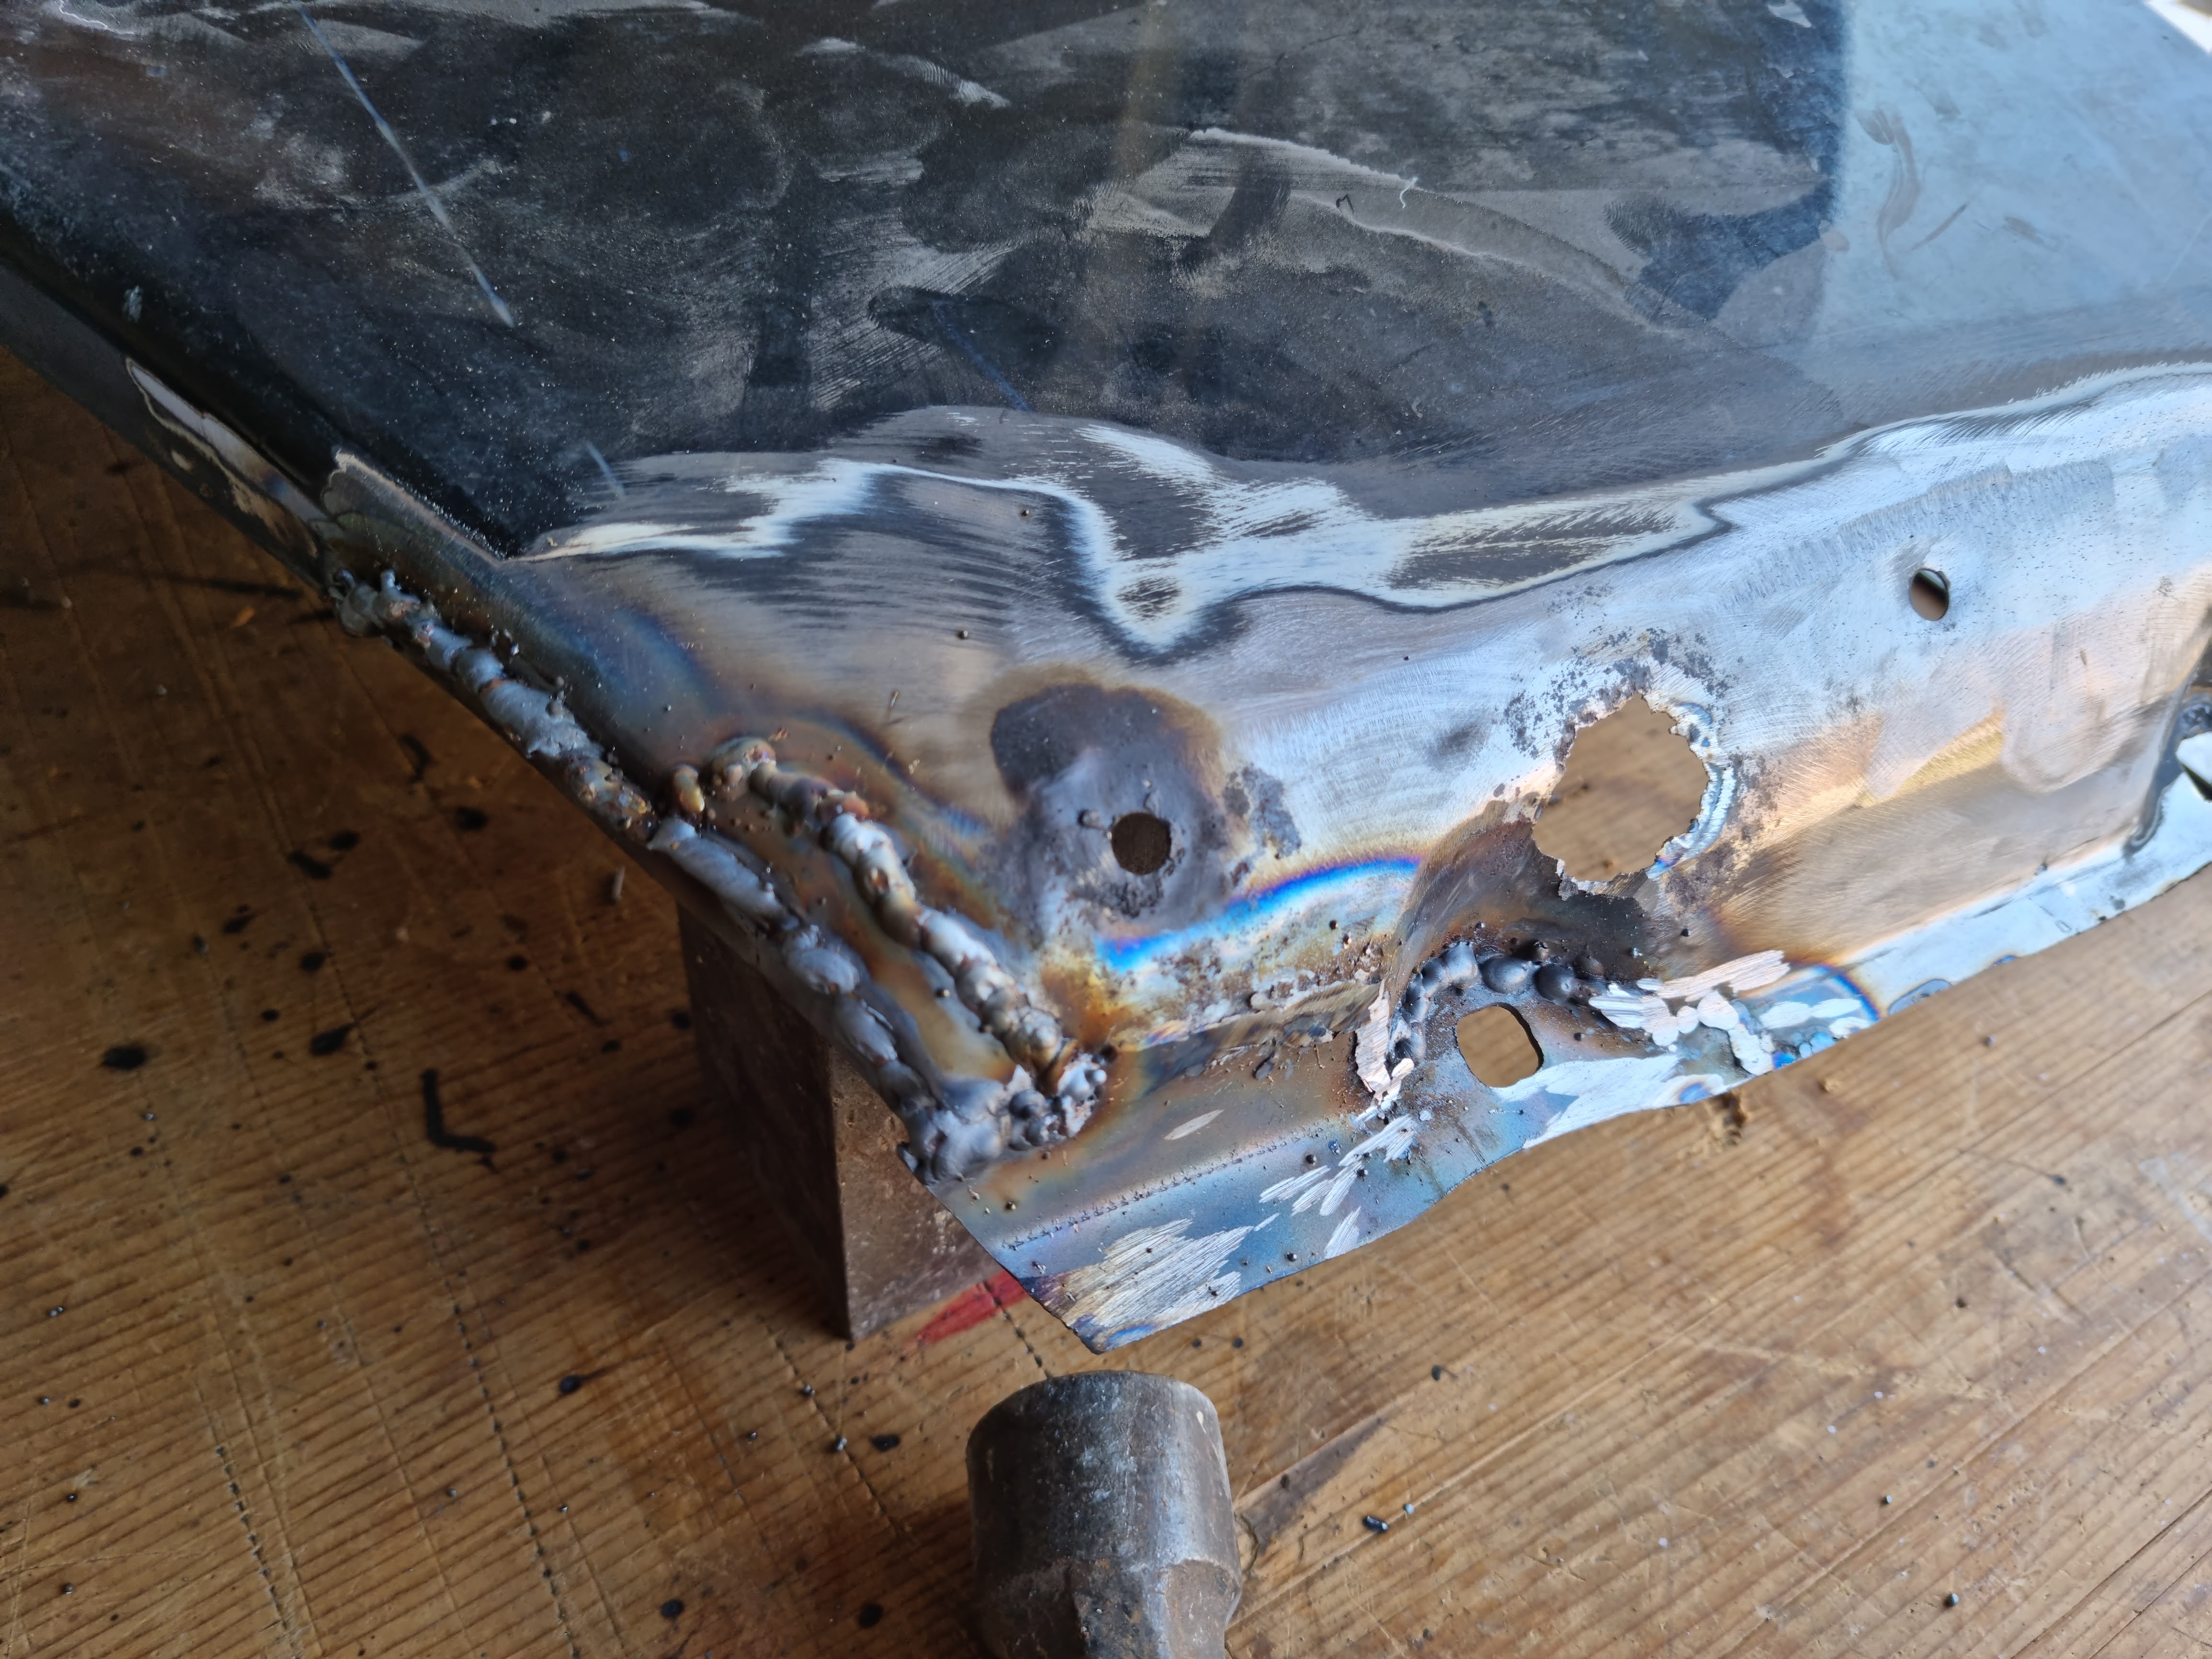
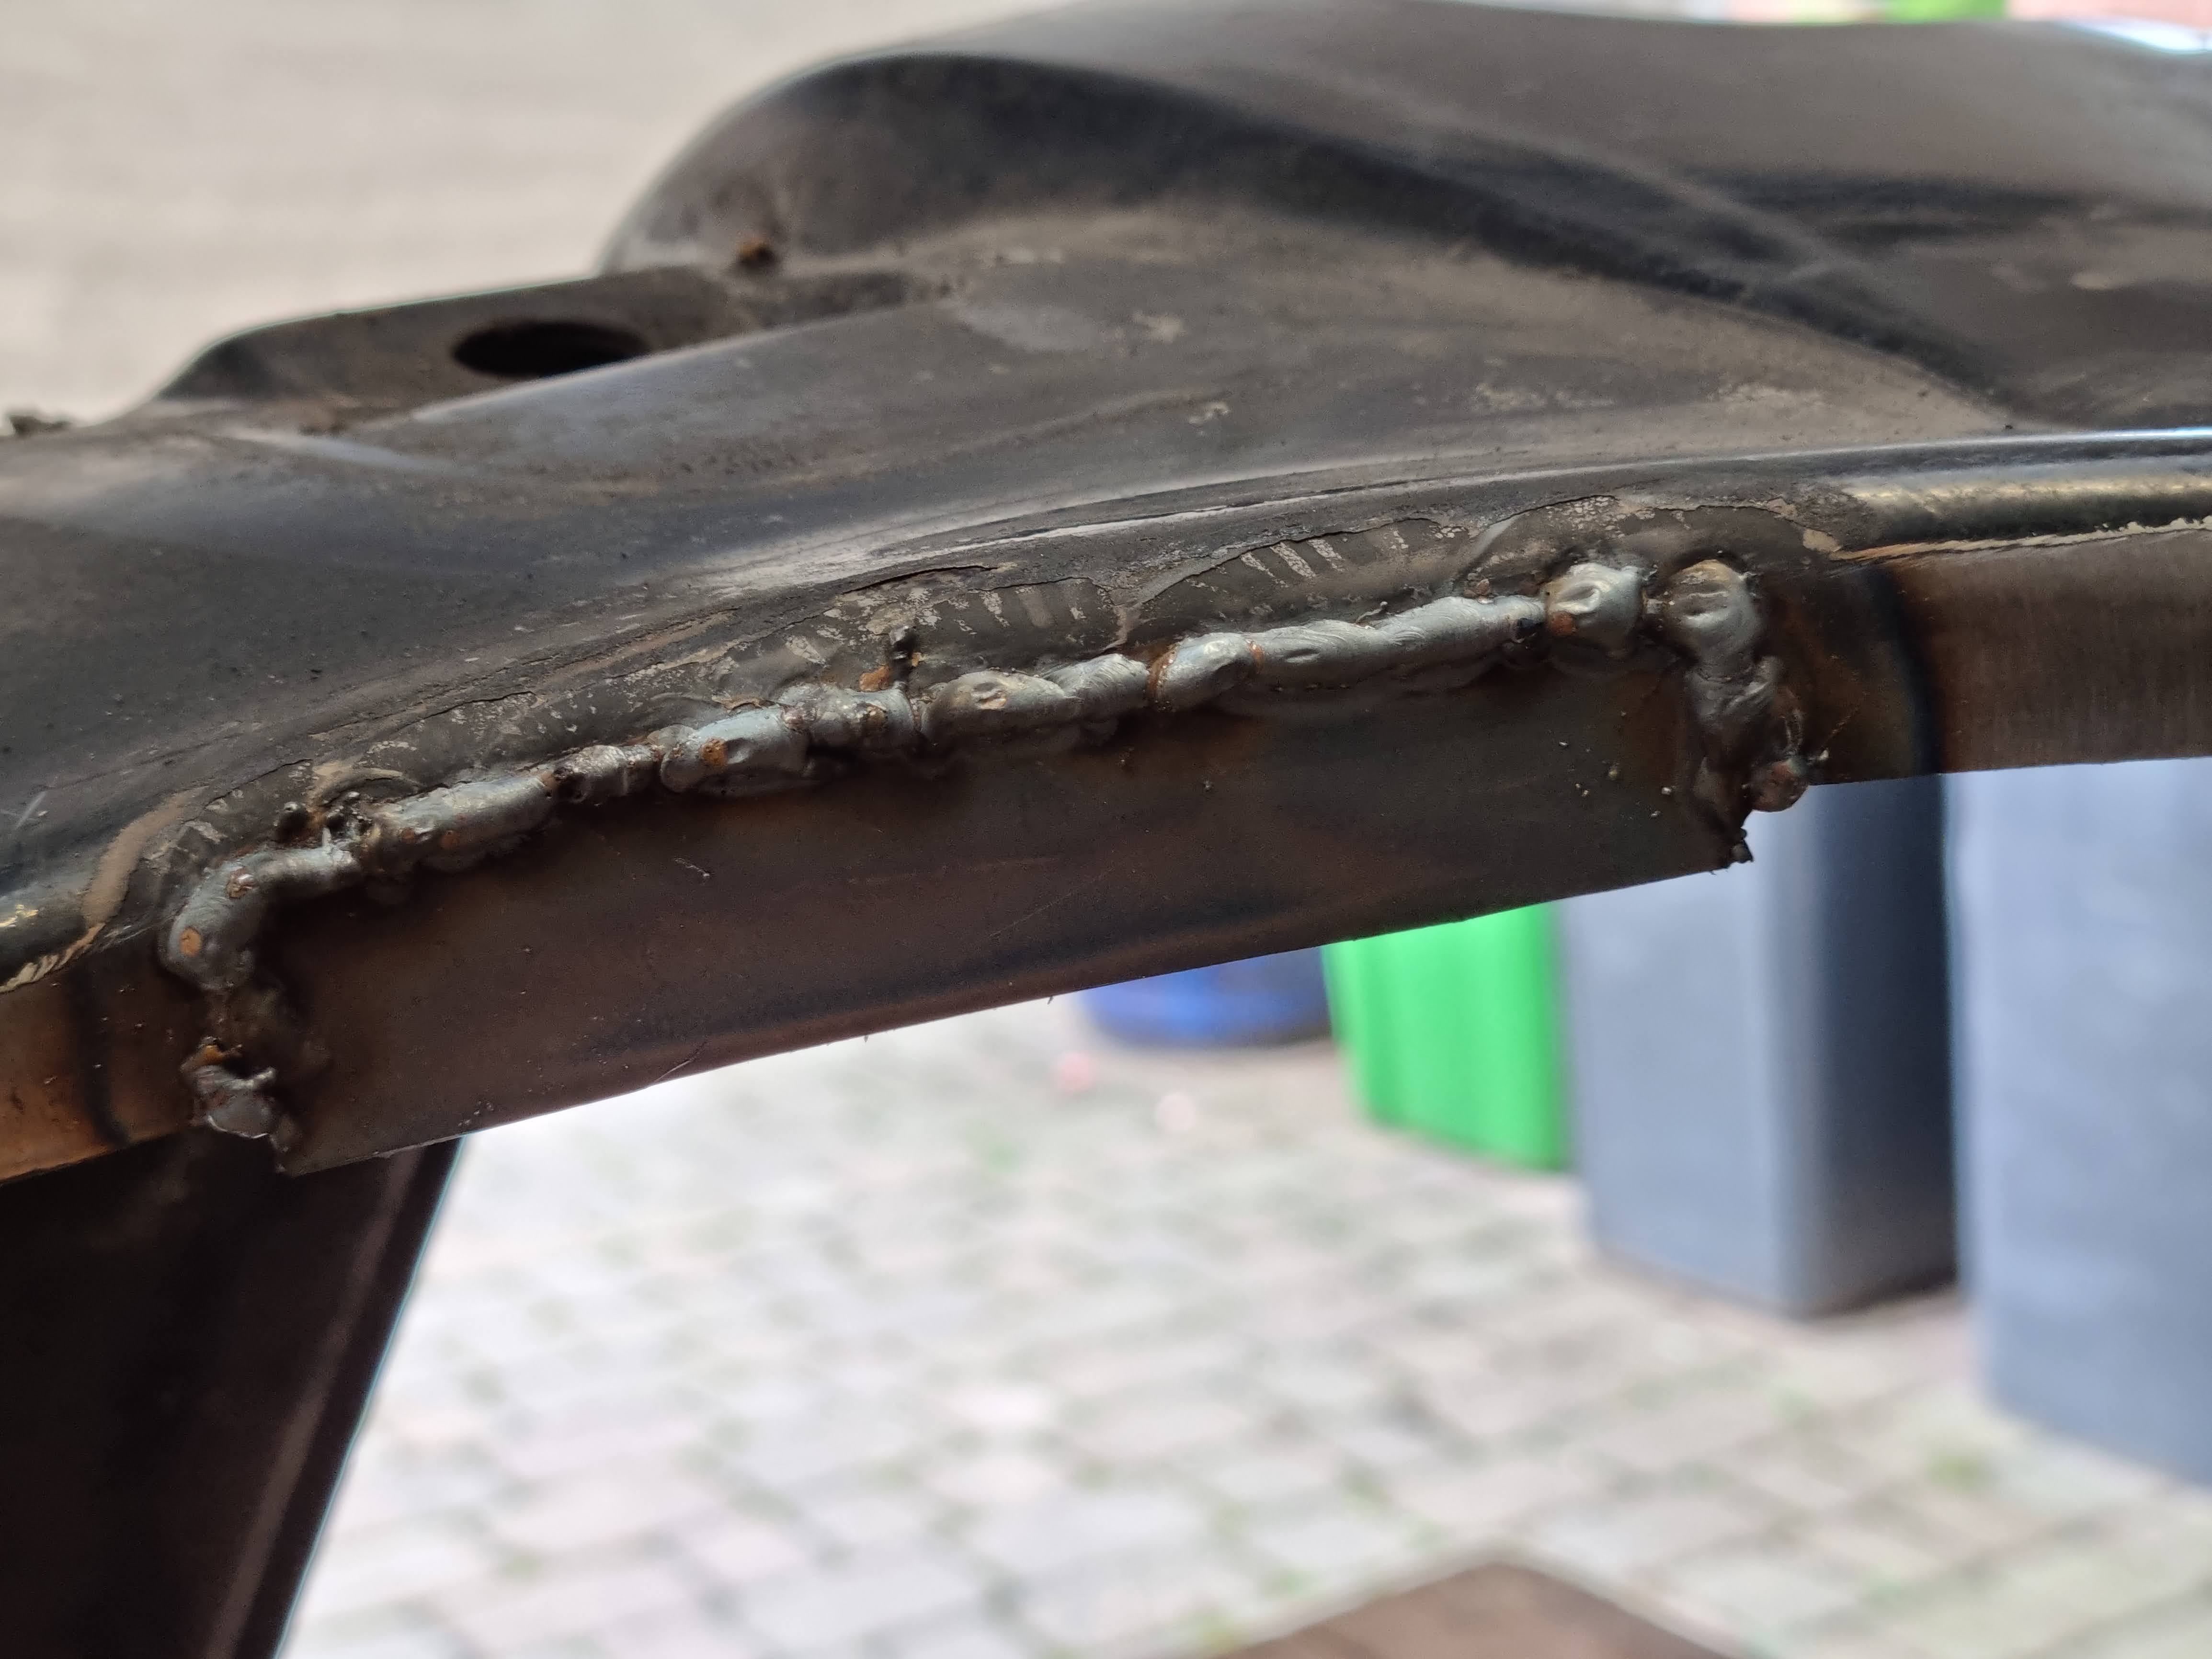
The next area to tackle was the bottom corner where the back of the arch meets the sill. This was a much more complicated 3D shape to try and recreate which included re-making one of the wing fixing points. It took several separate pieces to be welded in to re-build this corner. It is not perfect but I am still very happy with how it came out, this area will be obscured from view by exterior trim.
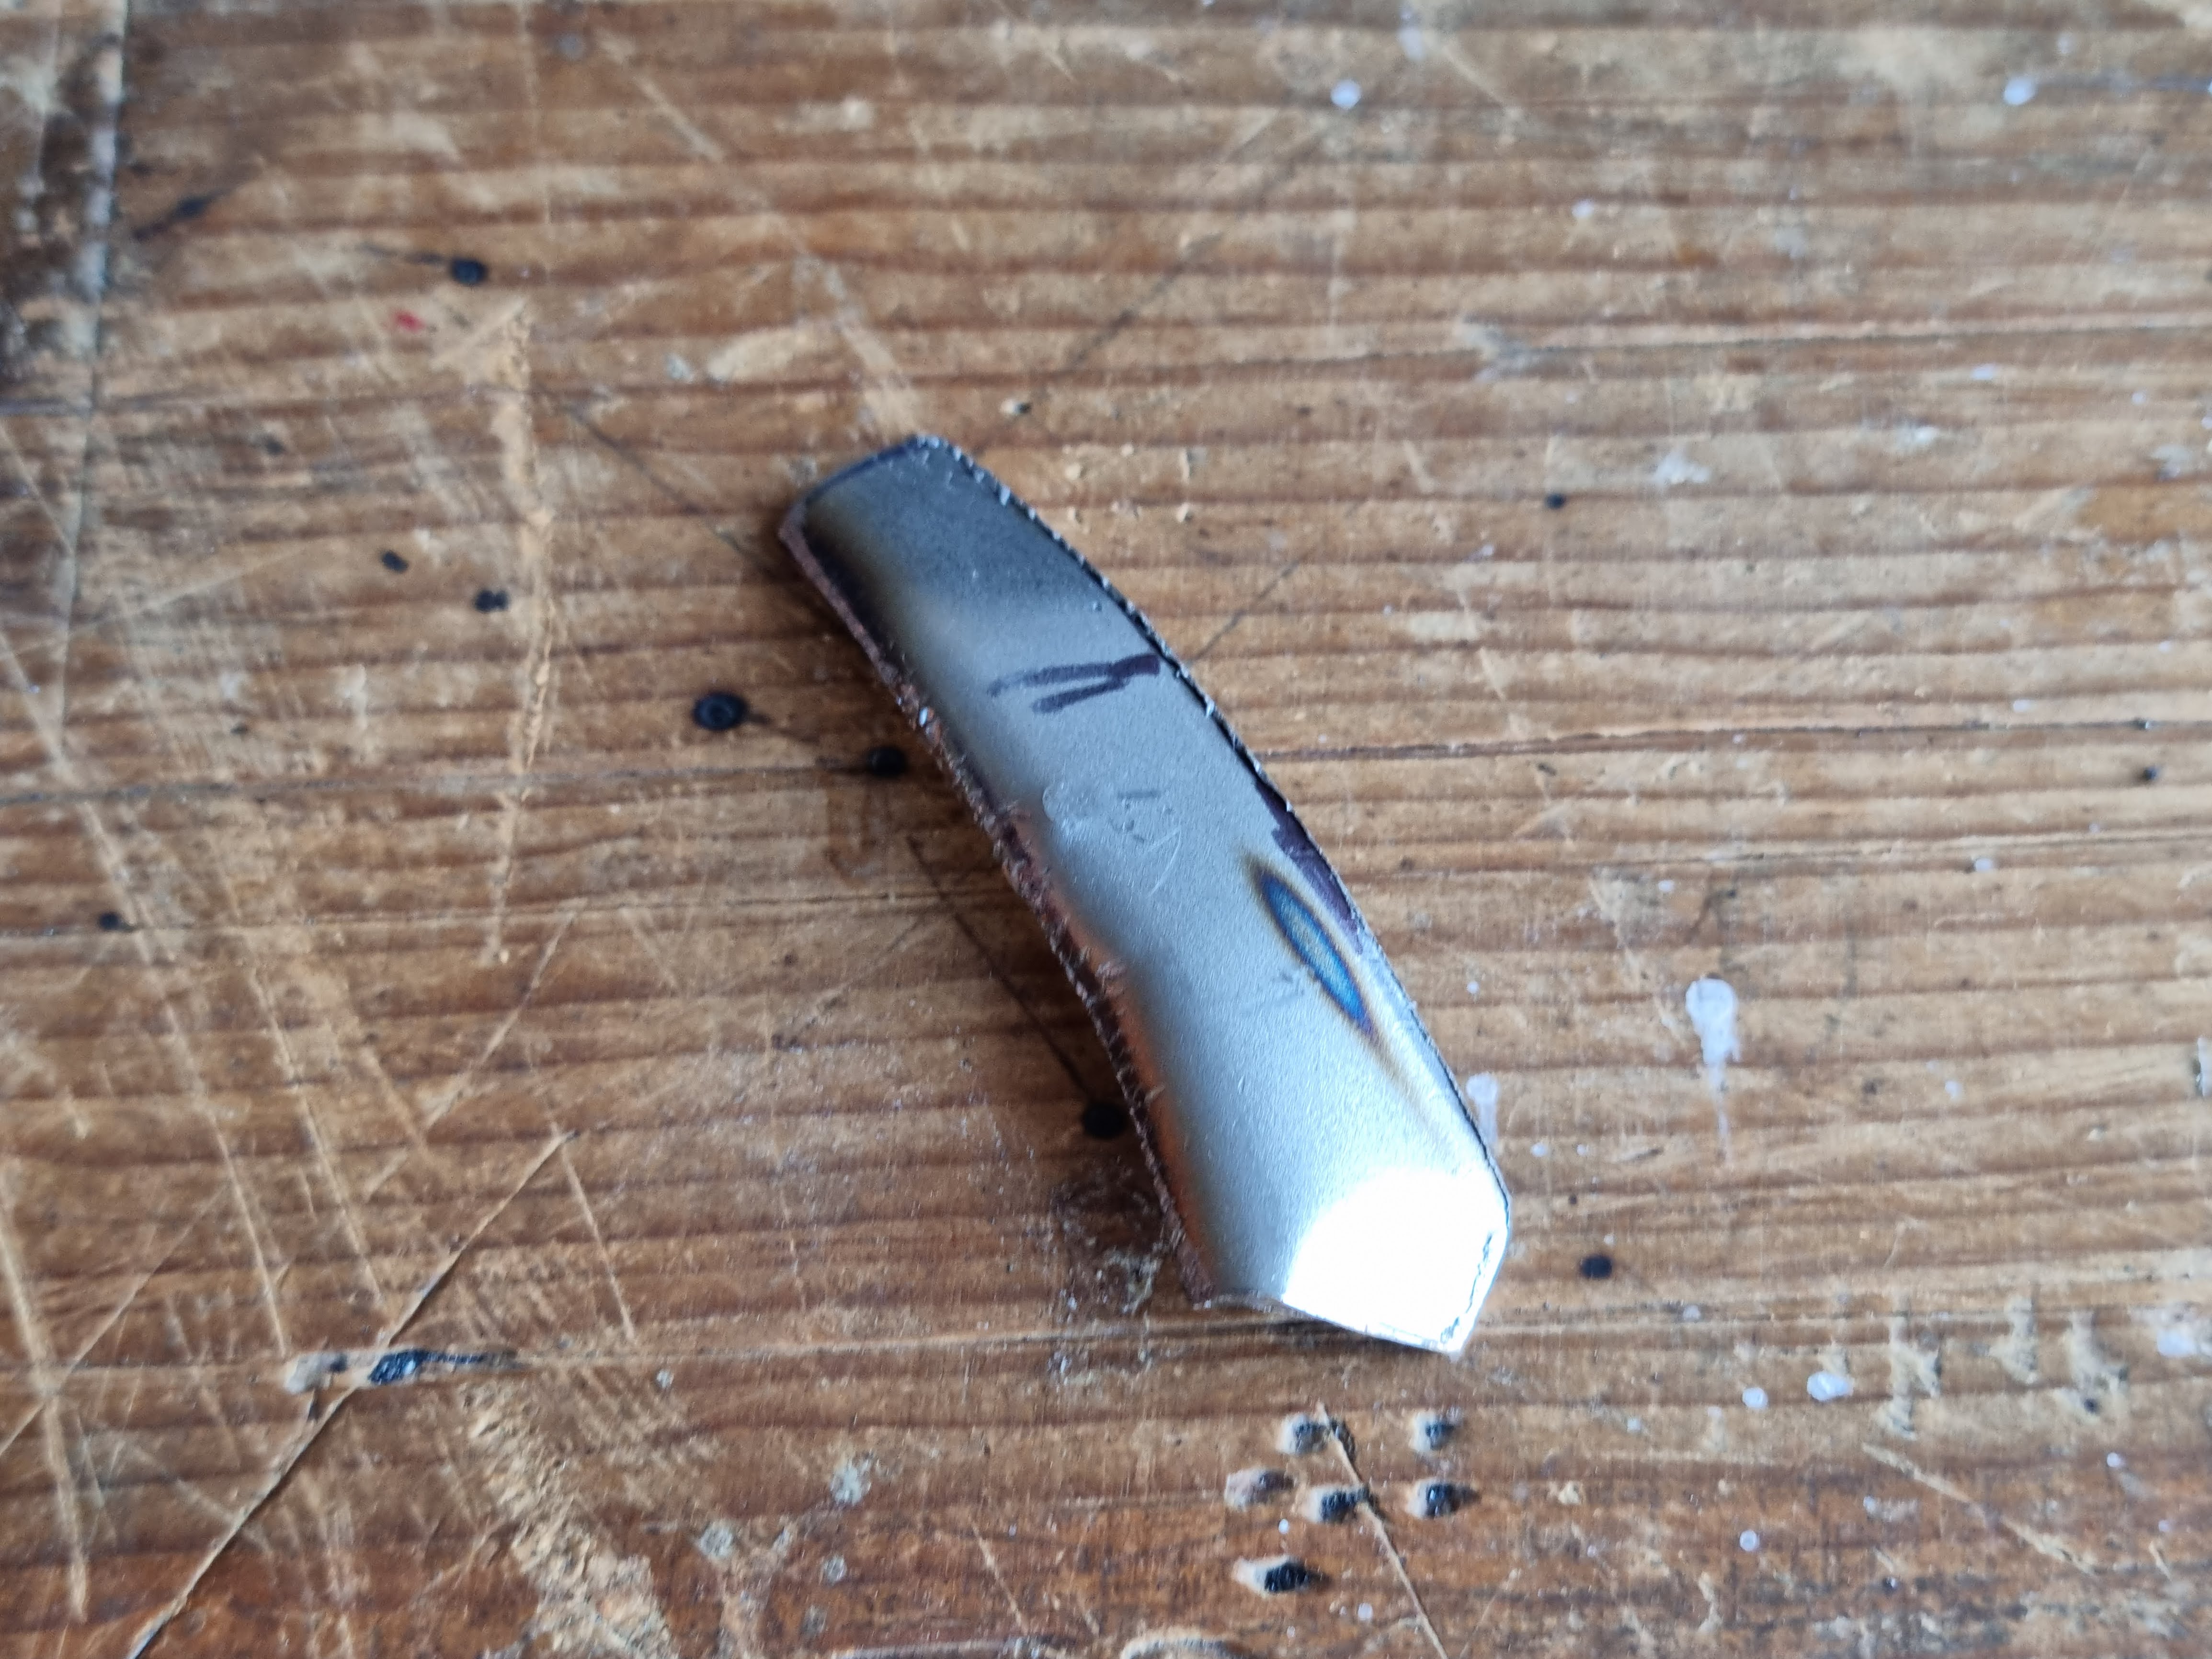
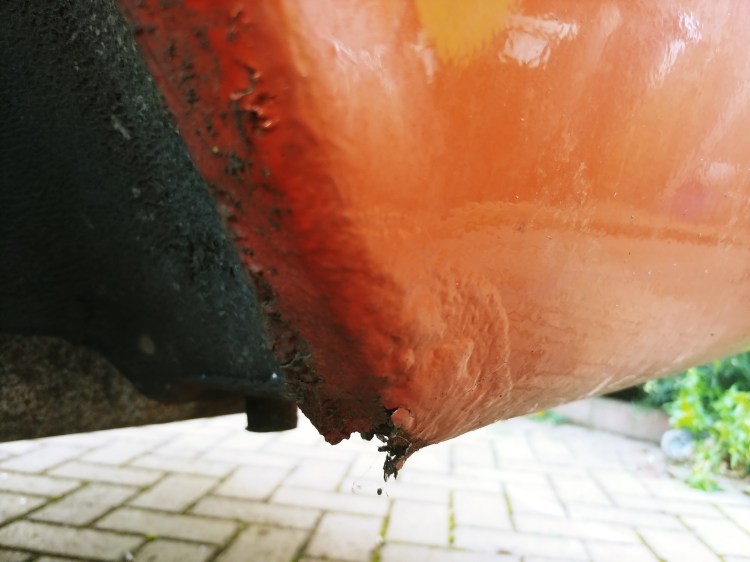
The final spot to repair was the arch return, this was a nice straight forward repair to finish on.
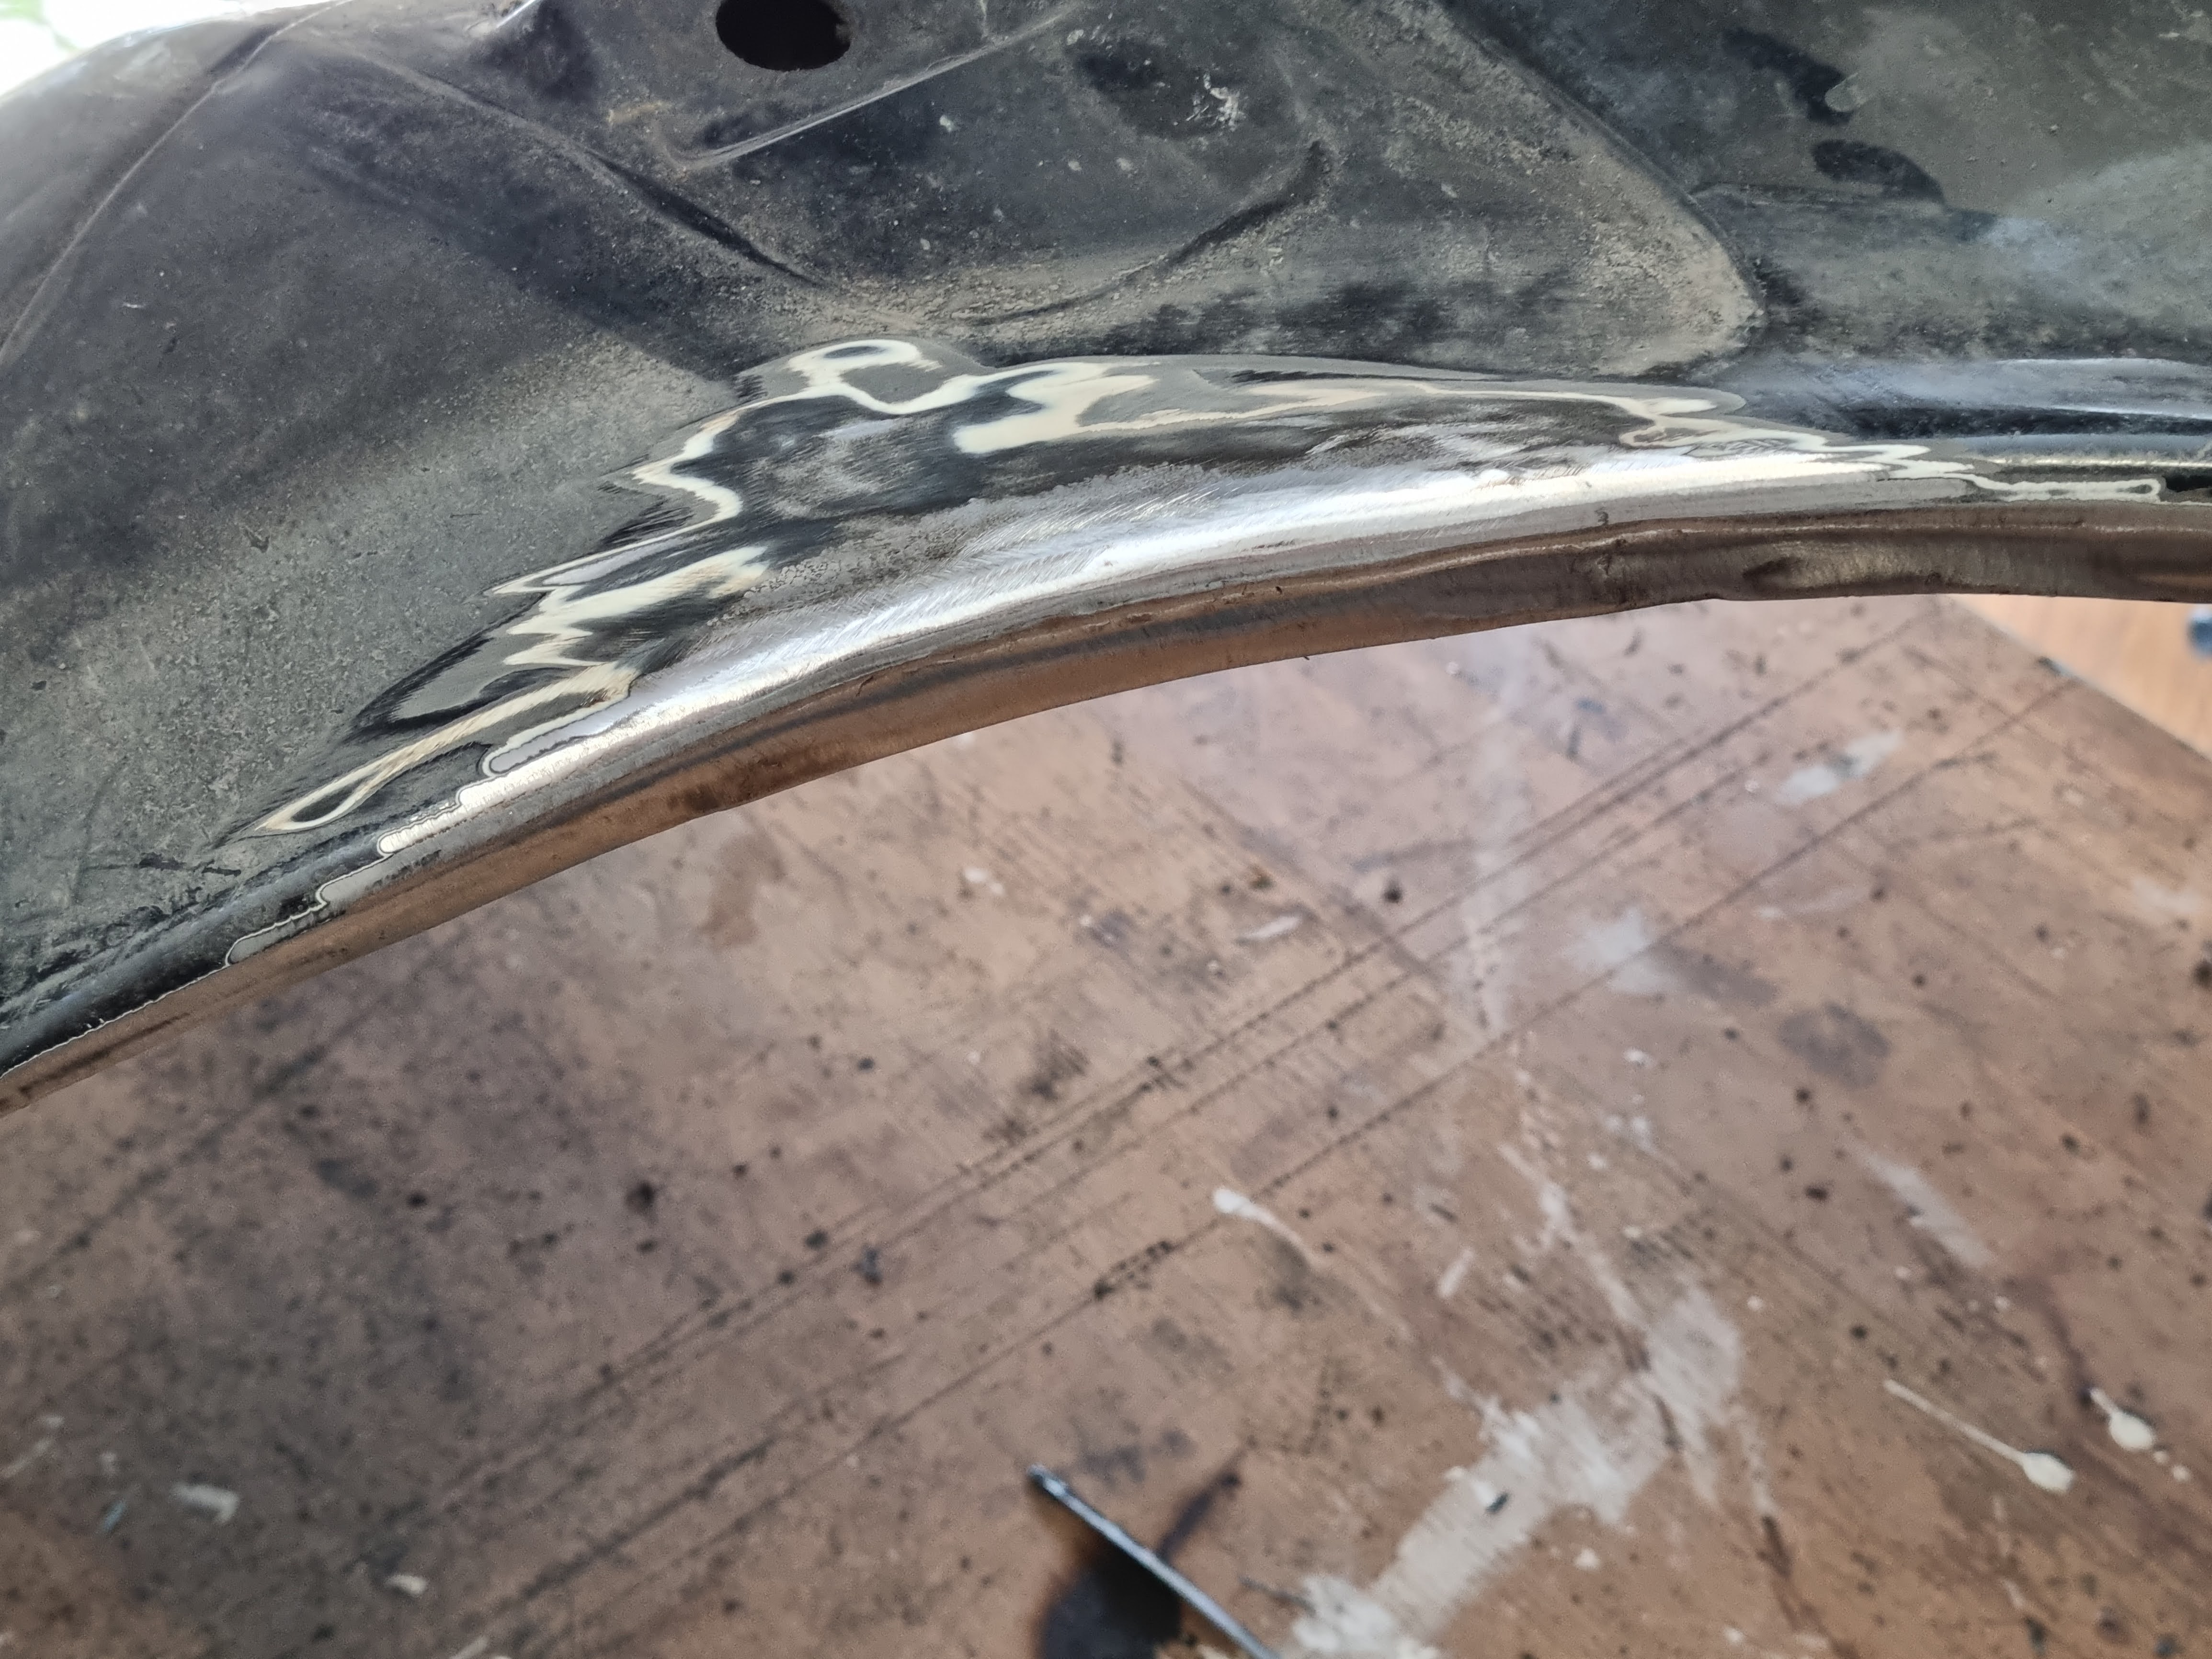
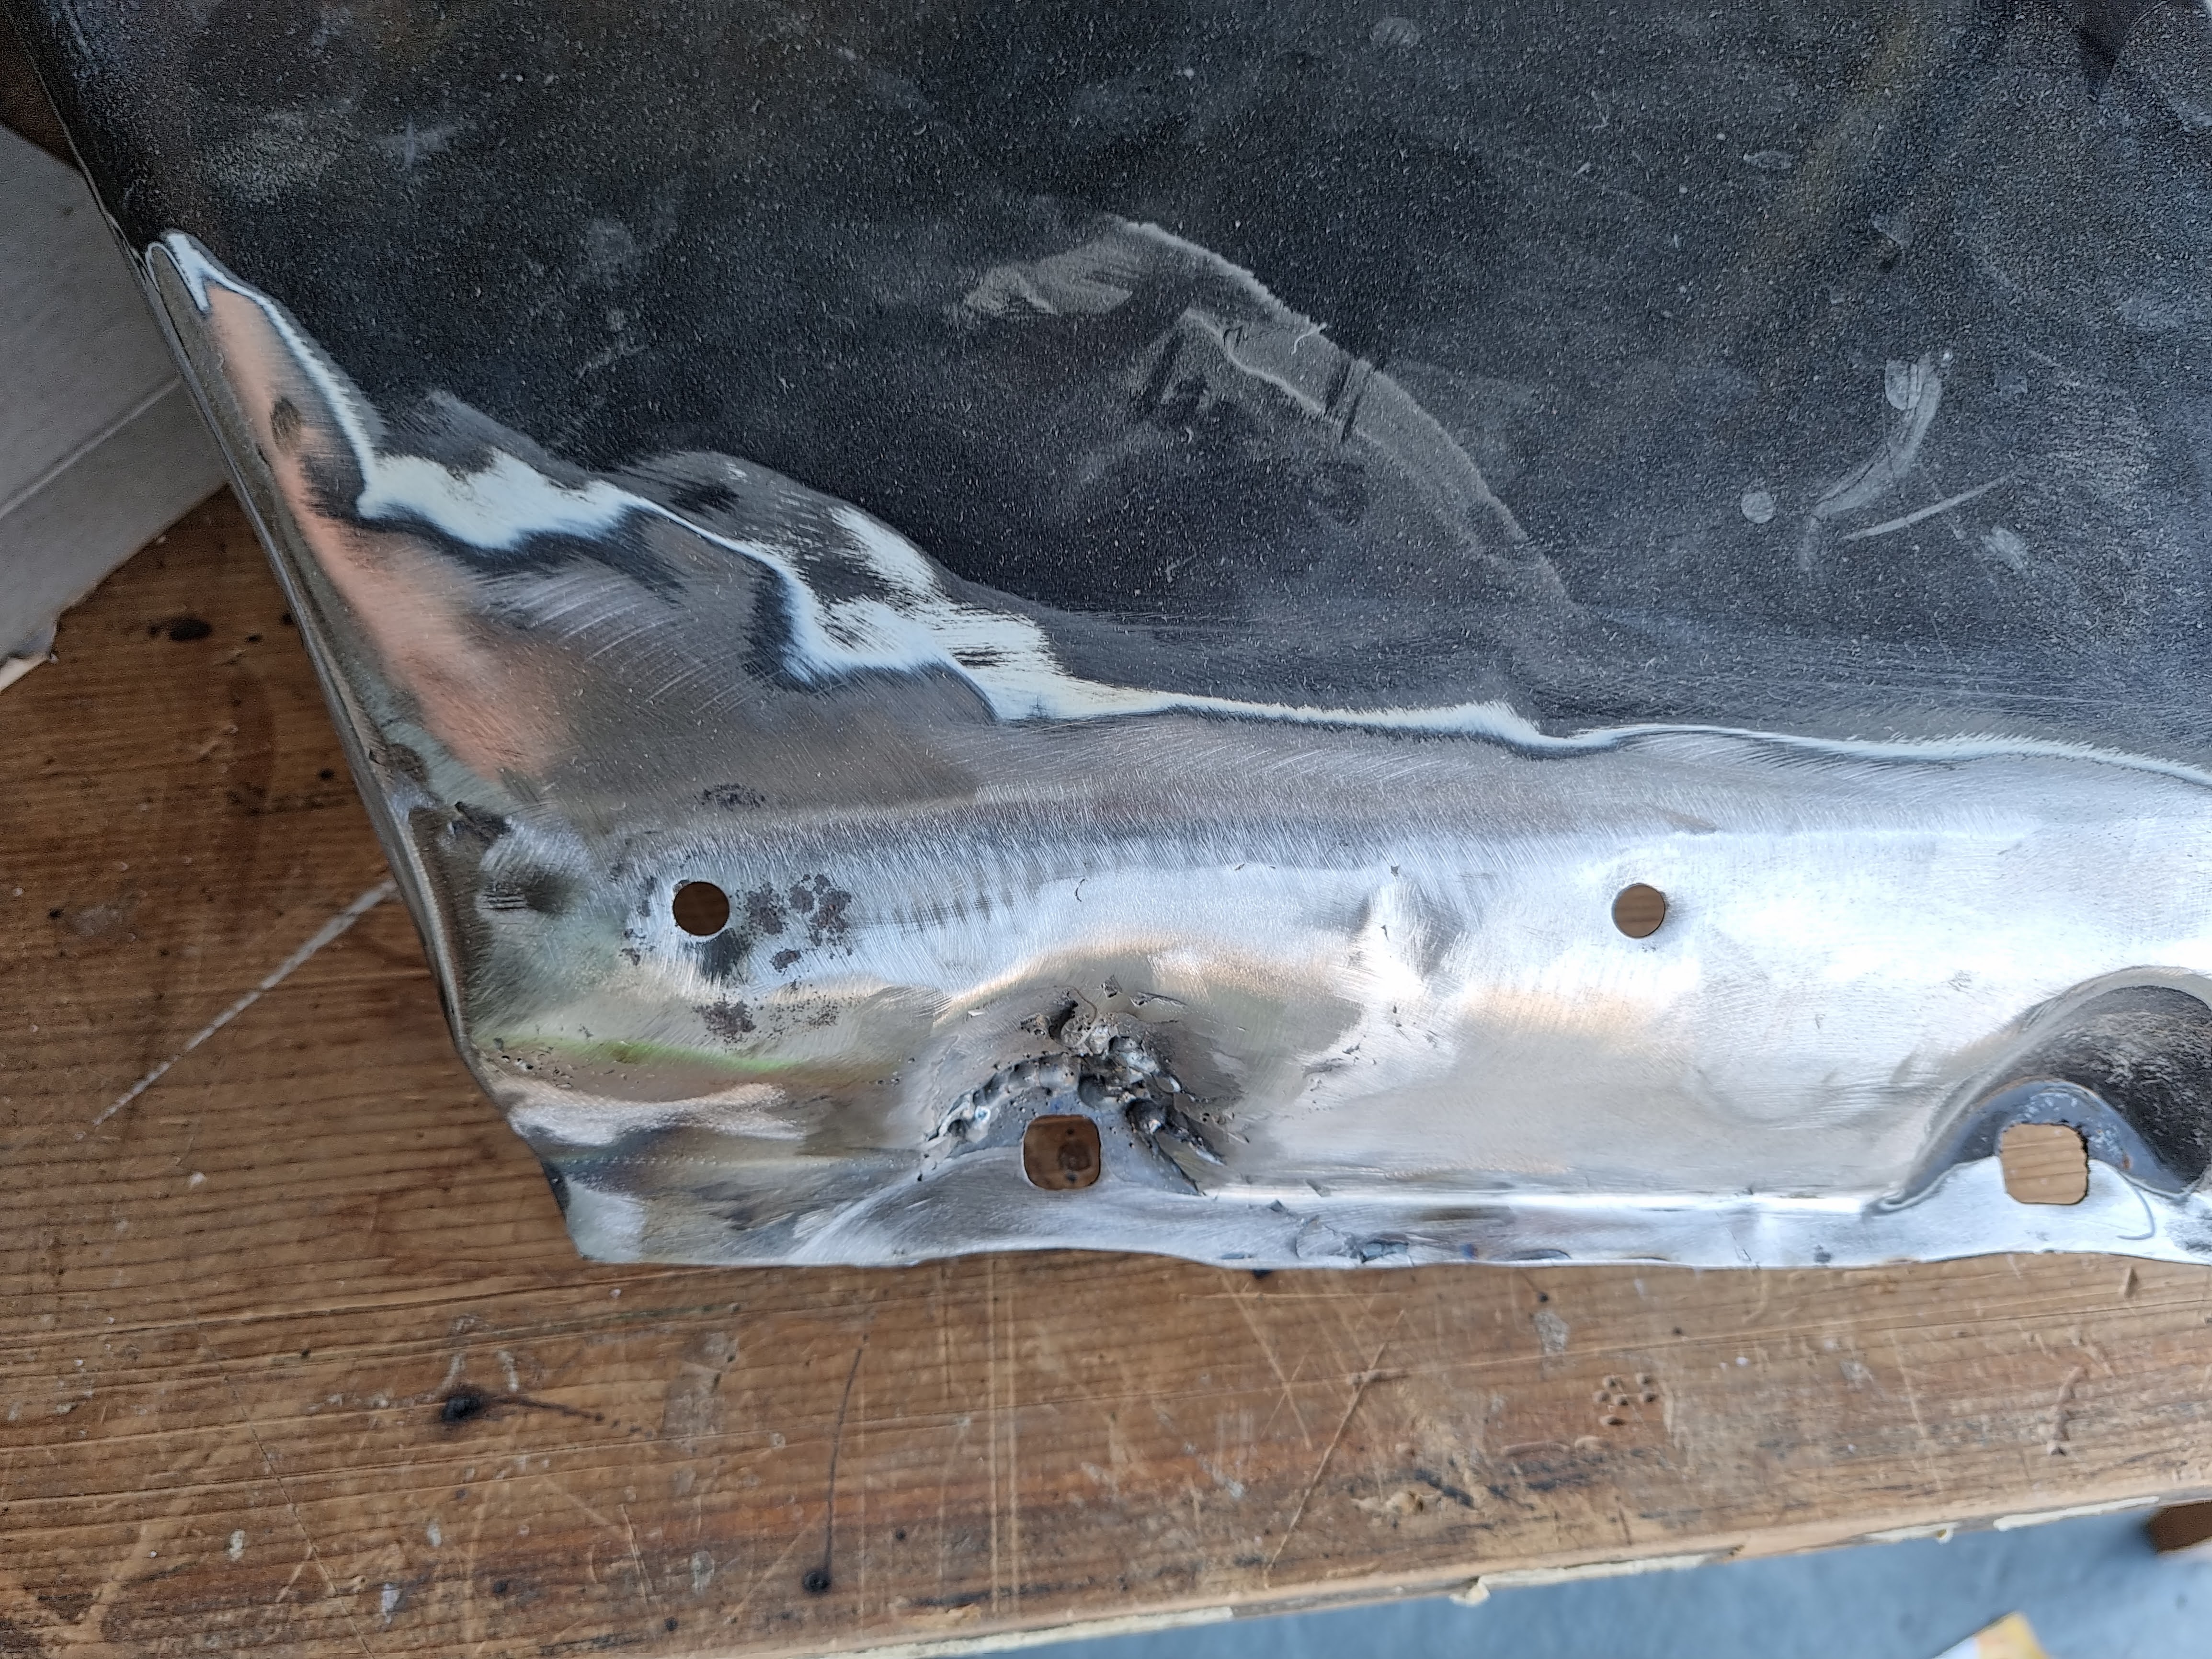
Once these repairs were finished I then cleaned up any signs of surface rust with a flap wheel, including all the trim clip holes. All bare metal was then treated to a liberal coating of zinc primer. Painting happen latter once all repairs around the car are finished.
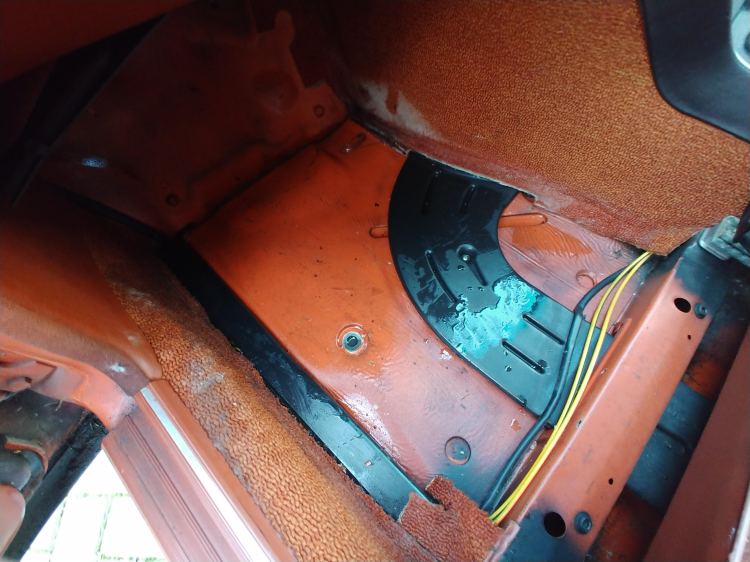
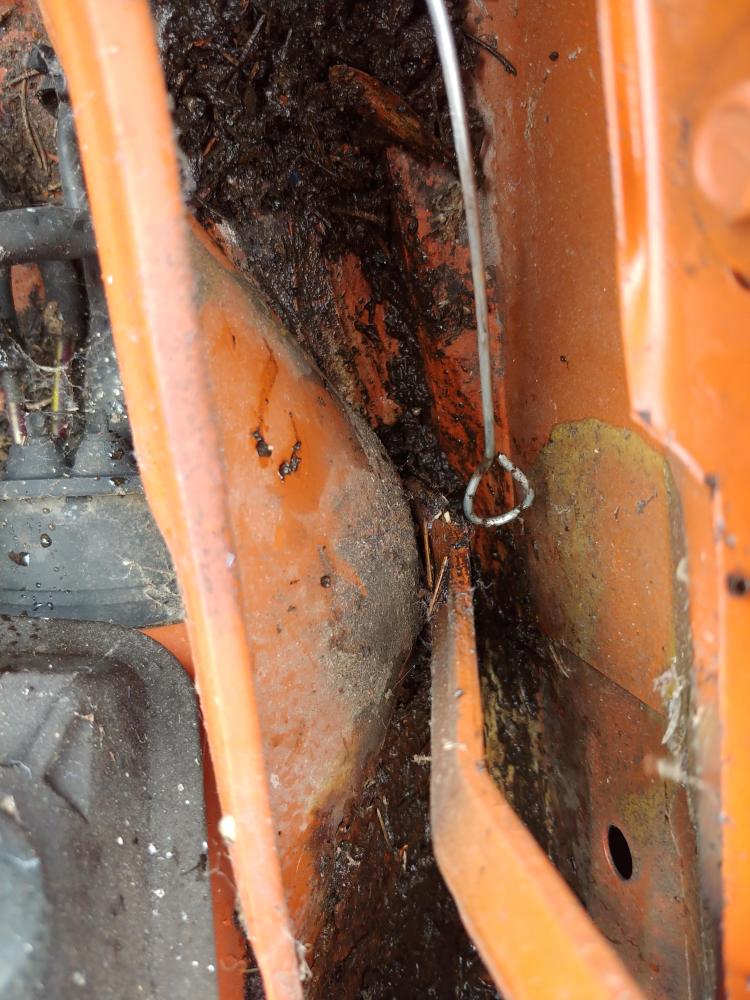
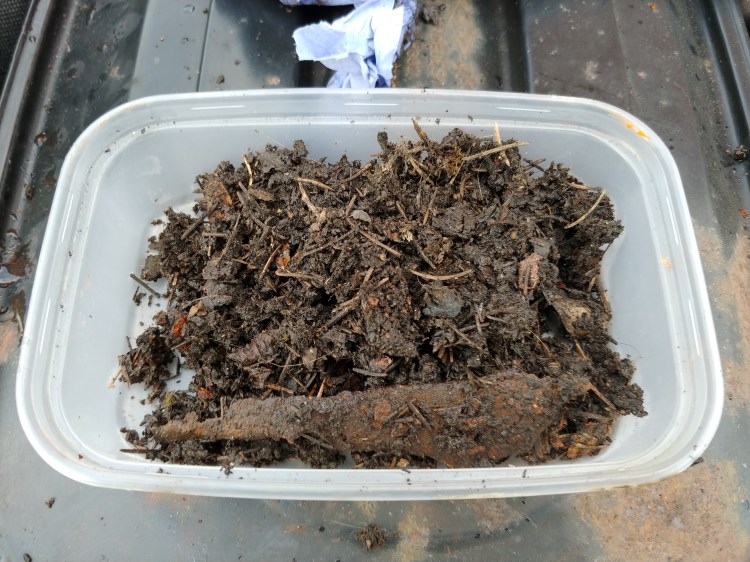
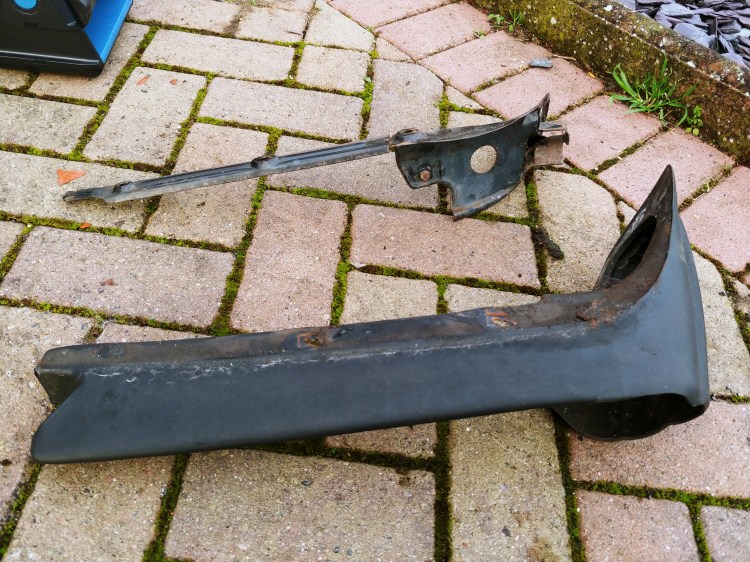
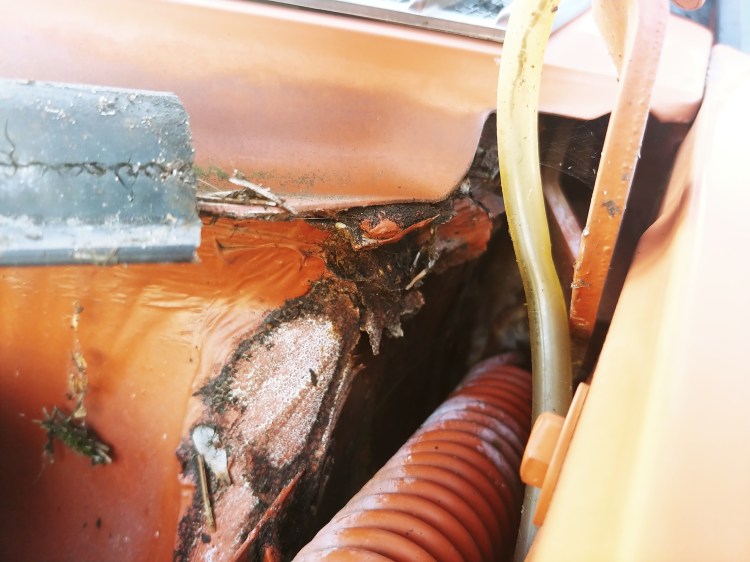
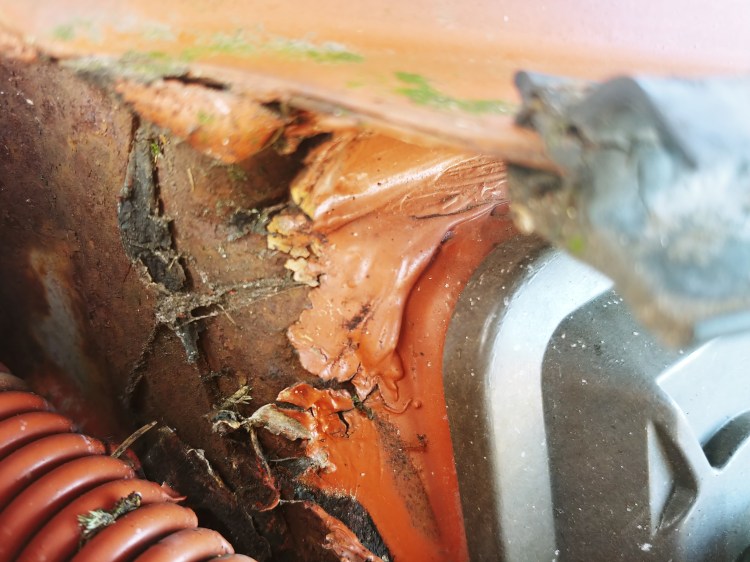
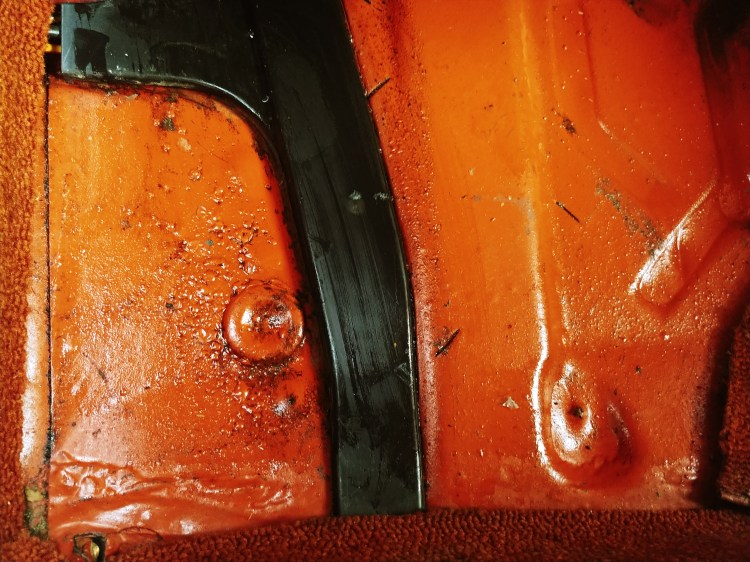
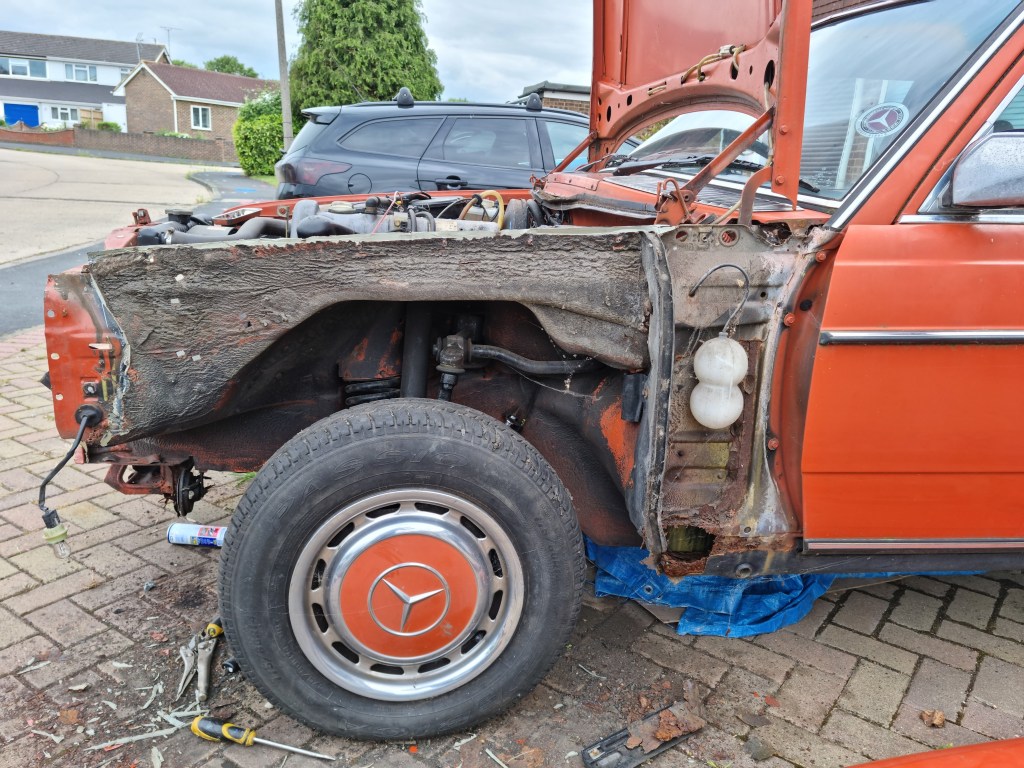
Removal of the original wing was a real pain in the back side. It turn out on early models the top of the wing is bonded to the inner wing with mastic, even cutting away as much as I could I still ended up destroying the old panel getting it off. I have since learnt that the correct process is to hear up the top edge of the wing with a gas torch to soften the mastic before trying to take it off, I will give this a go when I come to do the other side.
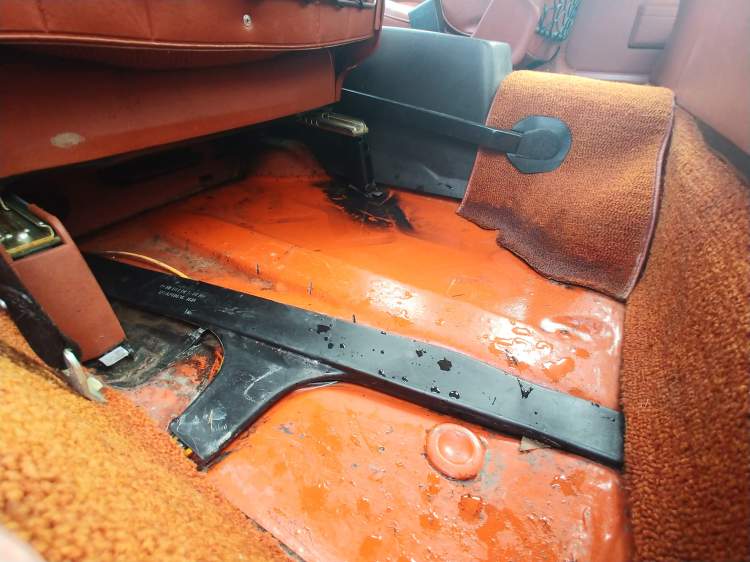
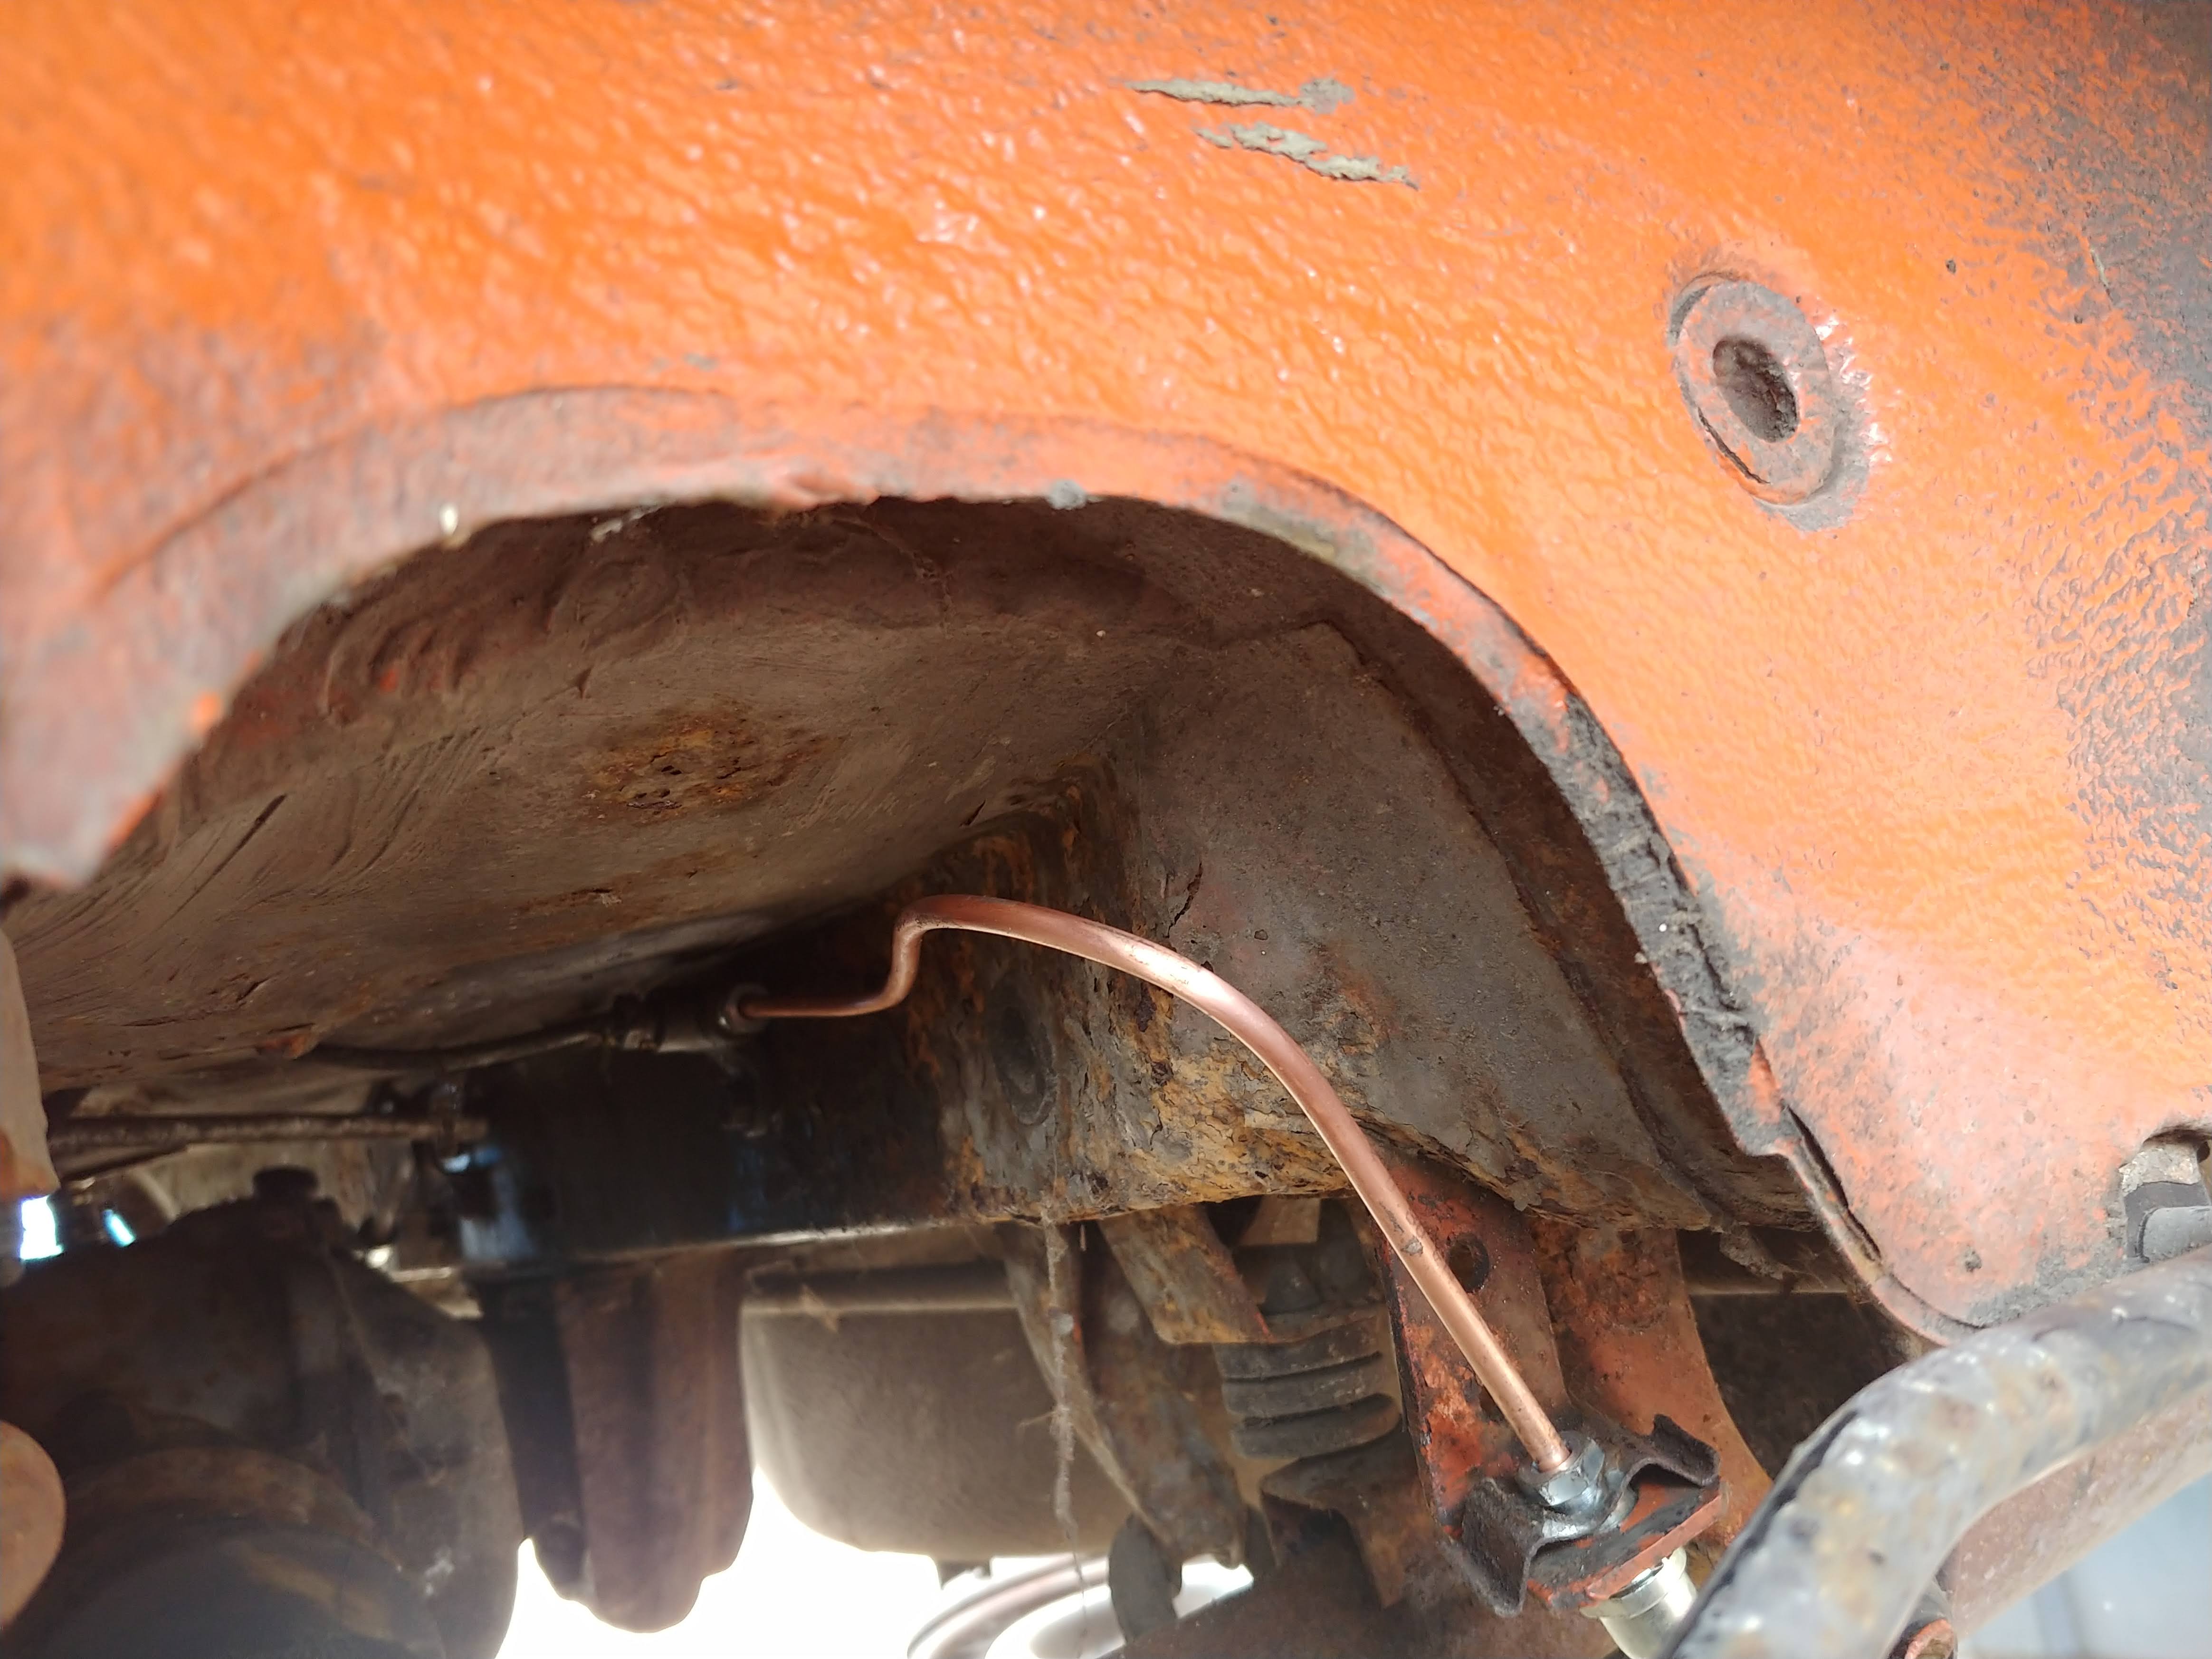
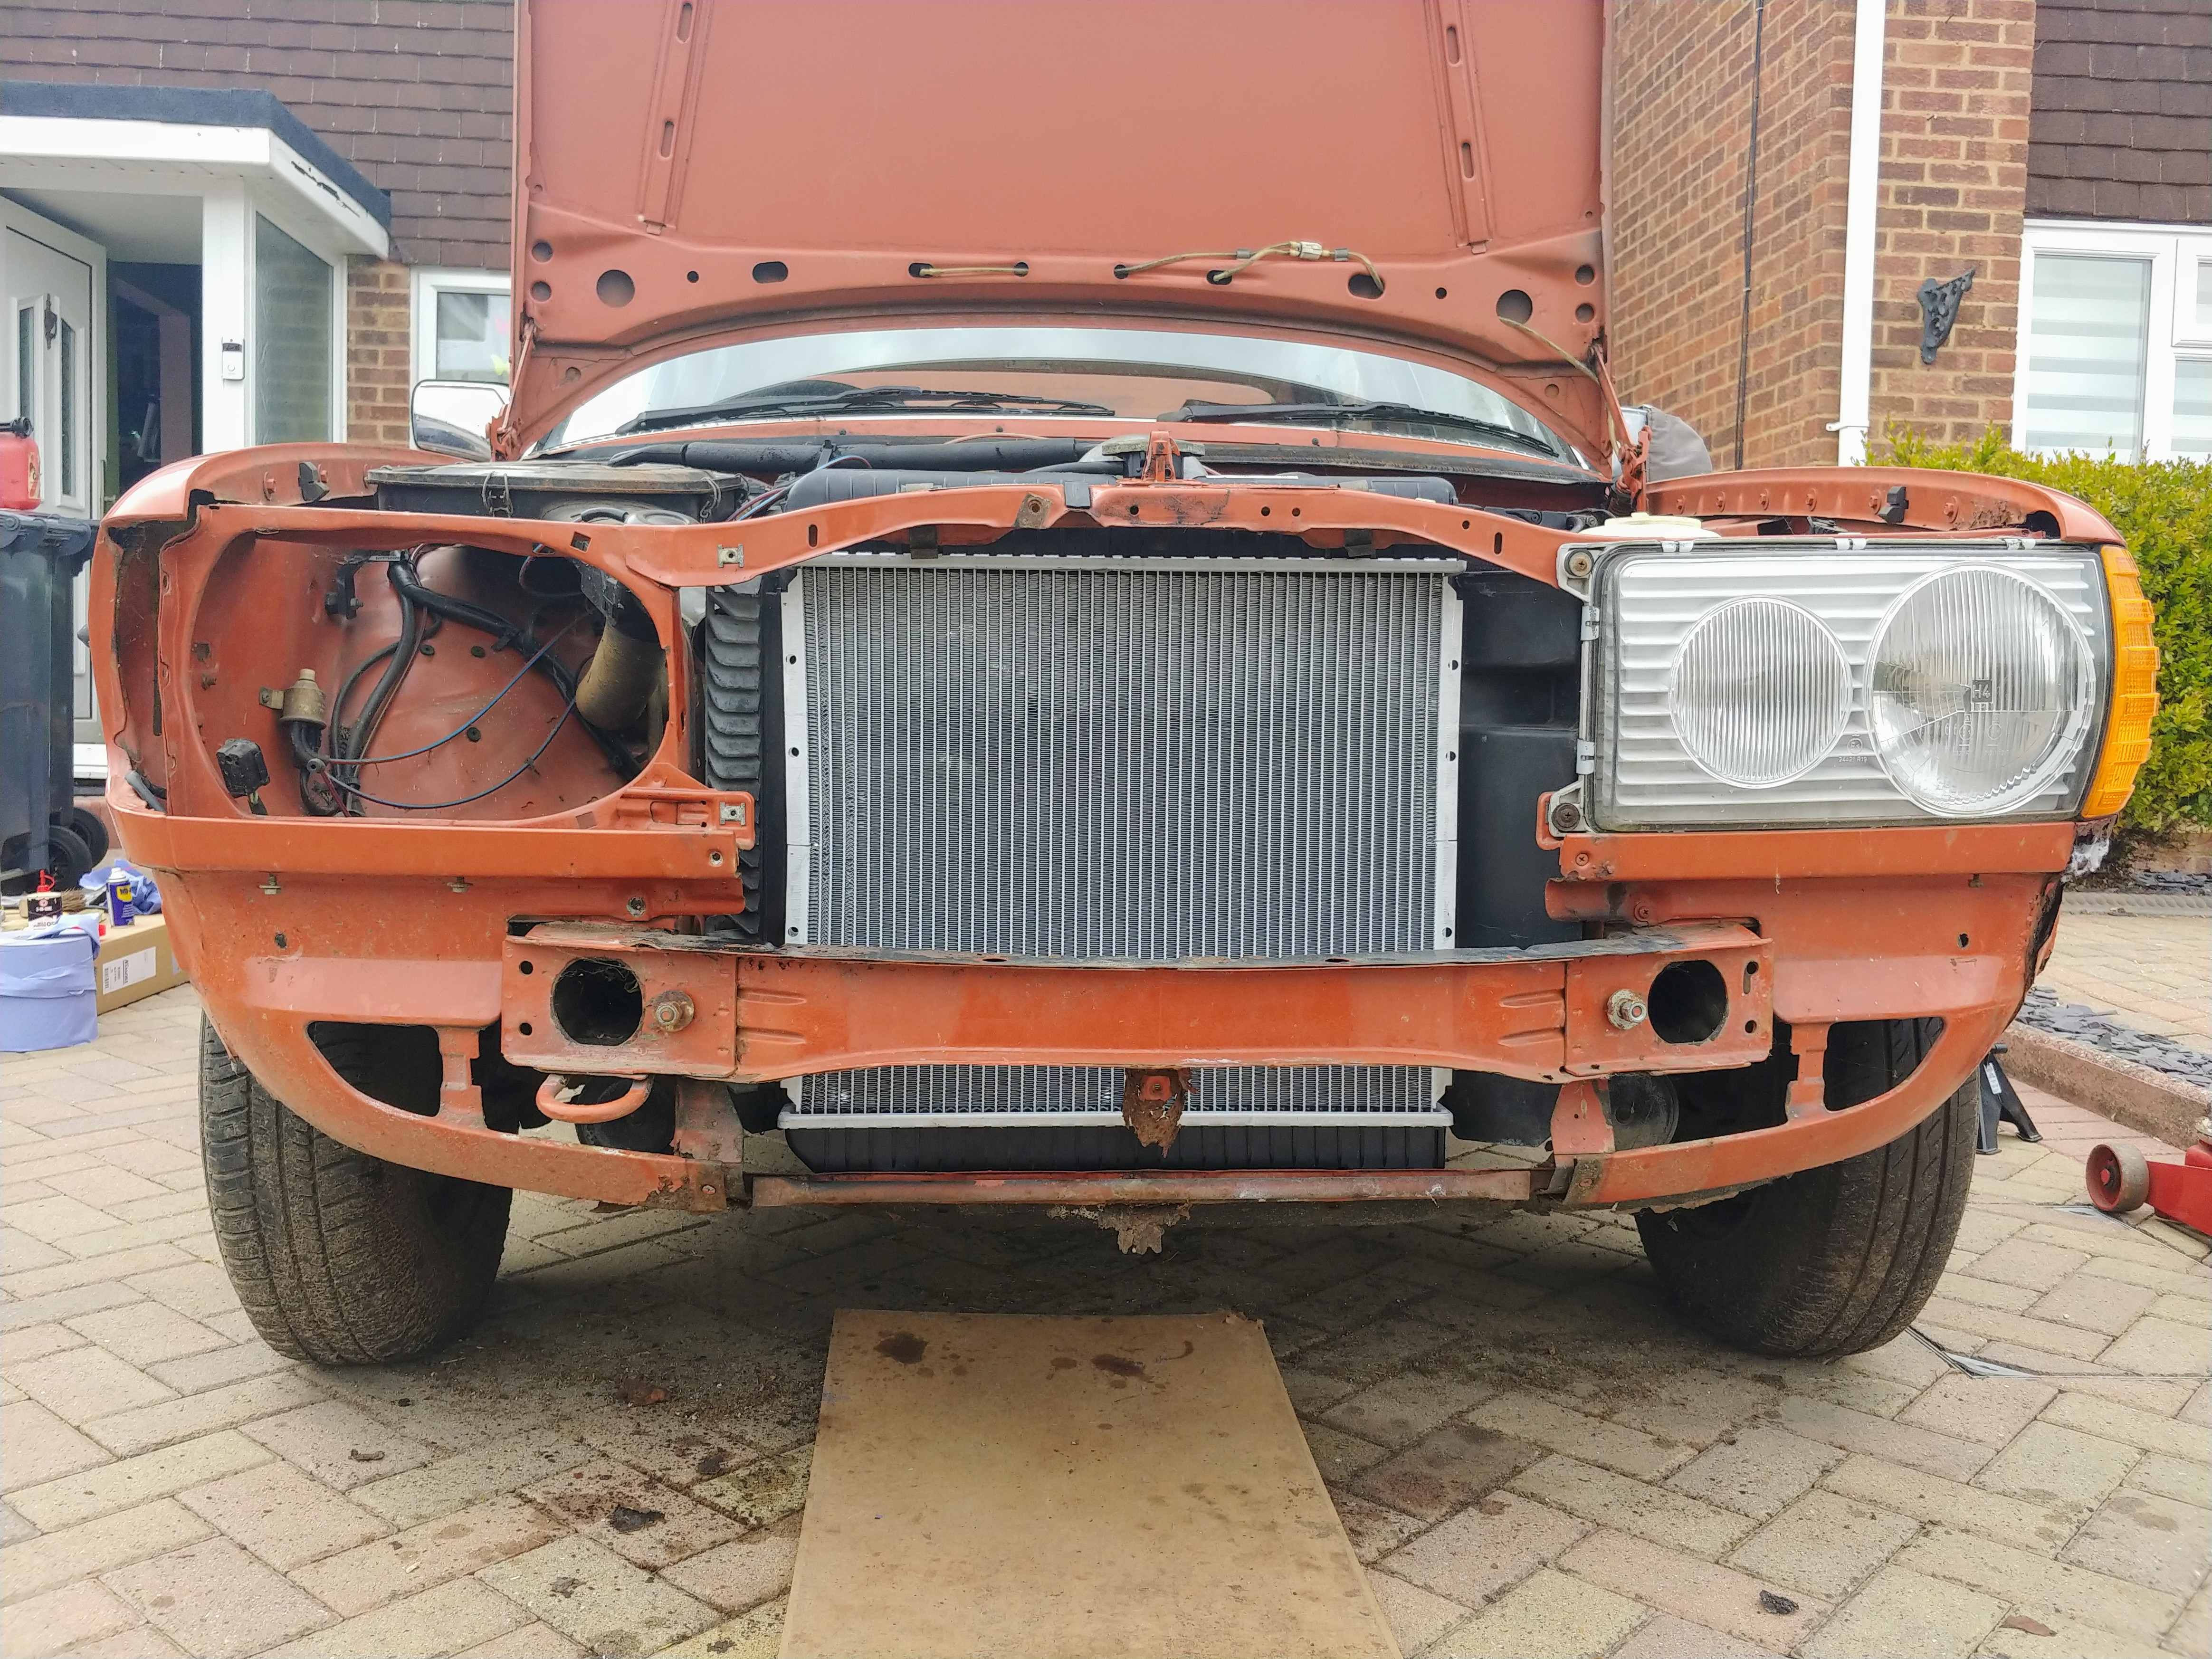
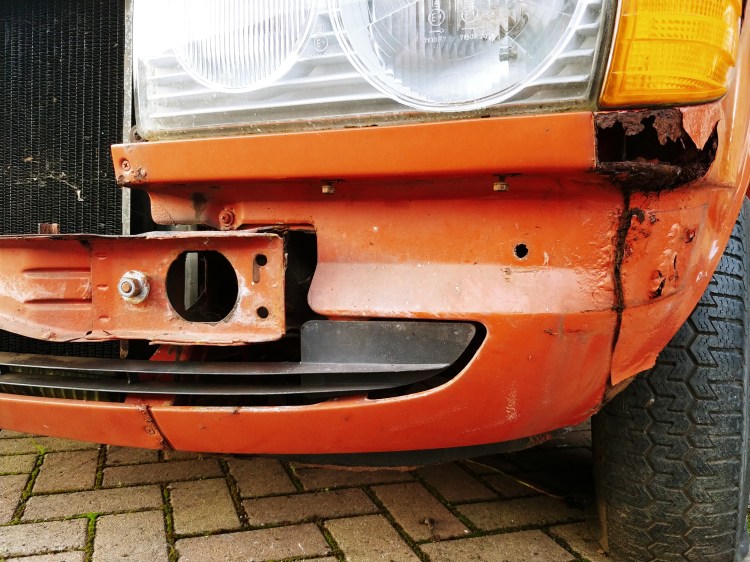
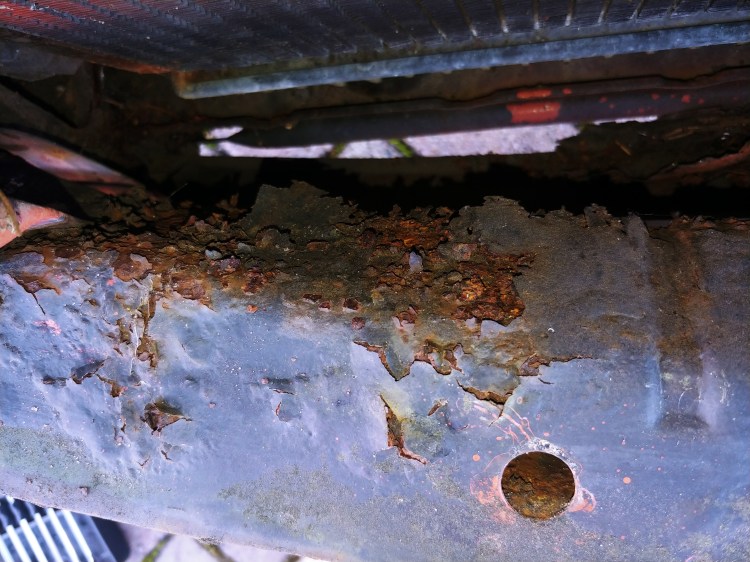
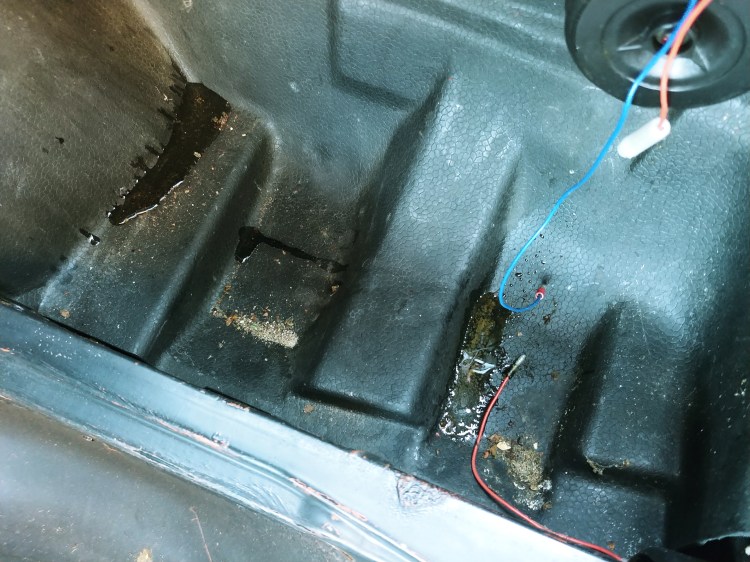
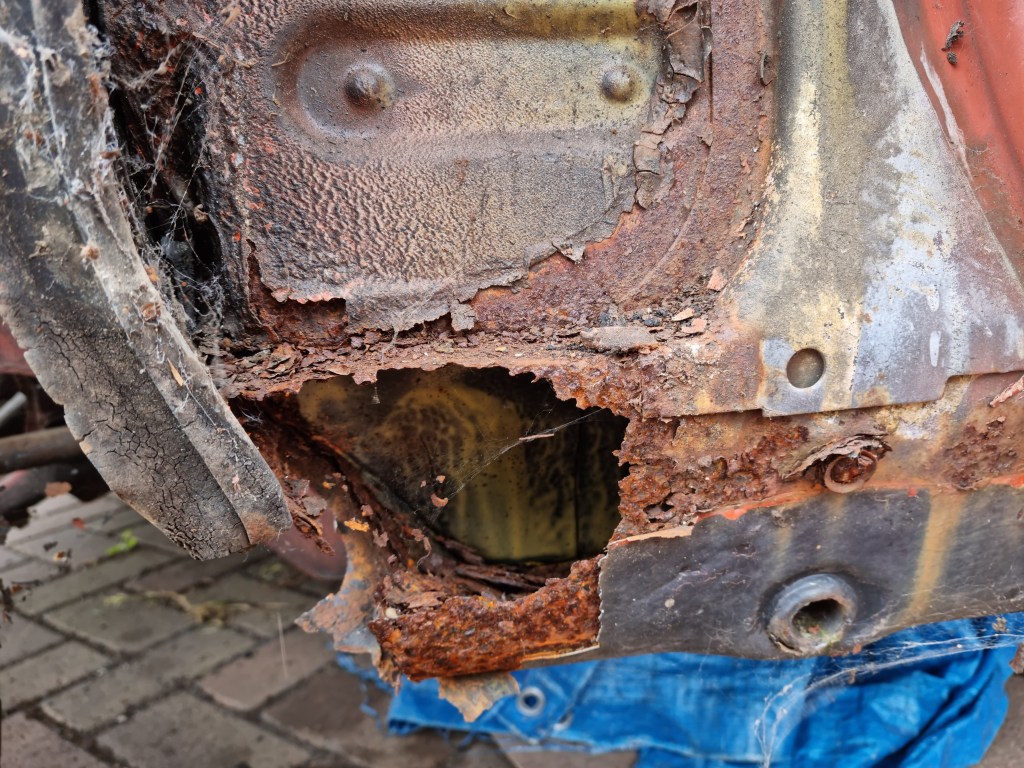
Once the wing was off it exposed the sill which is in a much worse state than I thought. This will have to be the next area I focus on!
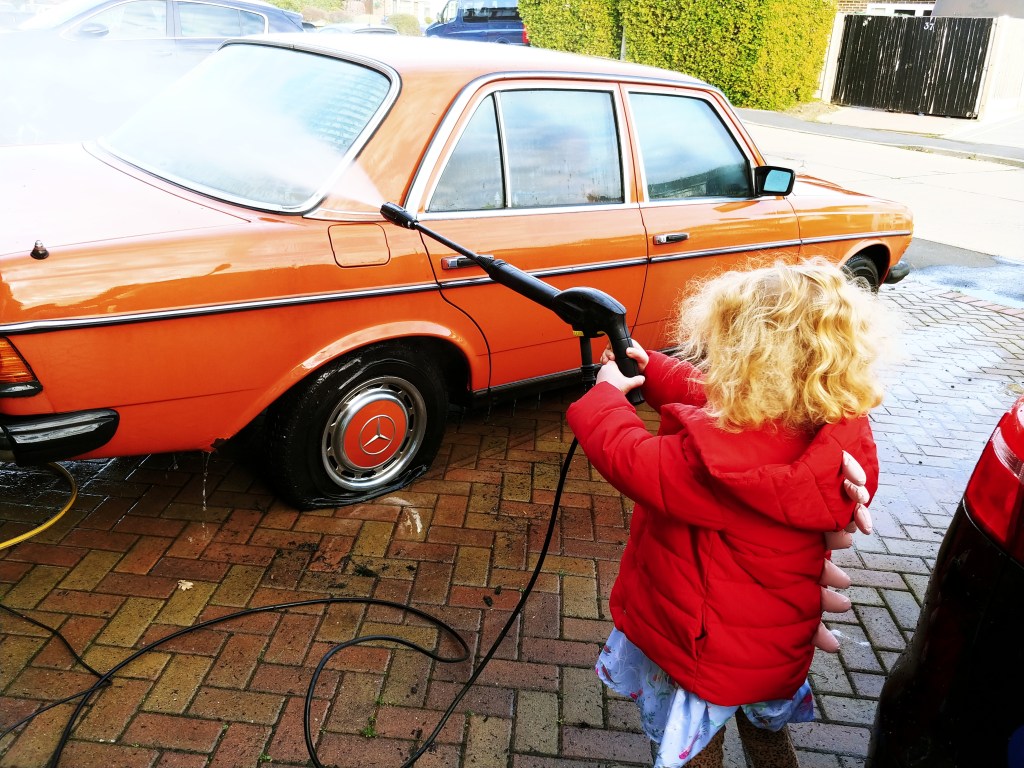
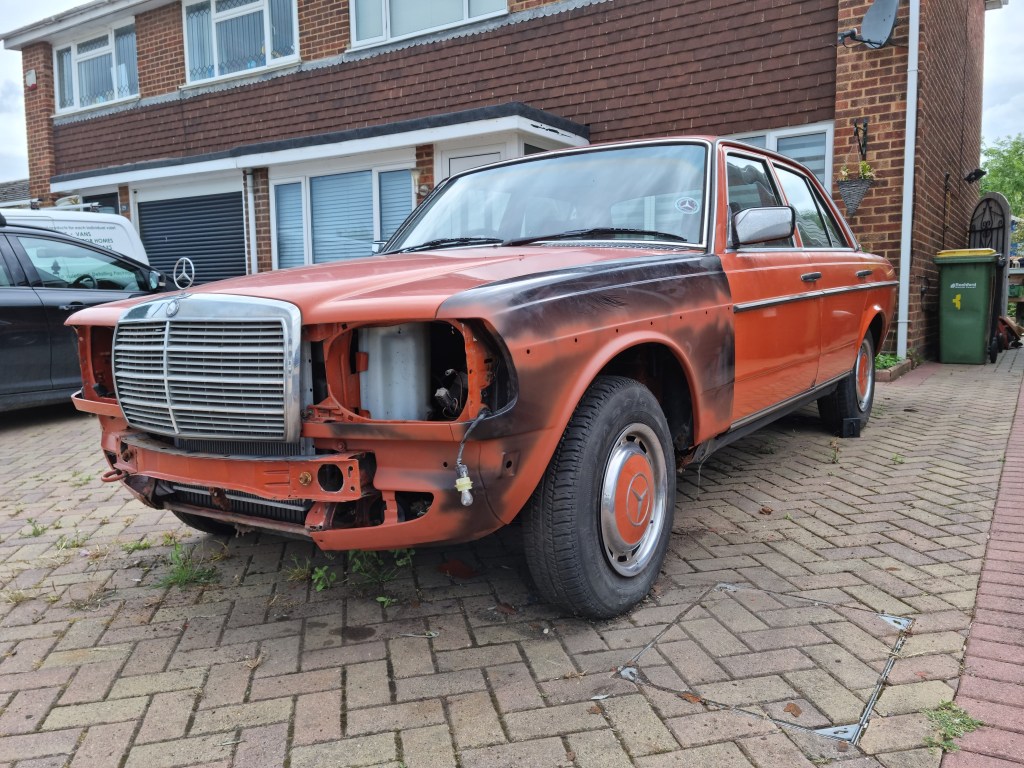
There is still a long way to go, but it is nice to see the car with a little bit less rust at last!
If you want to see more progress updates, don’t forget to subscribe!